
Short answer: UV coating adhesion on injection-molded plastic usually fails when the coating chemistry, substrate surface and preparation process are not compatible as a system. Start with the exact resin grade and molded surface, control contamination and mold-release residues, select any primer or pretreatment with the coating supplier, and validate adhesion after the coating is fully cured and conditioned.
Here, UV coating injection molded parts adhesion means adhesion of a coating that is cured with ultraviolet light on a molded plastic part. UV curing and UV-weathering resistance are different properties: a coating may cure under UV light without providing the outdoor durability the product needs. Specify both separately.
For available finishing scope, see our UV coating service and broader plastic surface finishing options. As one product-specific example, SDC Technologies describes primer-free adhesion products for PMMA and PC substrates; that does not establish performance for other coating formulations, grades or molded conditions.
In this article:
- Separate cure from adhesion
- The molded surface is part of the coating system
- Read failure patterns before changing chemistry
- Build a representative adhesion trial
- Frequently asked questions
Separate Cure From Adhesion
A coating can look dry and feel hard while still being poorly bonded to the substrate. UV curing describes how the coating polymerizes; adhesion describes how well it remains attached to the plastic under the specified load and environment. A tack-free surface is not proof of acceptable bond strength, and a successful adhesion result immediately after cure may not predict performance after heat, moisture, cleaning chemicals or handling.
Before production, clarify the coating’s purpose: scratch resistance, gloss, color, chemical barrier, UV protection, or a defined combination. Then specify where the coating is applied and what part areas must remain uncoated. The required thickness, cure dose, geometry access and inspection method can differ by product and coating chemistry, so obtain the technical data and process window from the coating supplier rather than assuming one setting fits every part.
Substrate identity needs equal precision. Write the commercial resin grade, colorant, filler or reinforcement, recycled-content status if applicable, and any mold-release or cleaning practice. A generic label such as “PC” or “ABS” may hide formulation differences that affect wetting or bond formation. If the resin, pigment, supplier or molding condition changes, treat adhesion as a requalification question.
The Molded Surface Is Part of the Coating System
Surface contamination is a frequent source of inconsistent results. Silicone-containing mold release, handling oils, dust, packaging residue and cleaning-agent traces can create local areas where the coating does not wet the plastic as expected. A cleaning step is only useful if it is compatible with the resin and is controlled well enough to leave a repeatable surface. Confirm whether the process permits mold release at all; do not assume downstream cleaning will remove every residue.
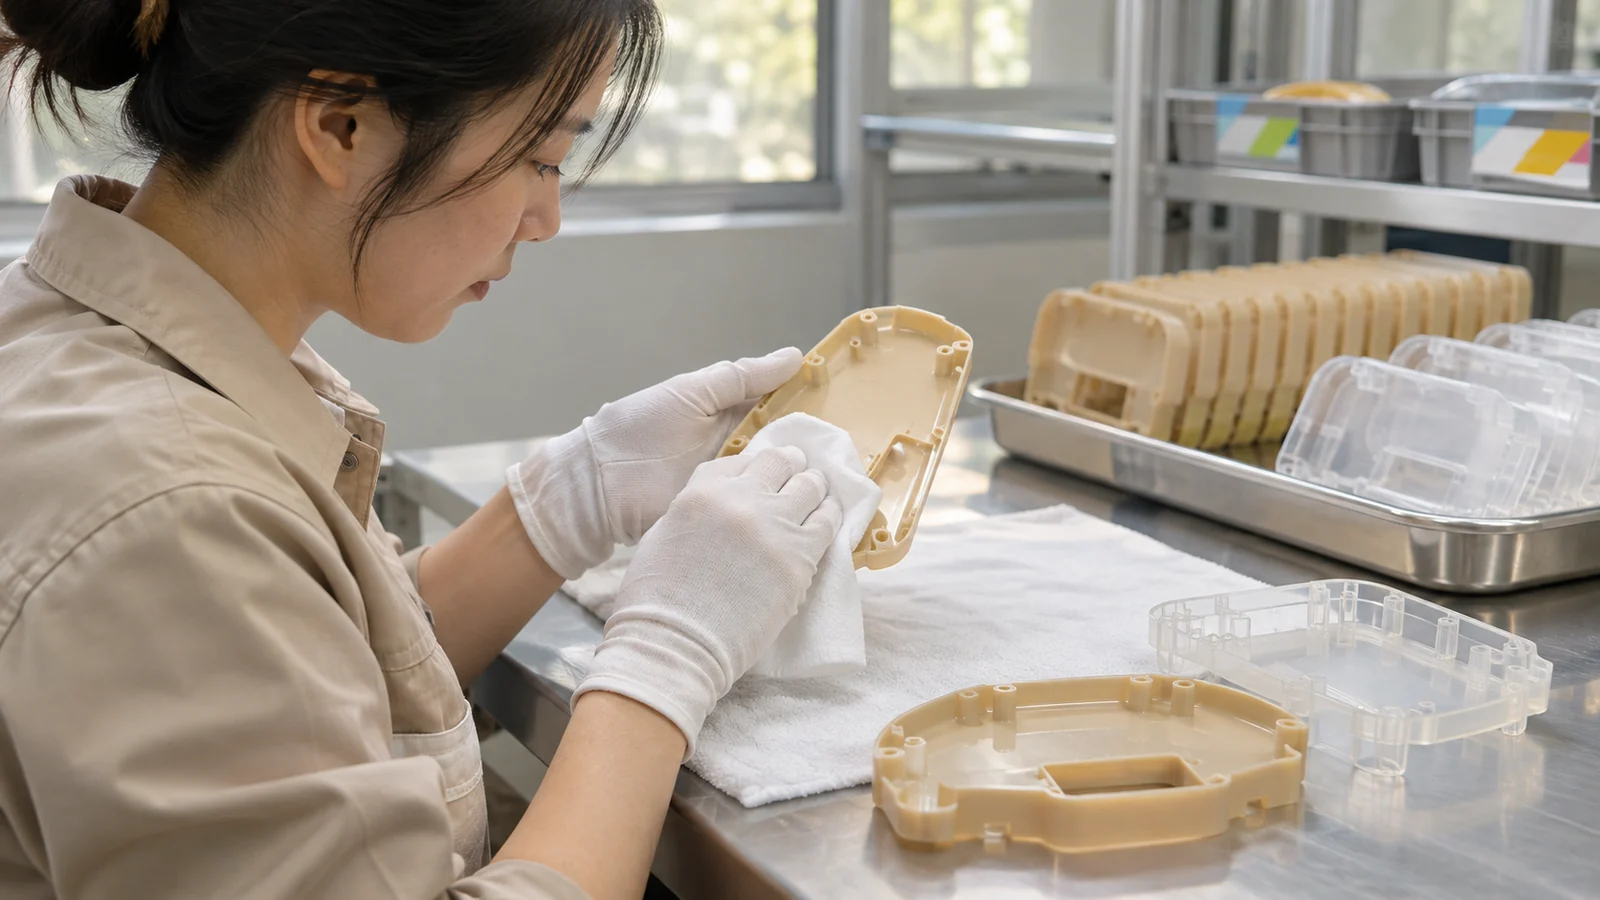
Molded texture and surface condition also matter. A textured cavity may increase the effective area, but it does not automatically improve adhesion. Flow lines, weld lines, gas marks, sink, burnished areas or variable gloss can create local differences in coating appearance or bond behavior. Keep the intended coating zone consistent in texture and avoid abrupt transitions through critical decorative surfaces where practical.
Geometry determines whether the coating can be applied and cured uniformly. Deep recesses, narrow slots, sharp inside corners and shadowed faces may receive a different spray film or UV exposure than a broad open panel. Inspect the complete part in the planned coating orientation. If access is limited, decide whether the design should open up, the coating process should use a different orientation or the requirement should be limited to accessible surfaces.
Read Failure Patterns Before Changing Chemistry
| Observed pattern | What to investigate first | Useful comparison |
|---|---|---|
| Peeling across most of the part | Substrate/coating compatibility, surface preparation and cure conditions | Approved resin grade versus proposed grade |
| Small isolated craters or bare spots | Contamination, handling, release residue or cleaning carryover | Clean controlled sample versus production-handled sample |
| Failure concentrated in recesses | Spray access, coating build and UV exposure through the geometry | Open face versus shadowed feature under the same setup |
| Adhesion degrades after conditioning | Moisture, heat, chemical exposure and interfacial durability | Initial result versus the specified conditioned state |
These patterns are diagnostic clues, not proof of a single root cause. Change one controlled factor at a time where practical and retain sample traceability. If multiple variables change together – resin, cleaner, primer and cure setup – a pass or fail gives little information about what actually solved the problem.
Build a Representative Adhesion Trial
- Use production-intent molded parts. Include the real resin grade, color, texture, gate location and molding process. Flat test plaques may help screen chemistry but cannot represent every feature of the finished part.
- Control the pre-coating state. Record how parts are handled, stored, cleaned and kept free of release-agent transfer. Agree the maximum time between molding, preparation, coating and cure if the supplier’s process requires it.
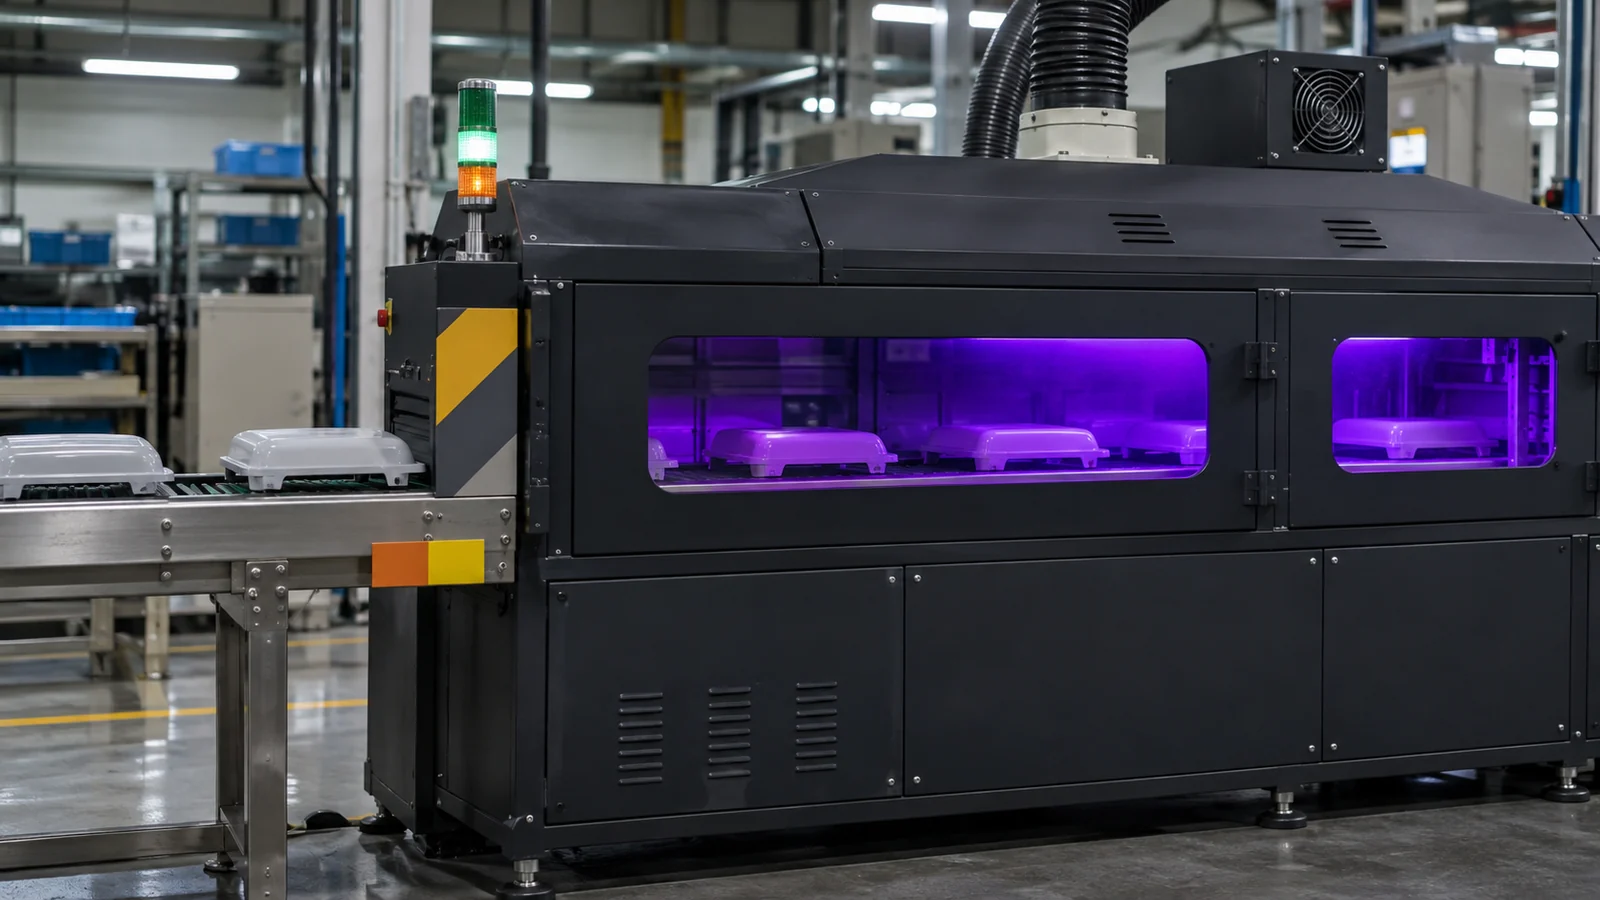
- Map the coating process. Identify primer or pretreatment, spray or application method, coating build, part orientation and UV cure conditions. Ask how cure is verified in difficult-to-reach zones.
- Define the test and acceptance point. Specify the adhesion method and rating, test timing, conditioning and failure criteria. Use the same documented method for approval and subsequent production checks.
- Recheck after relevant exposure. If the product sees heat, moisture, cleaners, abrasion or sunlight, test the coated part after the exposure that reflects its real use.
Report results by part location, cavity and material lot where traceability is available. A single pass result on a flat, clean coupon does not establish process capability for a molded housing with deep ribs, a textured show face and multiple coating orientations.
Frequently Asked Questions
Does UV-cured mean UV-resistant?
No. UV-cured describes the coating’s curing mechanism. Resistance to sunlight or other UV exposure is a separate performance requirement that should be confirmed for the exact coating, substrate and service environment.
Will a primer always fix poor adhesion?
No. A primer may improve compatibility for a specific coating-substrate pair, but it cannot reliably compensate for contamination, an incompatible resin grade, poor cure or inaccessible geometry. Select it through supplier review and representative part testing.
Can I test adhesion on a flat resin coupon?
A coupon can be useful for early screening, but final approval should include production-intent molded geometry. Texture, flow history, gate location, ribs, recesses and part handling can all make the finished part behave differently from a flat coupon.