
A valve gate that leaves a drool, string, or inconsistent vestige is not automatically a bad gate insert. In practical valve gate troubleshooting, the useful first question is when the mark appears: at startup, after a long run, only in one cavity, or after a process change. That timing separates thermal balance, pin motion, sealing, and melt-pressure causes before anyone changes several settings at once.
Start with the molded evidence and the controller record. Compare the same cavity across consecutive cycles, note whether the gate is open or closed when the defect forms, and check the actual sequence against the approved process sheet. A valve pin should not be adjusted by guesswork while the melt is hot and the cause is unknown.
Read the defect pattern before changing the setting
Record the defect by cavity, cycle, and time since startup. A short string that appears on every cycle points toward a repeatable shutoff or timing issue; a mark that appears only after a pause may indicate a thermal or restart condition. A single-cavity problem is a different diagnostic signal from a uniform defect across the tool.
Inspect the gate vestige under consistent lighting and magnification. Note whether material is smeared, torn, burned, or simply proud of the surface. Photographing the same location from the same angle helps distinguish a real change from normal visual variation. Also confirm whether the part is being trimmed or handled in a way that could create a mark after ejection.
Keep the part, machine, and hot-runner records together. The resin grade and lot, colorant, residence time, startup sequence, and recent maintenance can change how a symptom should be interpreted. Do not assume that a stable machine display means the melt and gate experienced identical conditions in every cavity.
Check the opening and closing sequence

Valve-gated hot runners coordinate melt delivery with pin movement. If the pin opens too early, the melt may jet or leave an unbalanced flow front; if it closes too late or does not seat consistently, the gate can string or leave a raised vestige. Sequence changes should therefore be tied to a measured symptom and evaluated one variable at a time.
- Confirm the trigger. Establish whether the pin is controlled by a timer, screw position, pressure signal, or another configured input. Verify the displayed event against the machine cycle rather than relying on a copied setup sheet.
- Compare actual events. Check opening and closing timing for the affected cavity against neighboring cavities. A drift or outlier can point to a control, actuator, or wiring issue.
- Change one setting. Make a small, documented adjustment only after the baseline is recorded. Keep fill, pack, and cooling conditions stable while judging the effect.
- Recheck the part. Evaluate vestige height, stringing, surface appearance, and part dimensions. A cleaner gate is not a successful correction if it creates a short shot or shifts the weld line.
Never treat a controller command as proof that the pin physically reached its intended position. Where the equipment allows it, compare the command with the available position or actuator feedback. If feedback is absent, use a controlled inspection during a safe maintenance procedure rather than reaching into a hot-runner area.
Separate thermal imbalance from pin trouble
A valve pin can be mechanically sound while the gate region is too hot, too cold, or unevenly heated. Check the heater and thermocouple circuits, connector seating, controller alarms, and temperature trends before changing the material or pack profile. A temperature reading is a sensor measurement at one location, not a direct measurement of the melt state at the gate.
Startup behavior is particularly informative. If drool occurs only after a long pause, review the restart sequence, soak time, and the first shots separately from steady-state production. If the defect gradually worsens during a run, look for a changing thermal condition, contamination, or progressive wear rather than repeatedly shifting the pin timing.
Material condition also matters. Moisture-sensitive resins, color concentrates, regrind, or a material-lot change may alter flow and appearance. Confirm the approved drying and handling requirements for the specific grade; do not compensate for a material-preparation problem by over-correcting the hot-runner temperature.
Use cavity-to-cavity evidence to localize the cause
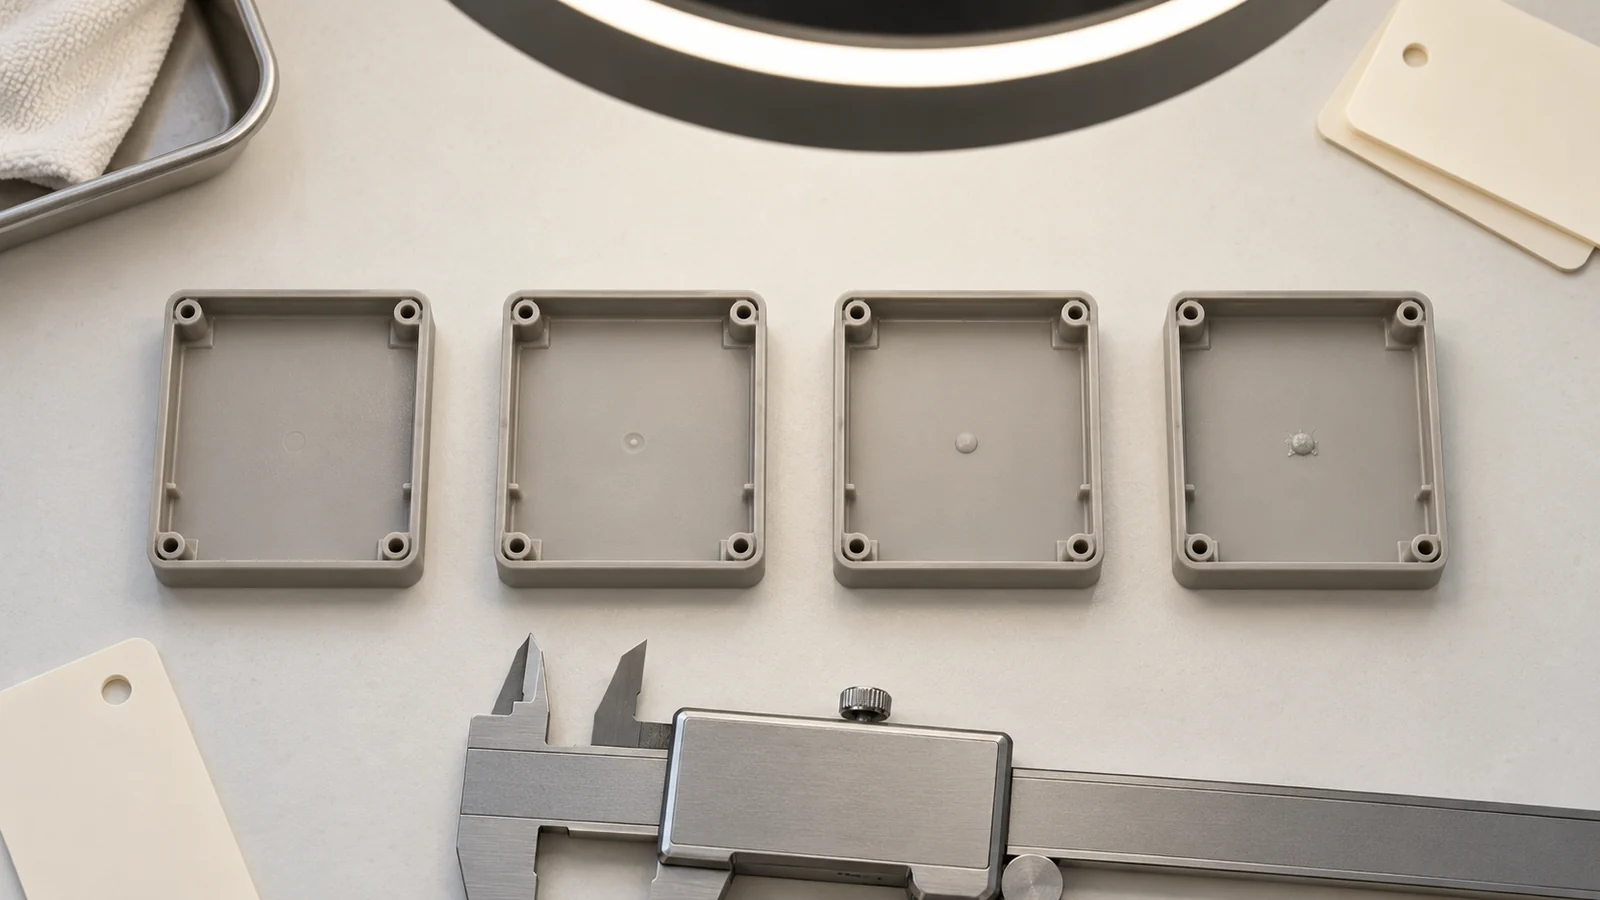
Compare parts from each cavity using the same inspection method. If one cavity shows the mark while the others remain stable, prioritize that cavity’s pin movement, gate insert, heater circuit, and local cooling. If all cavities change together, investigate common inputs such as resin condition, controller settings, cycle sequence, or a machine-level change.
For multi-cavity tools, label samples and preserve the order in which they were produced. A simple record can include cavity number, startup or steady-state status, defect description, measured vestige, controller alarm, and the single process change made. This turns trial-and-error into a traceable comparison and makes a later mold trial and validation plan easier to review.
Know when the mold needs service, not another process adjustment
Repeated pin sticking, uneven wear, metal pickup, damaged shutoff surfaces, or a defect that returns after a short adjustment window suggests a hardware problem. A process change may hide the symptom temporarily while increasing stress elsewhere in the tool. Stop and inspect under the site’s safe maintenance procedure when the evidence points to a worn or damaged component.
When discussing a repair or new tool, share cavity-specific photos, the resin and colorant identification, the sequence settings, the time pattern, and the parts before and after the last change. Those details are more useful than a request to “make the gate cleaner.” For broader context on hot-runner construction and tool interfaces, see hot-runner injection mold design. The article’s parent topic is plastic injection molding; each link should help the reader move from diagnosis to a relevant design or validation decision.
FAQ
Should the valve-gate pin be adjusted before checking temperature?
No. First establish the defect pattern and verify the heater, thermocouple, and sequence records. Changing pin timing before confirming the thermal state can mask one cause and introduce another.
Does a raised gate vestige always mean the pin is worn?
No. A raised vestige can result from incomplete seating, timing, thermal conditions, contamination, or process changes. Wear is one possibility, but cavity-specific inspection is needed before replacing hardware.
Why does stringing appear only after a production pause?
A pause changes the thermal and residence-time history at the gate. Compare the restart sequence and first shots with steady-state parts, then verify the approved material and hot-runner conditions before adjusting the process.