
Two-shot molding for robotic grips makes sense when a rigid structure and a compliant contact surface need to become one repeatable molded part. The key decision is not simply whether a soft touch feels better. It is whether the material boundary can stay stable under gripping force, release, cleaning, and repeated motion—and whether the geometry can be molded without compromising the grip’s locating features. Define the job of each material before selecting a tool sequence.
Assign a job to each material
The rigid component should carry structural load, preserve mounting and alignment features, and resist the forces transferred from the gripper mechanism. The softer component can add compliance or a contact surface with a different feel or friction behavior. If the soft layer is expected to hold a structural load by itself, the material split may be wrong.
Map the contact patch and the force direction first. Look for edges where the soft material could peel, narrow strips that could tear, and datum surfaces that must remain rigid. Also define whether the grip contacts one part geometry or a family of sizes. A material combination that works for one surface may not retain another part reliably.
Two-shot molding is one option within robotics injection molding, but a robotics application does not automatically require a multi-material tool. The part’s function and annual demand should justify the added tooling and validation complexity.
Choose the molding route by production need
Two-shot molding forms the rigid and soft regions in a coordinated molding sequence within a purpose-designed tool. Overmolding can also combine materials, but may use a separate first-shot substrate that is transferred or repositioned before the second material is molded. The distinction is practical: cycle integration, locating repeatability, tool complexity, part handling, and material compatibility can change between routes.
For a low-volume or frequently revised design, a simpler route may make it easier to change the contact layer or substrate. For a stable geometry with a strong need for repeatable registration and integrated production, a two-shot tool may be worth evaluating. Compare the complete manufacturing and maintenance route, not only the number of molding steps.
| Route | Potential fit | Decision to verify |
|---|---|---|
| Single-material grip | One material can meet structure and contact needs | Does the design need a separate compliant interface at all? |
| Overmolding | A first-shot substrate can be handled and located for a second shot | Can transfer, bonding, or mechanical retention be controlled? |
| Two-shot molding | Integrated material sequence and repeatable registration are priorities | Do materials, geometry, demand, and tool sequence support the investment? |
The site’s two-shot injection molding process page describes the broader process. For a robotic grip, the decision still depends on the individual component and validated material pair.
Place the hard-soft boundary away from failure
The boundary should follow the function of the grip, not just a convenient parting line. Keep the soft material away from mounting datums, screw seats, and surfaces that establish finger spacing. If the interface ends at a sharp corner or a high-shear contact edge, repeated loading may lift or wear the material there.
Material compatibility must be established at the grade level. Adhesion is not guaranteed across all combinations of rigid thermoplastics and elastomers. Design mechanical retention where the application needs it, and make sure those features do not create thin, difficult-to-fill sections or a difficult mold release. A thermoplastic elastomer should be selected for the specific grip environment, not only by nominal hardness.
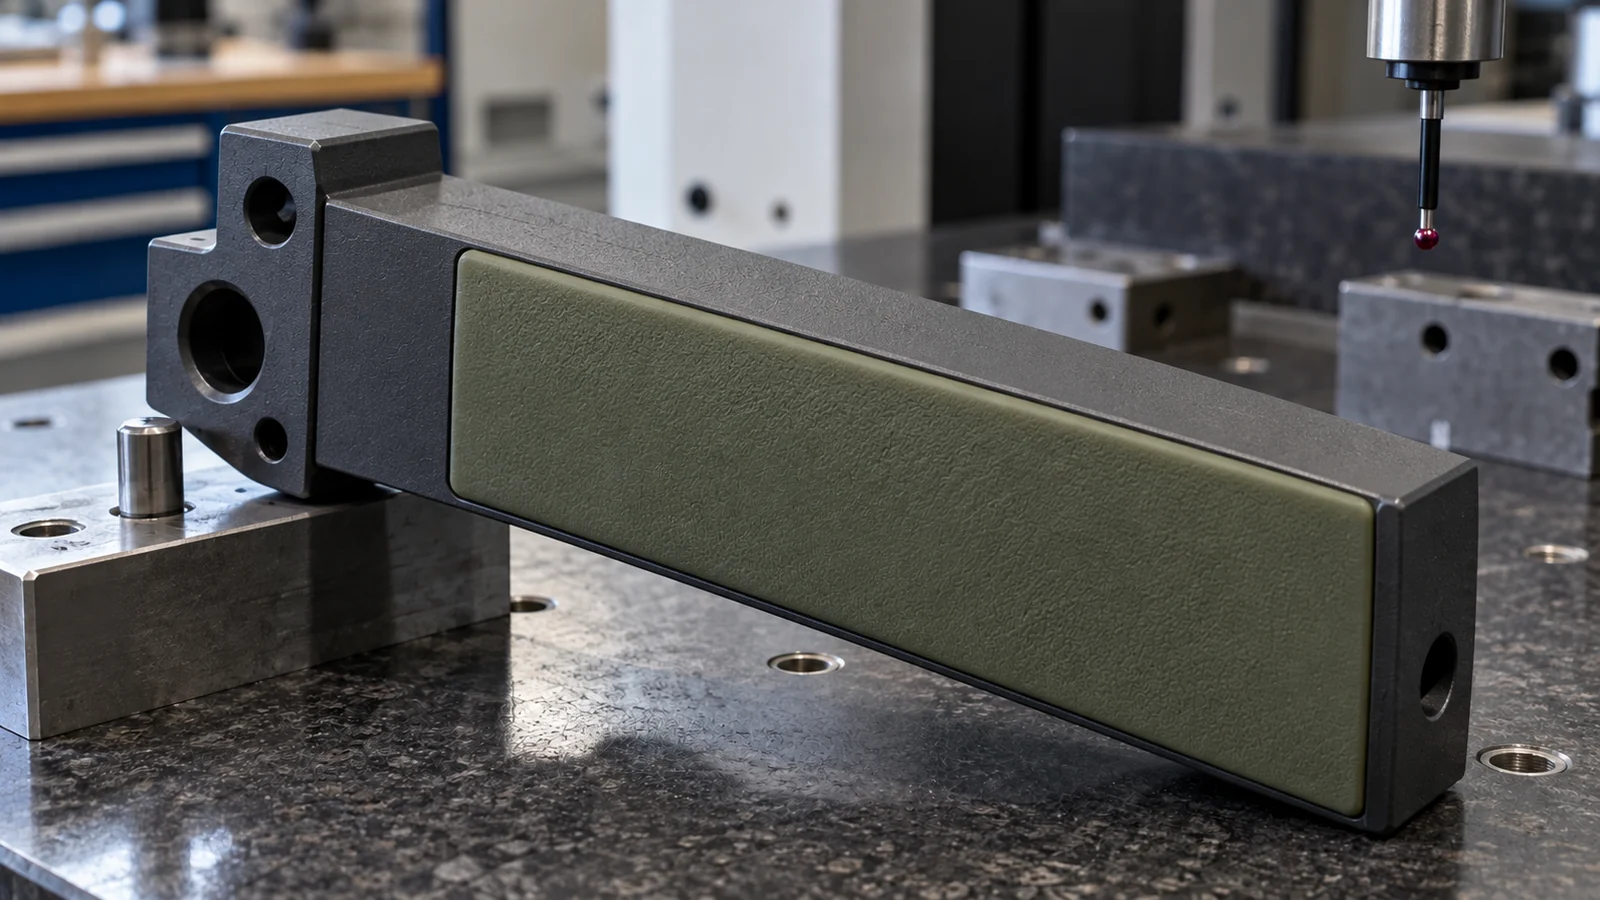
Consider shrinkage and cooling differences between the two materials. If the rigid body moves as the softer shot cools, the final part can lose flatness or shift a contact edge. Review gate placement, flow direction, venting, shutoff, and cooling as one system. The boundary also needs a clear visual and dimensional acceptance criterion so inspection can distinguish cosmetic variation from a real interface defect.
Design the tool around location and sequence
The second shot must reach the intended area while the first shot is supported and located. Depending on the tool concept, that can involve moving the substrate between cavities, rotating an insert or platen, or another controlled sequence. The exact arrangement depends on part geometry and equipment; do not select a mechanism before confirming access, clearances, and how the first shot is retained.
Review which surfaces are molded in each stage, where shutoffs meet, and how flash would affect the grip. The first-shot substrate must resist the second shot without shifting or deforming. Locate the part from stable datums and plan inspection for the boundary, mounting dimensions, and contact surface—not only the overall outline.
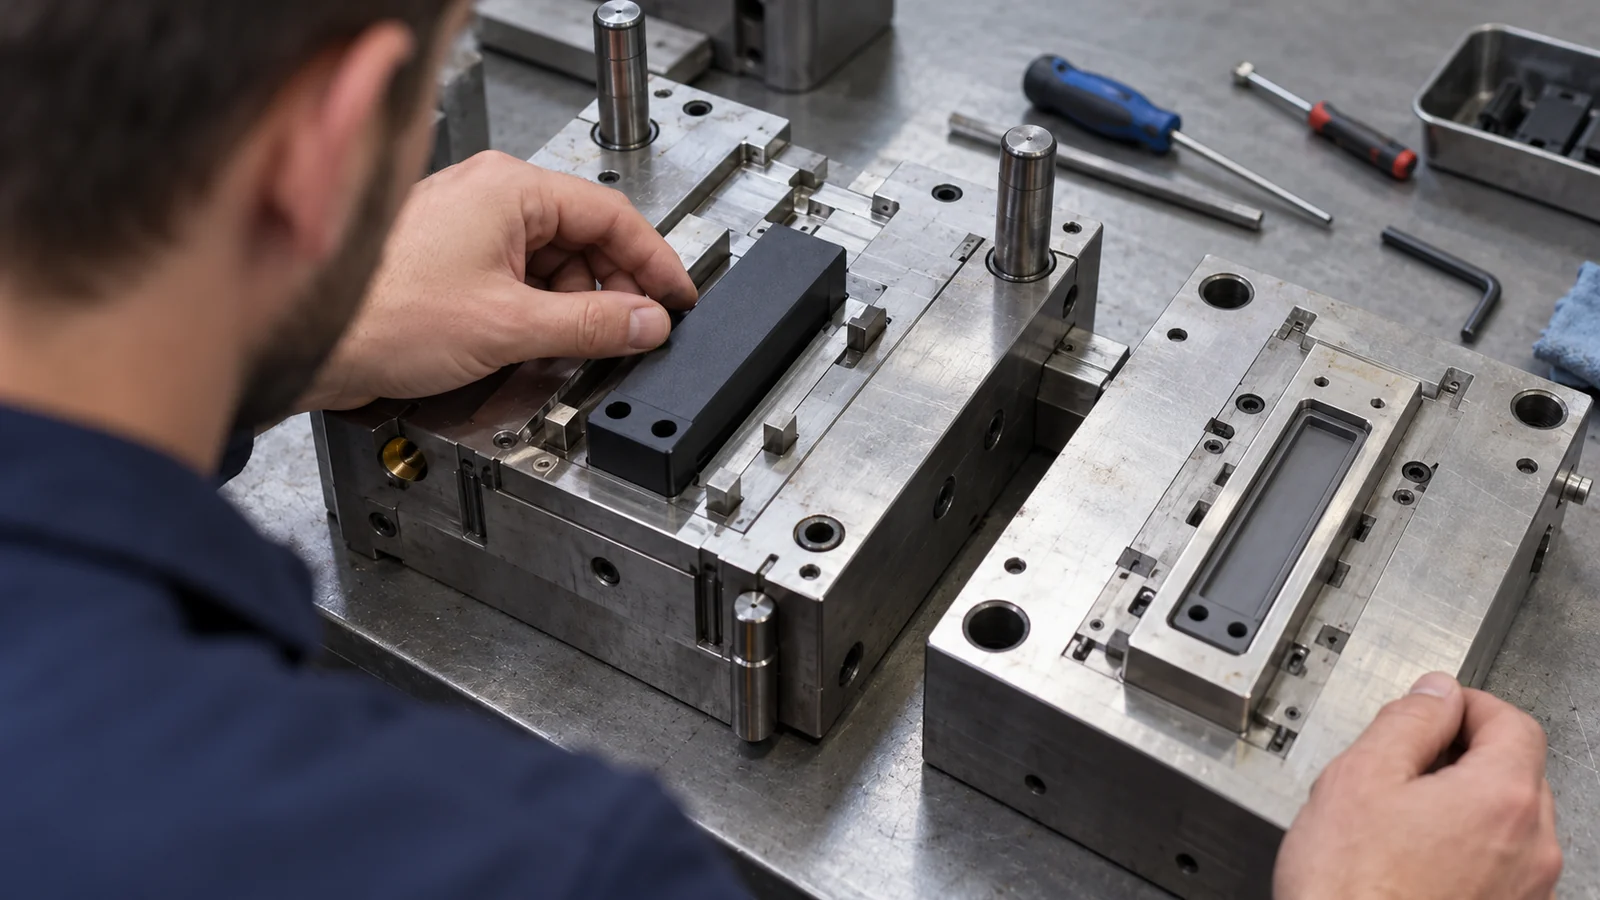
Tool changes can also affect maintenance. Ask how the tool separates for cleaning, how wear at the material interface will be detected, and which process settings are controlled between shots. The goal is not to maximize automation in the abstract; it is to produce a repeatable interface without making the tool unnecessarily difficult to service.
Prove the interface in the finished grip
Qualification should test the complete grip, not just a material plaque. The finished geometry determines contact pressure, deformation, peel loading, and release behavior. Use representative workpieces and the actual operating sequence when possible.
- Check geometry: measure datums, jaw spacing, soft-layer coverage, and boundary position.
- Test contact: assess slip, part marking, and repeatability with representative surfaces.
- Inspect adhesion and retention: look for lifting, tearing, flash, and movement after cycling.
- Include environment: repeat relevant checks after cleaners, oil, temperature, or wear exposure.
- Review maintainability: confirm the grip can be removed, cleaned, and replaced without damaging the interface.
If only a contact-surface improvement is needed, a replaceable pad may be easier to maintain. If a multi-material molded part is selected, document the material grades, boundary criteria, test method, and expected service condition before the design is released.
FAQ
Is two-shot molding always better than overmolding?
No. Two-shot molding can integrate the sequence, but it may add tooling complexity. Overmolding or a replaceable pad can be more suitable depending on volume, geometry, material compatibility, revisions, and service needs.
Will a soft shot automatically bond to the rigid shot?
No. Bonding depends on the specific material grades and process conditions. Confirm compatibility and consider mechanical retention when the interface must withstand peel or shear.
What should be included in the design review?
Provide both material grades, the full grip assembly CAD, contact conditions, load and motion profile, cleaning environment, annual demand, and acceptance criteria for slip, wear, and interface integrity.