
Black specks in injection molding are not one defect with one cure. They may be degraded resin from a dead spot, carbonized contamination from the hot runner, foreign material from handling, damaged colorant, or particles released during a material change. Purging may remove the evidence temporarily without removing the source.
Before purging: save the first and last affected parts, purge onto a clean metal surface, identify cavities, and note whether particles are embedded, smeared or sitting on the surface. That evidence can disappear once the machine is emptied.
In this article:
- Classify the particle
- Use time and cavity patterns
- Trace barrel and nozzle sources
- Check runner, vents and mold
- Prevent recurrence
- Frequently asked questions
A Burned Polymer Speck Is Different From Foreign Dirt
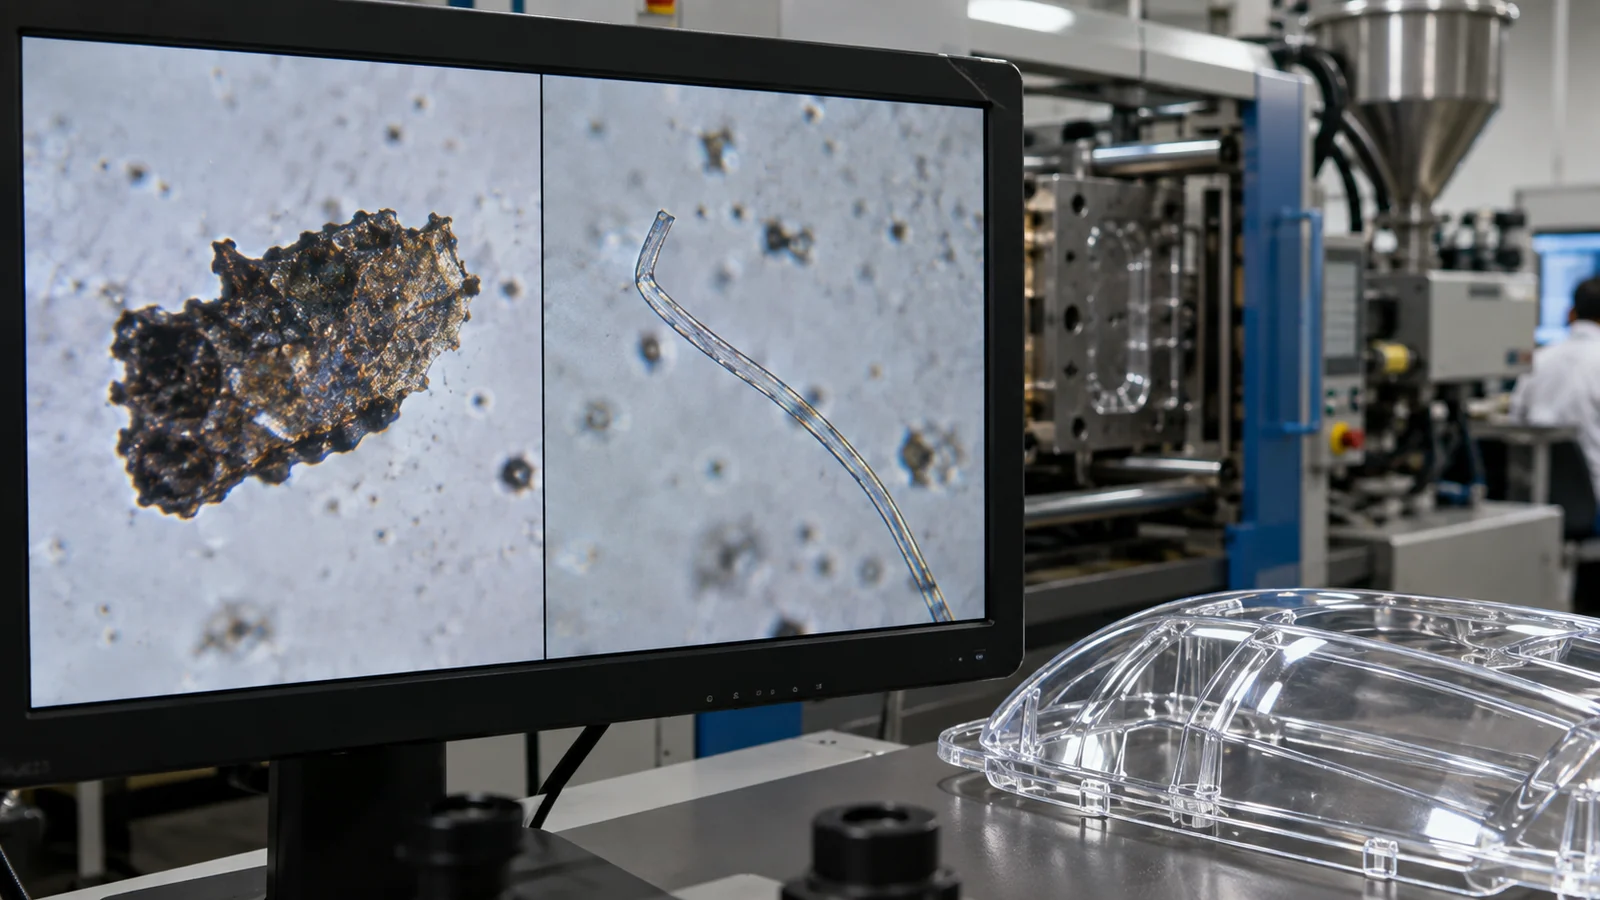
Examine the defect under magnification. Degraded polymer may be irregular, brittle or smeared into the flow. Foreign particles may keep a consistent shape or color. Surface debris can sometimes be removed, while an embedded particle follows the melt and may distort the surrounding flow.
If risk justifies it, microscopy or material analysis can distinguish metal, polymer, fiber and pigment. Do not assume every dark particle is carbon. The containment action and permanent correction depend on what the particle actually is.
Shot Pattern and Cavity Pattern Point Upstream or Downstream
Specks in every cavity and in the purge usually originate before the runner split: resin supply, barrel, screw, nonreturn valve or nozzle. Specks limited to one cavity direct attention to that branch, gate, vent or cavity. A burst after a long stop suggests residence and heat history; random particles after a color change suggest material trapped in a dead area.
Record the number of clean shots before recurrence. A repeating interval may correspond to material slowly releasing from a stagnation zone. “The next five parts were good” is not enough evidence to release production if the earlier pattern returned every twenty shots.
Follow the Melt Path From Hopper to Nozzle
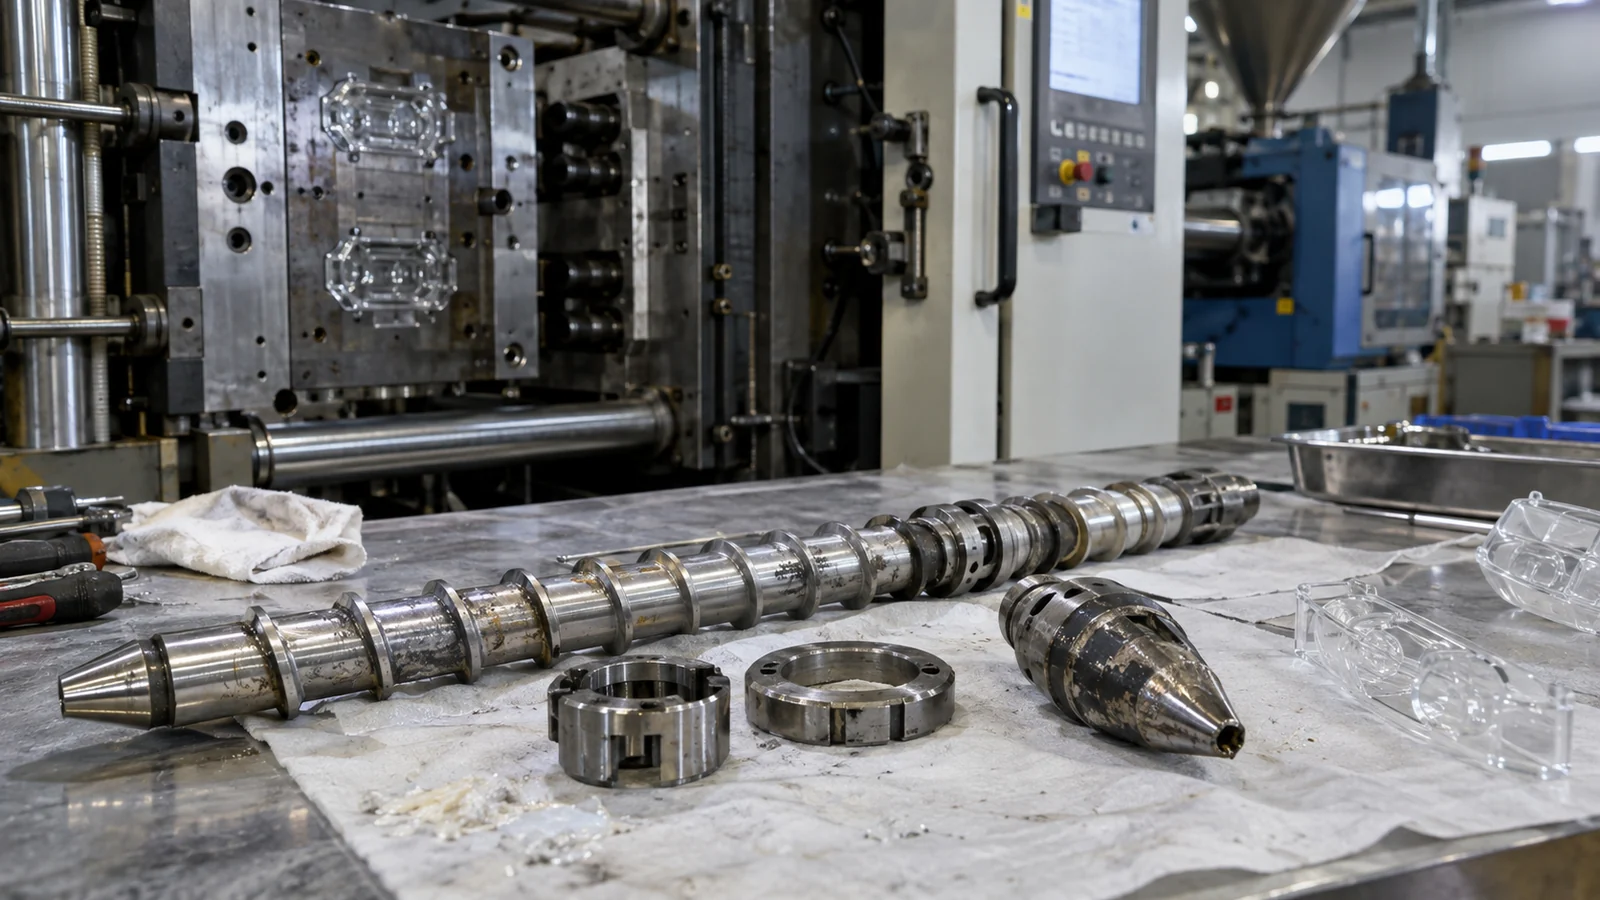
Check resin handling, magnets, hopper cleanliness, regrind controls and loader hoses. Then review barrel temperatures, actual melt temperature, shot utilization, screw recovery and residence time. Worn components or poor fits can create stagnation where material repeatedly overheats.
Inspect the nozzle and adapter for damaged seats or pockets. A temperature controller can report a normal value while material in a poorly contacted region degrades. During shutdown and startup, follow a resin-specific procedure that avoids leaving heat-sensitive material stagnant.
The Mold Can Create or Release Dark Contamination
Hot-runner manifolds and tips contain narrow flow regions that require balanced heat and clean assembly. A leaking tip, damaged seal or cold spot can retain and later release degraded material. In a cold runner, inspect sharp corners and runner intersections that trap material.
Vent deposits can burn and break loose. Lubricant applied near the cavity can migrate. Rust, worn plating or particles from sliding components may enter the parting line. Cavity-limited defects should trigger a localized mold inspection before a complete machine teardown.
Prevention Is a Controlled Material and Heat History
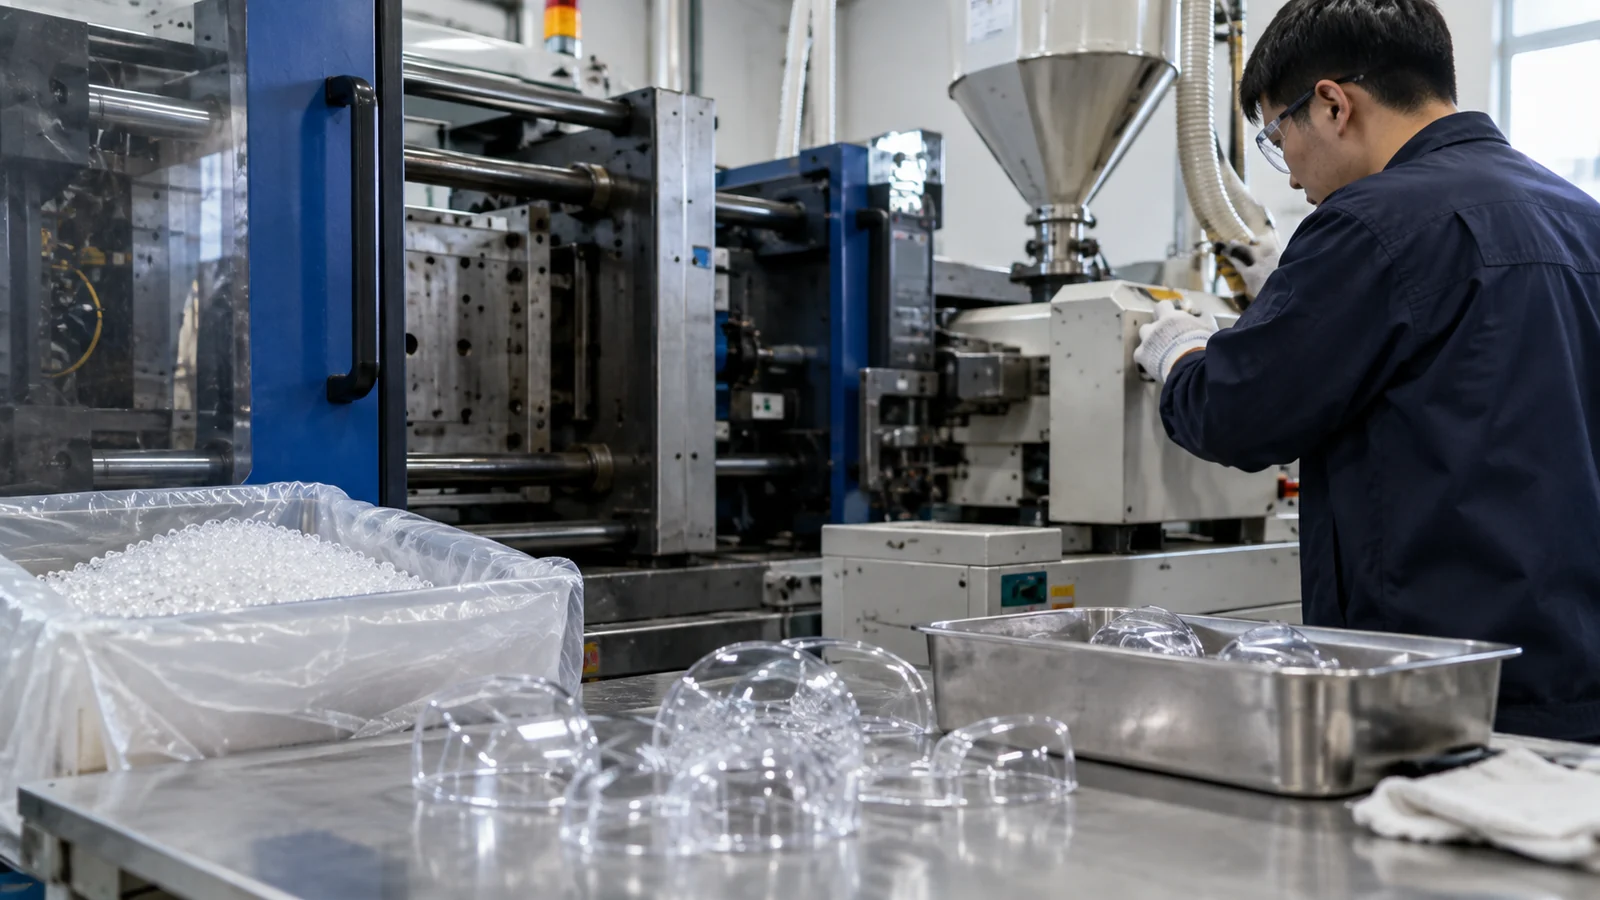
- Use sealed, identified resin and controlled regrind.
- Standardize color and material change procedures.
- Match barrel size and cycle to acceptable residence time.
- Maintain nozzle, screw, check ring and hot-runner interfaces.
- Set cleaning intervals from defect trends, not memory.
- Keep cavity-specific defect records and retained samples.
For transparent components, even a small embedded particle can block or scatter light. The defect limit should therefore be defined by optical zone and function within the Optical & Clear Injection Molding control plan, rather than one cosmetic limit for the entire part.
Separate containment from root-cause closure
Containment may require stopping the press, isolating material since the last verified check and increasing visual screening. Root-cause closure requires evidence that the identified source was removed and that production remained clean beyond the previous recurrence interval. These are different milestones and should not be combined into one “purged and approved” decision.
Retain representative particles or affected parts when the risk is high. Their location, morphology and composition can resolve disputes between resin contamination, equipment degradation and mold debris. Cleaning everything first may make the line run sooner while making the permanent cause impossible to prove.
Use location to set a rational cosmetic limit
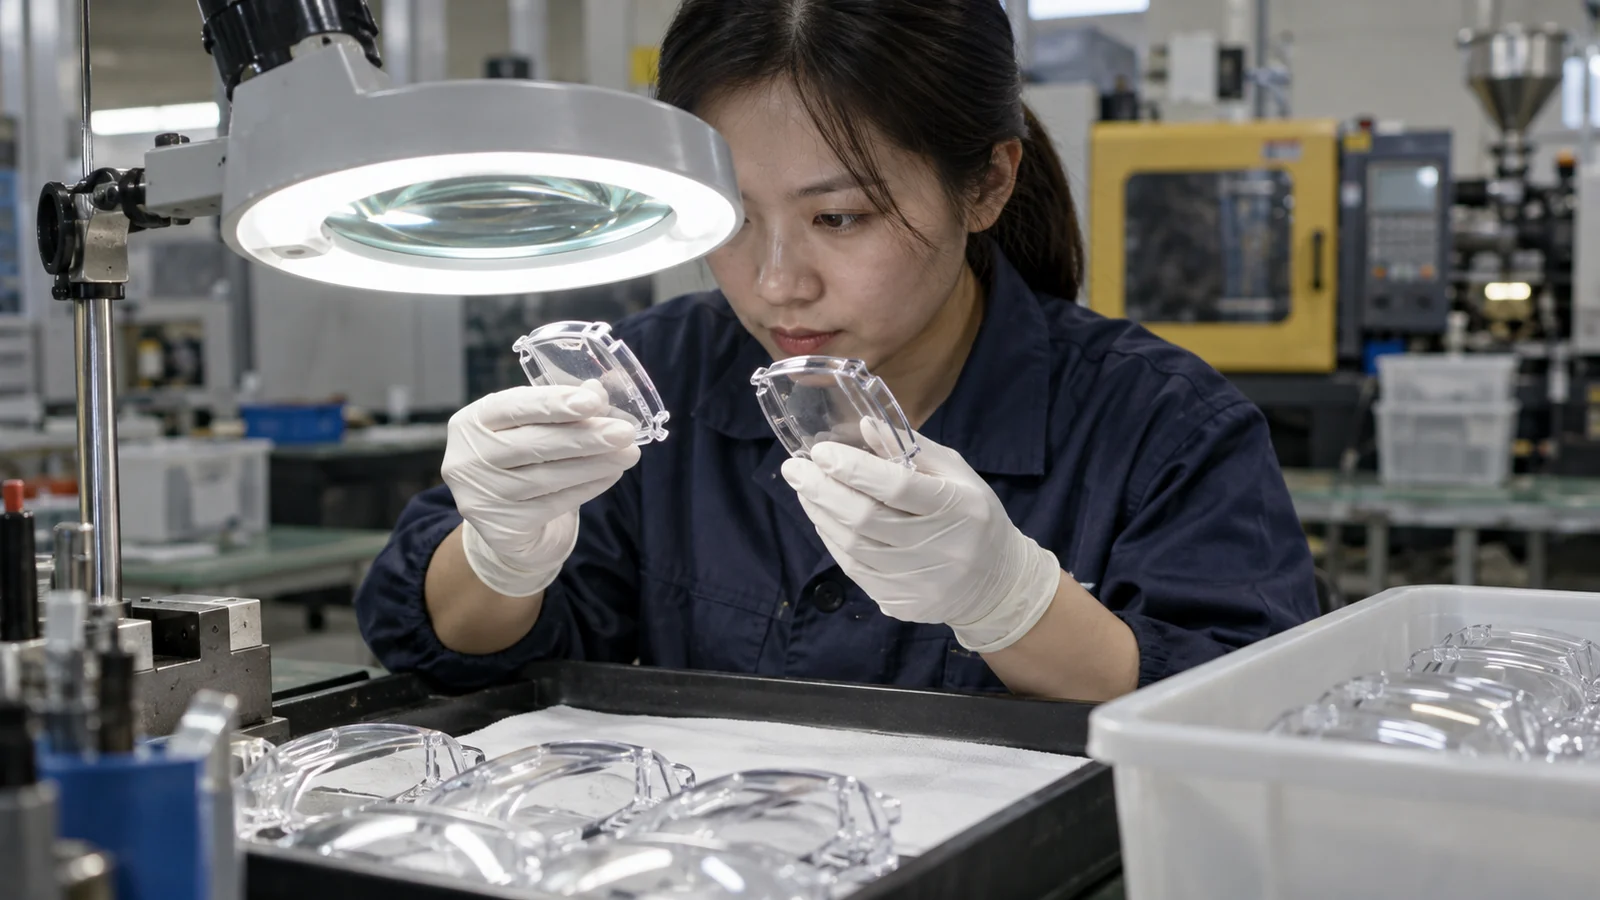
A particle in a hidden flange and the same particle in a clear aperture do not create equal risk. Define zones, maximum size, quantity, spacing and inspection lighting. For an optical path, functional scattering or image impact may set a stricter boundary than ordinary cosmetic viewing.
Also define how embedded and removable debris are handled. Surface dust may point to packaging or clean handling, while an embedded speck was present during molding. Mixing both into one reject category sends investigation to the wrong process and prevents useful trend data.
Frequently Asked Questions
Should production purge until the parts look clean?
Purging is useful for containment, but release should also consider the previous recurrence interval and whether the source was corrected.
Can high back pressure cause black specks?
It can add shear and heat, but it is one possible contributor. Review total heat history, residence and equipment condition.
Why are specks only in one cavity?
The source is likely after flow division, such as a runner branch, hot tip, gate, vent or local mold contamination.