
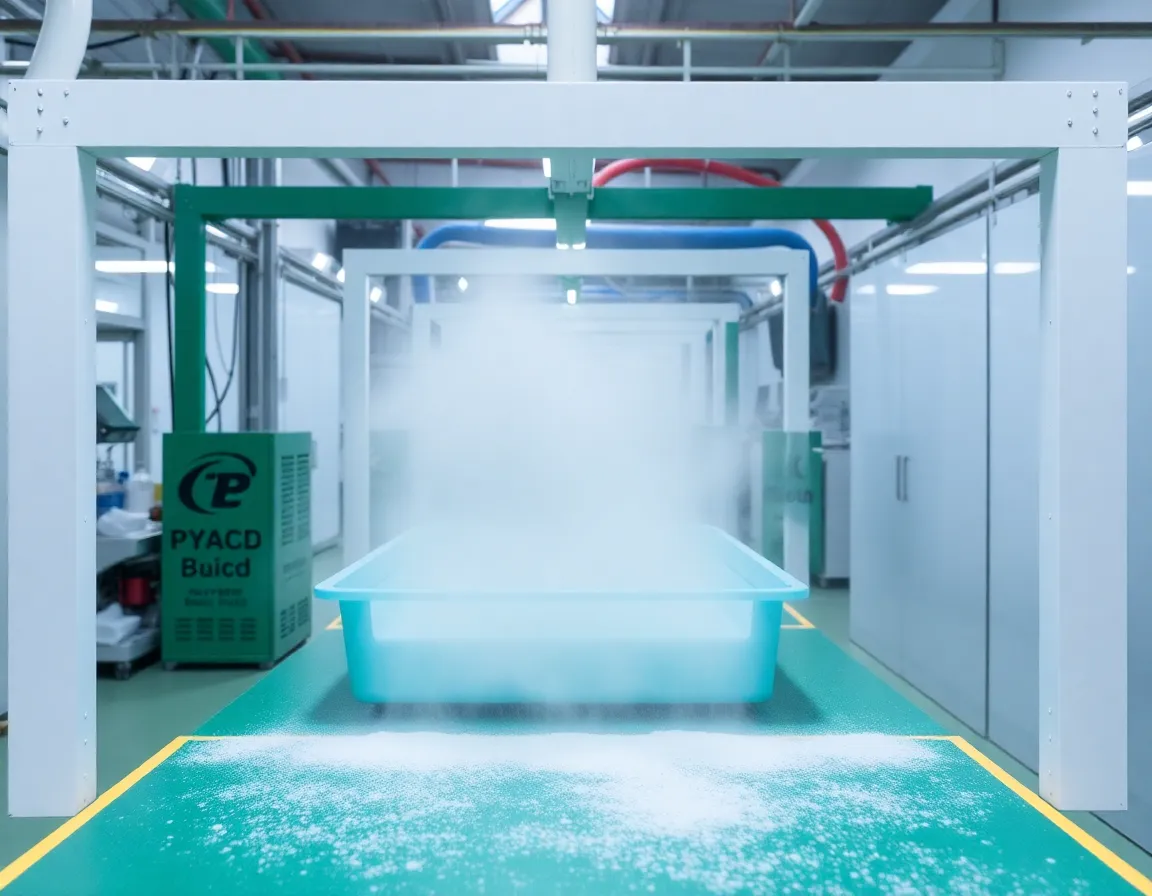
Introduction : Le monde à enjeux élevés de l'assemblage de plastique en salle blanche
Dans des industries allant de la fabrication de semi-conducteurs à l'emballage pharmaceutique, l'assemblage de composants en plastique dans un environnement contrôlé n'est pas simplement une étape procédurale—c'est un déterminant critique du rendement du produit, de la sécurité et de la conformité réglementaire. L'assemblage de plastique en salle blanche fait référence à la jonction, la fixation, le soudage ou le collage adhésif de pièces polymères dans une installation où la concentration de particules en suspension, la température, l'humidité et la pression sont méticuleusement régulées. Contrairement à la fabrication standard, ce processus exige une fusion unique de science des matériaux, de contrôle de la contamination et d'ingénierie de précision. Une seule particule microscopique, une décharge électrostatique ou une technique de manipulation inappropriée peut rendre inutile un lot entier de dispositifs médicaux ou de microélectronique.
Malgré son importance, de nombreux ingénieurs et responsables de production sous-estiment la complexité impliquée. Ils supposent qu'une combinaison de salle blanche et un filtre HEPA suffisent. La réalité est bien plus nuancée. En tant que rédacteur professionnel avec une connaissance approfondie de l'industrie, j'ai observé que la plupart des défaillances d'assemblage ne sont pas dues au plastique lui-même, mais à des oublis procéduraux et environnementaux évitables. Cet article dissèque les sept erreurs les plus critiques commises lors de l'assemblage de plastique en salle blanche, fournissant des stratégies actionnables pour atténuer les risques, réduire les déchets et assurer la conformité aux normes strictes comme l'ISO 14644 et les directives BPF. Que vous assembliez des connecteurs Luer pour seringues ou des châssis internes pour l'avionique aérospatiale, éviter ces pièges protégera votre réputation et vos résultats financiers.
Erreur #1 : Ignorer le dégazage spécifique aux matériaux et les composés organiques volatils (COV)
La première erreur, et peut-être la plus insidieuse, est de traiter tous les plastiques comme inertes. Dans une salle blanche, la qualité de l'air est définie non seulement par les particules mais aussi par la contamination chimique. De nombreux plastiques techniques—tels que le polycarbonate, l'ABS et certains polyamides—libèrent des composés organiques volatils (COV) et subissent un dégazage, surtout lorsqu'ils sont soumis à la chaleur lors du soudage par ultrasons ou du collage par solvant. Ces émissions chimiques peuvent se condenser sur des surfaces optiques sensibles, corroder des microcircuits ou contaminer des flacons pharmaceutiques stériles.
Le danger caché des additifs
Les formulations de plastique incluent souvent des plastifiants, des retardateurs de flamme et des agents de démoulage. Pendant l'assemblage, la friction ou des températures élevées peuvent provoquer la migration de ces additifs vers la surface. Si votre processus de salle blanche ne tient pas compte de cela, vous risquez une contamination croisée des composants adjacents. L'erreur critique est de ne pas effectuer un test de qualification des matériaux dans des conditions d'assemblage simulées. Vous devez mesurer la perte de masse totale (TML) et les matériaux condensables volatils collectés (CVCM) selon les normes ASTM E595. Pour les applications à haute fiabilité, spécifiez des qualités à faible dégazage comme le PEEK ou le PTFE, et assurez-vous que votre environnement d'assemblage dispose d'une filtration chimique (charbon actif) en plus des filtres à particules.
De plus, ne supposez pas qu'une pastille de plastique "propre" est propre après extrusion. Le processus d'assemblage lui-même—en particulier le marquage laser ou le soudage à plaque chaude—peut générer des sous-produits de dégradation. Une bonne pratique consiste à mettre en œuvre un cycle de dégazage ou de cuisson pré-assemblage sous vide pour les composants qui seront soudés ou collés, éliminant l'humidité liée à la surface et les monomères non réagis avant qu'ils n'entrent dans la zone d'assemblage critique.
Erreur #2 : Négliger le contrôle des décharges électrostatiques (DES) pour les polymères non conducteurs
Les plastiques sont des isolants naturels. Lorsque deux surfaces polymères se frottent pendant l'assemblage—par exemple, lors de l'insertion par encliquetage ou de l'alimentation par bol vibrant—elles génèrent des charges statiques importantes, dépassant souvent 10 000 volts. C'est un oubli catastrophique dans les salles blanches où des composants électroniques sont présents. L'erreur est double : supposer qu'un ioniseur est optionnel et utiliser un outillage en plastique standard qui n'est pas dissipateur d'électricité statique.
Pourquoi l'électricité statique est un tueur silencieux
La décharge statique ne détruit pas seulement les puces semi-conductrices fragiles, mais attire aussi les particules en suspension comme un aimant. Une pièce en plastique chargée attirera des particules submicroniques de l'air, annulant le but de la salle blanche. De nombreux opérateurs croient que parce qu'ils portent des bracelets antistatiques, le plastique est mis à la terre. C'est faux. Non-conductive plastics cannot be grounded; they require active neutralization. The critical mistake is failing to use ionizing blowers and anti-static tinsel at every assembly station where plastic parts are handled, moved, or stacked.
Moreover, the choice of assembly fixtures matters. Aluminum jigs are excellent conductors but can damage parts; standard nylon or acetal fixtures generate charge. Instead, use fixtures machined from static-dissipative acetal (ESD-acetal) or coated with a conductive PTFE. Also, monitor humidity—if your cleanroom is too dry (below 40% RH), static generation increases exponentially. Maintain a strict relative humidity band of 45-55% to naturally dissipate charges. Implementing these controls reduces particle attraction and prevents latent failures in electronic assemblies.
Mistake #3: Inadequate Control of Friction and Particulate Generation During Press-Fit and Snap-Fit Operations
Mechanical assembly of plastics, such as press-fitting a hub onto a shaft or snapping a cover onto a housing, inherently generates wear debris. This is a fundamental physics problem: when two surfaces slide against each other under pressure, microscopic asperities shear off, creating particles. In a cleanroom, these particles are the enemy. The critical mistake is designing or selecting assembly processes that rely on high-friction interference without considering the particle budget.
Engineering the Friction Away
To avoid this, you must rethink the joint design. Instead of a tight metal-to-plastic interference fit, use a tapered lead-in with a lubricious coating (e.g., a thin layer of silicone-free dry film lubricant like molybdenum disulfide or a medical-grade PFPE). Alternatively, switch to laser welding or orbital riveting where the material is heated locally and formed without sliding contact. If snap-fits are unavoidable, ensure the snap beam is designed with a controlled deflection angle (less than 30 degrees) to reduce scraping.
Another overlooked aspect is the tooling material. Hardened steel punches can micro-machine the plastic surface, creating flakes. Use tools with a mirror-polished finish or, better yet, use urethane or rubber-coated anvils that conform to the part without cutting. Furthermore, implement a vibration analysis on your automated assembly press; excessive vibration causes chatter, which dramatically increases wear. Finally, after any mechanical joining step, include an air knife or vacuum extraction point immediately downstream to capture debris before it migrates. Do not rely on the final wash to remove particles—by then, they have already embedded into other surfaces.
Mistake #4: Using the Wrong Cleaning Agents and Solvents for Post-Assembly Degreasing
After plastic assembly, parts often require cleaning to remove fingerprints, mold release, or machining oils. However, the choice of cleaning solvent is a minefield. Many standard solvents—acetone, isopropyl alcohol (IPA), or chlorinated hydrocarbons—can cause environmental stress cracking (ESC) in amorphous plastics like polycarbonate or polysulfone. The mistake is using a "universal" cleaning process without verifying chemical compatibility with the specific polymer blend and its additives.
The ESC Trap and Residue Issues
Even a brief wipe with IPA can initiate microscopic cracks that propagate under load, leading to premature failure in the field. Instead, use aliphatic hydrocarbon solvents (e.g., heptane) or specialized non-ionic aqueous cleaners with a neutral pH. For critical medical devices, consider CO₂ snow cleaning ou en plasma cleaning—these are dry processes that leave zero residue and do not attack the polymer matrix.
Furthermore, the cleaning process itself must be validated. If you use ultrasonic cleaning, the cavitation energy can erode soft plastics like polyethylene. If you use manual wiping, ensure the wipes are low-linting cleanroom wipes (e.g., knitted polyester) and are saturated with the solvent—a dry wipe creates friction and re-deposits oils. Always perform a final rinse with ultra-pure water (18 MΩ-cm) followed by a forced HEPA-filtered air dry. Document the cleaning parameters and perform periodic residue testing via FTIR or ion chromatography to ensure your process remains in control.
Mistake #5: Neglecting Thermal Expansion Mismatch in Welded or Bonded Assemblies
Cleanroom plastic assembly often involves joining dissimilar materials—for example, bonding a polypropylene filter housing to a stainless steel port, or welding a PETG window into an ABS frame. The critical mistake is ignoring the coefficient of thermal expansion (CTE) differences. When the assembly experiences temperature fluctuations during autoclaving, curing, or even normal operation, the differential expansion creates internal stress that can cause bond-line failure, warpage, or micro-cracking.
Designing for Thermal Reality
To mitigate this, you must design the joint to accommodate movement. For adhesive bonding, use a flexible, high-elongation adhesive (e.g., a silicone-based adhesive or a polyurethane with 200% elongation) rather than a rigid cyanoacrylate. For ultrasonic welding, ensure the weld joint is designed as a shear joint rather than a butt joint, allowing slight relative movement without breaking the molecular bond.
Additionally, during the assembly process, control the ambient temperature strictly. If you are welding a part at 22°C but the part was stored at 30°C in a warehouse, the thermal gradient will cause uneven shrinkage. Implement a soak-out period—store all components and fixtures in the cleanroom for at least 24 hours before assembly to equilibrate. For high-precision assemblies, use a climate-controlled assembly chamber with ±0.5°C stability. Finally, perform a thermal cycle test (e.g., -40°C to +85°C for 100 cycles) on your first articles to validate that your joint design and material selection can survive real-world conditions. Skipping this validation is a recipe for field failures.
Mistake #6: Inconsistent Torque and Fastening Protocols for Threaded Plastic Components
Many cleanroom assemblies use threaded fasteners—either self-tapping screws into plastic bosses or threaded inserts. The critical mistake is using the same torque settings as for metal assemblies. Plastics are viscoelastic; they relax under constant load. A screw that is torqued to 10 in-lbs today may lose 30% of its clamping force within 24 hours due to creep and stress relaxation. This leads to loose joints, leaks, and particulate generation from fretting.
The Correct Fastening Strategy
First, never use standard sharp-thread screws. Use screws specifically designed for plastics, such as PT® (Plastic Thread) screws with a 30° thread angle and a blunt tip. These displace material rather than cut it, providing higher pull-out resistance and lower radial stress. Second, use a torque-controlled driver with a slow approach speed. High-speed driving creates heat, which melts the plastic boss and weakens the threads. Set the driver to a low RPM (under 300 RPM) and use a depth-stop or pressure-sensitive shut-off to prevent stripping.
Third, consider the use of metal threaded inserts (heat-staked or ultrasonic-inserted) instead of screws directly into plastic. This provides a robust, reusable thread and eliminates the risk of boss cracking. If you must use self-tapping screws, design the boss with an undersized pilot hole (typically 80-85% of the screw's minor diameter) and a stress-relief counterbore at the top. Finally, implement a torque audit protocol: every hour, assemble a test part and measure the prevailing torque and clamp load. Use a digital torque analyzer that records peak torque and angle. This data will reveal if your fasteners or plastic batches are drifting out of spec. Do not trust the "click" of a manual wrench.
Mistake #7: Failing to Validate the Cleaning and Packaging Interface
The final critical mistake occurs after the assembly is complete: the interface between the cleanroom assembly line and the packaging process. Many manufacturers spend millions on cleanroom assembly only to compromise the product with contaminated packaging materials or by breaking the cleanroom barrier during transfer. The mistake is treating packaging as a secondary concern rather than an integral part of the cleanroom protocol.
The Contamination Handoff
If your assembled plastic part is placed into a standard cardboard box or a non-cleanroom polyethylene bag, it will immediately attract fibers and particles. The packaging must be certified cleanroom-grade (e.g., Class 100/ISO 5 cleanroom bags) and must be compatible with the plastic (no plasticizers that can leach into your part). Furthermore, the transfer from the assembly cleanroom to the packaging cleanroom must be through a pass-through chamber with interlocked doors, not an open doorway. You must also validate the shelf life of the packaged assembly—some plastics continue to outgas and can fog the interior of a sealed pouch.
Additionally, do not overlook the labeling and adhesive used on the packaging. The adhesive on a label can outgas volatile silicones that contaminate the part. Use solvent-free, cleanroom-compatible labels. Finally, establish a particle count verification step just before sealing. Use a liquid particle counter (if the part is rinsed) or a surface particle counter (via swabbing) to ensure the final product meets the required cleanliness level (e.g., ISO 14644-9 for surface cleanliness). If the part fails, you must have a re-cleaning and re-validation loop. This final step is not just about quality—it is about regulatory compliance and patient safety in medical applications.
Conclusion: Building a Culture of Precision
Avoiding these seven critical mistakes in cleanroom plastic assembly is not a one-time checklist; it is a continuous engineering discipline. The common thread among all these failures is a lack of systematic validation—of materials, processes, environmental controls, and packaging. In the world of cleanroom manufacturing, "good enough" is rarely good enough. The cost of a single failed batch due to outgassing, ESD damage, or torque relaxation can exceed the savings of a thousand minor optimizations.
To truly excel, you must adopt a holistic contamination control strategy that integrates material selection, process design, tooling, environmental monitoring, and operator training. Your cleanroom operators must understand why they cannot use a standard rag, why they must slow down the screwdriver, and why the packaging bag is as important as the assembly cell. When you foster this level of awareness, you transform cleanroom assembly from a mere manufacturing step into a competitive advantage—delivering products that are reliable, compliant, and trusted by the most demanding customers in the world.
As you review your current cleanroom plastic assembly operations, ask yourself: Are we measuring outgassing? Are we neutralizing static? Are we validating thermal cycles? Are we auditing torque? If you answered "no" to any of these, you have identified your next improvement project. The path to zero defects is paved with meticulous attention to these seemingly small details. Do not let a microscopic particle or a creeping torque value be the reason your product fails in the field. Take action today.