
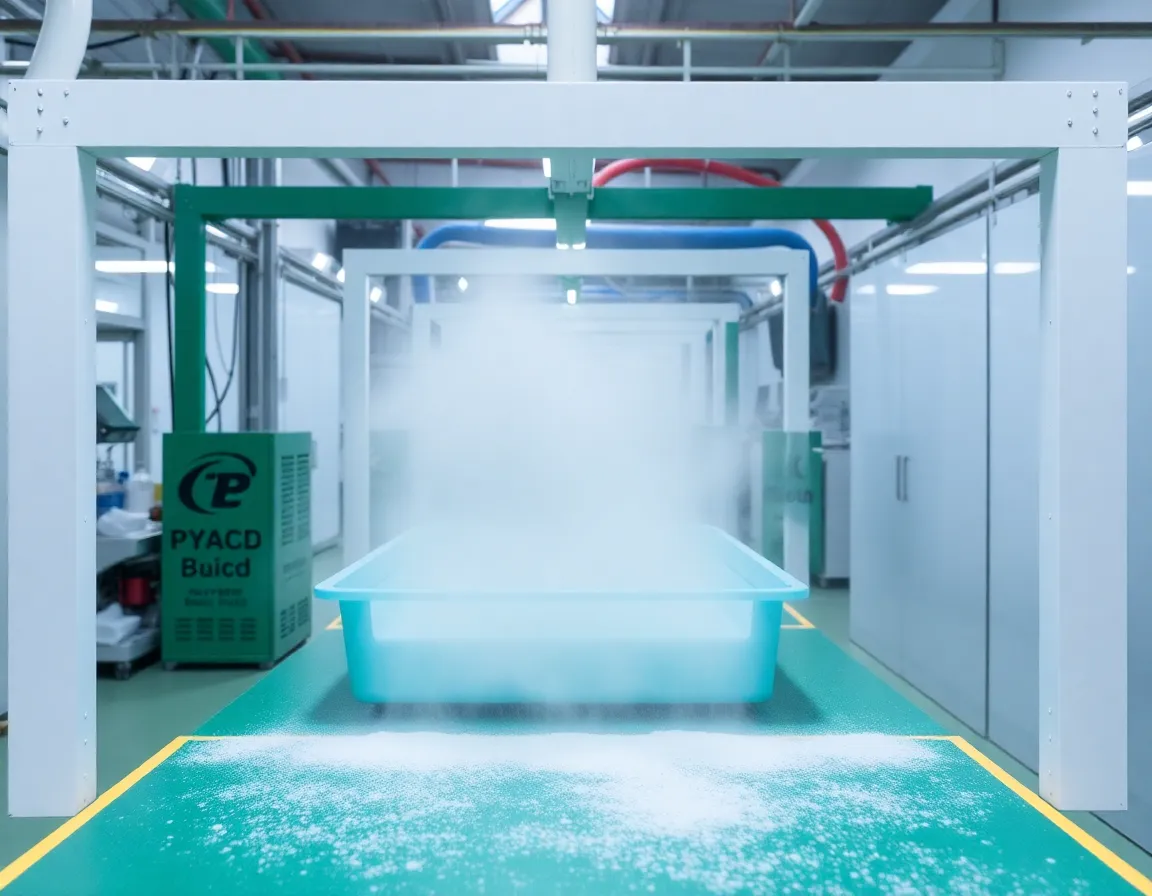
Introdução: O Mundo de Alto Risco da Montagem de Plásticos em Sala Limpa
Em setores que vão desde a fabricação de semicondutores até a embalagem farmacêutica, a montagem de componentes plásticos dentro de um ambiente controlado não é meramente uma etapa processual — é um determinante crítico do rendimento do produto, da segurança e da conformidade regulatória. A montagem de plásticos em sala limpa refere-se à união, fixação, soldagem ou colagem adesiva de peças poliméricas em uma instalação onde a concentração de partículas suspensas no ar, a temperatura, a umidade e a pressão são meticulosamente reguladas. Diferentemente da fabricação padrão, esse processo exige uma fusão única de ciência dos materiais, controle de contaminação e engenharia de precisão. Uma única partícula microscópica, uma descarga eletrostática ou uma técnica de manuseio inadequada pode tornar inutilizável um lote inteiro de dispositivos médicos ou microeletrônicos.
Apesar de sua importância, muitos engenheiros e gerentes de produção subestimam a complexidade envolvida. Eles presumem que um traje de sala limpa e um filtro HEPA são suficientes. A realidade é muito mais sutil. Como redator profissional com profundo conhecimento do setor, observei que a maioria das falhas de montagem não se deve ao próprio plástico, mas a descuidos processuais e ambientais evitáveis. Este artigo disseca os sete erros mais críticos cometidos durante a montagem de plásticos em sala limpa, oferecendo estratégias acionáveis para mitigar riscos, reduzir desperdícios e garantir a conformidade com padrões rigorosos como a ISO 14644 e as diretrizes de GMP. Quer você esteja montando conectores Luer para seringas ou chassis internos para aviônica aeroespacial, evitar essas armadilhas protegerá sua reputação e seu resultado financeiro.
Erro #1: Ignorar a Emissão de Gases Específicos do Material e os Compostos Orgânicos Voláteis (COVs)
O primeiro e talvez mais insidioso erro é tratar todos os plásticos como inertes. Em uma sala limpa, a qualidade do ar é definida não apenas por partículas, mas também por contaminação química. Muitos plásticos de engenharia — como policarbonato, ABS e certas poliamidas — liberam compostos orgânicos voláteis (COVs) e sofrem emissão de gases, especialmente quando submetidos ao calor durante a soldagem ultrassônica ou a colagem por solvente. Essas emissões químicas podem condensar-se em superfícies ópticas sensíveis, corroer microcircuitos ou contaminar frascos farmacêuticos estéreis.
O Perigo Oculto dos Aditivos
As formulações plásticas frequentemente incluem plastificantes, retardantes de chama e agentes desmoldantes. Durante a montagem, o atrito ou temperaturas elevadas podem fazer com que esses aditivos migrem para a superfície. Se o seu processo de sala limpa não levar isso em conta, você corre o risco de contaminação cruzada de componentes adjacentes. O erro crítico é deixar de realizar uma teste de qualificação de material sob condições simuladas de montagem. Você deve medir a perda total de massa (TML) e o material volátil condensável coletado (CVCM) de acordo com as normas ASTM E595. Para aplicações de alta confiabilidade, especifique graus de baixa emissão de gases como PEEK ou PTFE, e garanta que seu ambiente de montagem tenha filtragem química (carvão ativado) além de filtros de partículas.
Além disso, não presuma que um pellet plástico "limpo" esteja limpo após a extrusão. O próprio processo de montagem — especialmente a marcação a laser ou a soldagem por placa quente — pode gerar subprodutos de degradação. Uma boa prática é implementar um ciclo de aquecimento pré-montagem ou desgaseificação a vácuo para componentes que serão soldados ou colados, removendo a umidade ligada à superfície e os monômeros não reagidos antes que entrem na zona crítica de montagem.
Erro #2: Negligenciar o Controle de Descarga Eletrostática (ESD) para Polímeros Não Condutivos
Os plásticos são isolantes naturais. Quando duas superfícies poliméricas se atritam durante a montagem — por exemplo, durante a inserção por encaixe ou o alimentação por tigela vibratória — elas geram cargas estáticas significativas, frequentemente excedendo 10.000 volts. Isso é uma falha catastrófica em salas limpas onde há componentes eletrônicos presentes. O erro é duplo: presumir que um ionizador é opcional e usar ferramentas plásticas padrão que não são dissipativas de estática.
Por que a Estática é um Assassino Silencioso
A descarga estática não apenas destrói chips semicondutores frágeis, mas também atrai partículas suspensas no ar como um ímã. Uma peça plástica carregada atrairá partículas submicrônicas do ar, anulando o propósito da sala limpa. Muitos operadores acreditam que, por estarem usando pulseiras antiestáticas, o plástico está aterrado. Isso é falso. Plásticos não condutivos não podem ser aterrados; eles exigem neutralização ativa. O erro crítico é não usar sopradores ionizantes e fitas antiestáticas em cada estação de montagem onde peças plásticas são manuseadas, movidas ou empilhadas.
Além disso, a escolha dos dispositivos de montagem é importante. Gabaritos de alumínio são excelentes condutores, mas podem danificar as peças; dispositivos padrão de náilon ou acetal geram carga. Em vez disso, use dispositivos usinados em acetal dissipativo estático (acetal ESD) ou revestidos com PTFE condutivo. Além disso, monitore a umidade—se sua sala limpa estiver muito seca (abaixo de 40% UR), a geração de estática aumenta exponencialmente. Mantenha uma faixa rigorosa de umidade relativa de 45-55% para dissipar naturalmente as cargas. A implementação desses controles reduz a atração de partículas e previne falhas latentes em montagens eletrônicas.
Erro #3: Controle Inadequado do Atrito e Geração de Partículas Durante Operações de Prensagem e Encaixe por Pressão
A montagem mecânica de plásticos, como prensar um cubo em um eixo ou encaixar uma tampa em uma carcaça, gera inerentemente detritos de desgaste. Este é um problema fundamental de física: quando duas superfícies deslizam uma contra a outra sob pressão, asperezas microscópicas se cisalham, criando partículas. Em uma sala limpa, essas partículas são o inimigo. O erro crítico é projetar ou selecionar processos de montagem que dependem de interferência de alto atrito sem considerar o orçamento de partículas.
Projetando o Atrito para Longe
Para evitar isso, você deve repensar o projeto da junta. Em vez de um ajuste de interferência apertado metal-plástico, use um guia cônico com revestimento lubrificante (por exemplo, uma camada fina de lubrificante de filme seco sem silicone como dissulfeto de molibdênio ou um PFPE de grau médico). Alternativamente, mude para soldagem a laser ou rebitagem orbital onde o material é aquecido localmente e formado sem contato deslizante. Se encaixes por pressão forem inevitáveis, certifique-se de que a viga de encaixe seja projetada com um ângulo de deflexão controlado (menos de 30 graus) para reduzir o raspamento.
Outro aspecto negligenciado é o material da ferramenta. Punções de aço temperado podem micromaquinizar a superfície plástica, criando lascas. Use ferramentas com acabamento espelhado ou, melhor ainda, use bigornas revestidas de uretano ou borracha that conform to the part without cutting. Furthermore, implement a vibration analysis on your automated assembly press; excessive vibration causes chatter, which dramatically increases wear. Finally, after any mechanical joining step, include an air knife or vacuum extraction point immediately downstream to capture debris before it migrates. Do not rely on the final wash to remove particles—by then, they have already embedded into other surfaces.
Mistake #4: Using the Wrong Cleaning Agents and Solvents for Post-Assembly Degreasing
After plastic assembly, parts often require cleaning to remove fingerprints, mold release, or machining oils. However, the choice of cleaning solvent is a minefield. Many standard solvents—acetone, isopropyl alcohol (IPA), or chlorinated hydrocarbons—can cause environmental stress cracking (ESC) in amorphous plastics like polycarbonate or polysulfone. The mistake is using a "universal" cleaning process without verifying chemical compatibility with the specific polymer blend and its additives.
The ESC Trap and Residue Issues
Even a brief wipe with IPA can initiate microscopic cracks that propagate under load, leading to premature failure in the field. Instead, use aliphatic hydrocarbon solvents (e.g., heptane) or specialized non-ionic aqueous cleaners with a neutral pH. For critical medical devices, consider CO₂ snow cleaning ou plasma cleaning—these are dry processes that leave zero residue and do not attack the polymer matrix.
Furthermore, the cleaning process itself must be validated. If you use ultrasonic cleaning, the cavitation energy can erode soft plastics like polyethylene. If you use manual wiping, ensure the wipes are low-linting cleanroom wipes (e.g., knitted polyester) and are saturated with the solvent—a dry wipe creates friction and re-deposits oils. Always perform a final rinse with ultra-pure water (18 MΩ-cm) followed by a forced HEPA-filtered air dry. Document the cleaning parameters and perform periodic residue testing via FTIR or ion chromatography to ensure your process remains in control.
Mistake #5: Neglecting Thermal Expansion Mismatch in Welded or Bonded Assemblies
Cleanroom plastic assembly often involves joining dissimilar materials—for example, bonding a polypropylene filter housing to a stainless steel port, or welding a PETG window into an ABS frame. The critical mistake is ignoring the coefficient of thermal expansion (CTE) differences. When the assembly experiences temperature fluctuations during autoclaving, curing, or even normal operation, the differential expansion creates internal stress that can cause bond-line failure, warpage, or micro-cracking.
Designing for Thermal Reality
To mitigate this, you must design the joint to accommodate movement. For adhesive bonding, use a flexible, high-elongation adhesive (e.g., a silicone-based adhesive or a polyurethane with 200% elongation) rather than a rigid cyanoacrylate. For ultrasonic welding, ensure the weld joint is designed as a shear joint rather than a butt joint, allowing slight relative movement without breaking the molecular bond.
Additionally, during the assembly process, control the ambient temperature strictly. If you are welding a part at 22°C but the part was stored at 30°C in a warehouse, the thermal gradient will cause uneven shrinkage. Implement a soak-out period—store all components and fixtures in the cleanroom for at least 24 hours before assembly to equilibrate. For high-precision assemblies, use a climate-controlled assembly chamber with ±0.5°C stability. Finally, perform a thermal cycle test (e.g., -40°C to +85°C for 100 cycles) on your first articles to validate that your joint design and material selection can survive real-world conditions. Skipping this validation is a recipe for field failures.
Mistake #6: Inconsistent Torque and Fastening Protocols for Threaded Plastic Components
Many cleanroom assemblies use threaded fasteners—either self-tapping screws into plastic bosses or threaded inserts. The critical mistake is using the same torque settings as for metal assemblies. Plastics are viscoelastic; they relax under constant load. A screw that is torqued to 10 in-lbs today may lose 30% of its clamping force within 24 hours due to creep and stress relaxation. This leads to loose joints, leaks, and particulate generation from fretting.
The Correct Fastening Strategy
First, never use standard sharp-thread screws. Use screws specifically designed for plastics, such as PT® (Plastic Thread) screws with a 30° thread angle and a blunt tip. These displace material rather than cut it, providing higher pull-out resistance and lower radial stress. Second, use a torque-controlled driver with a slow approach speed. High-speed driving creates heat, which melts the plastic boss and weakens the threads. Set the driver to a low RPM (under 300 RPM) and use a depth-stop or pressure-sensitive shut-off to prevent stripping.
Third, consider the use of metal threaded inserts (heat-staked or ultrasonic-inserted) instead of screws directly into plastic. This provides a robust, reusable thread and eliminates the risk of boss cracking. If you must use self-tapping screws, design the boss with an undersized pilot hole (typically 80-85% of the screw's minor diameter) and a stress-relief counterbore at the top. Finally, implement a torque audit protocol: every hour, assemble a test part and measure the prevailing torque and clamp load. Use a digital torque analyzer that records peak torque and angle. This data will reveal if your fasteners or plastic batches are drifting out of spec. Do not trust the "click" of a manual wrench.
Mistake #7: Failing to Validate the Cleaning and Packaging Interface
The final critical mistake occurs after the assembly is complete: the interface between the cleanroom assembly line and the packaging process. Many manufacturers spend millions on cleanroom assembly only to compromise the product with contaminated packaging materials or by breaking the cleanroom barrier during transfer. The mistake is treating packaging as a secondary concern rather than an integral part of the cleanroom protocol.
The Contamination Handoff
If your assembled plastic part is placed into a standard cardboard box or a non-cleanroom polyethylene bag, it will immediately attract fibers and particles. The packaging must be certified cleanroom-grade (e.g., Class 100/ISO 5 cleanroom bags) and must be compatible with the plastic (no plasticizers that can leach into your part). Furthermore, the transfer from the assembly cleanroom to the packaging cleanroom must be through a pass-through chamber with interlocked doors, not an open doorway. You must also validate the shelf life of the packaged assembly—some plastics continue to outgas and can fog the interior of a sealed pouch.
Additionally, do not overlook the labeling and adhesive used on the packaging. The adhesive on a label can outgas volatile silicones that contaminate the part. Use solvent-free, cleanroom-compatible labels. Finally, establish a particle count verification step just before sealing. Use a liquid particle counter (if the part is rinsed) or a surface particle counter (via swabbing) to ensure the final product meets the required cleanliness level (e.g., ISO 14644-9 for surface cleanliness). If the part fails, you must have a re-cleaning and re-validation loop. This final step is not just about quality—it is about regulatory compliance and patient safety in medical applications.
Conclusion: Building a Culture of Precision
Avoiding these seven critical mistakes in cleanroom plastic assembly is not a one-time checklist; it is a continuous engineering discipline. The common thread among all these failures is a lack of systematic validation—of materials, processes, environmental controls, and packaging. In the world of cleanroom manufacturing, "good enough" is rarely good enough. The cost of a single failed batch due to outgassing, ESD damage, or torque relaxation can exceed the savings of a thousand minor optimizations.
To truly excel, you must adopt a holistic contamination control strategy that integrates material selection, process design, tooling, environmental monitoring, and operator training. Your cleanroom operators must understand why they cannot use a standard rag, why they must slow down the screwdriver, and why the packaging bag is as important as the assembly cell. When you foster this level of awareness, you transform cleanroom assembly from a mere manufacturing step into a competitive advantage—delivering products that are reliable, compliant, and trusted by the most demanding customers in the world.
As you review your current cleanroom plastic assembly operations, ask yourself: Are we measuring outgassing? Are we neutralizing static? Are we validating thermal cycles? Are we auditing torque? If you answered "no" to any of these, you have identified your next improvement project. The path to zero defects is paved with meticulous attention to these seemingly small details. Do not let a microscopic particle or a creeping torque value be the reason your product fails in the field. Take action today.