
Injection molding defects are visible symptoms, not confirmed root causes. A short shot, flash, sink mark or silver streak can each have more than one mechanism behind it. The most reliable first move is to map the defect on the part, note when it appears and compare affected cavities before changing settings.
Respuesta rápida: read the pattern. Defects concentrated near the last-fill area, a shutoff, a thick section or an ejector feature point to different places to investigate. Record the evidence, test one likely cause and check that the correction does not create a second problem.
En esta guía:
- Why a defect name is not a diagnosis
- Use location and timing as evidence
- Read common defect patterns
- Run a controlled troubleshooting test
- Preguntas frecuentes
Why a Defect Name Is Not a Diagnosis
Different causes can leave similar marks. A pale streak may be moisture-related splay, trapped gas, contamination or material degradation. A raised fin may reflect a local sealing issue, excessive cavity pressure, debris or a damaged shutoff. A depression may be a sink mark, while a less visible internal void can produce a different structural risk.
That is why a generic instruction such as “raise temperature” or “reduce pressure” is not a complete corrective action. The change may hide the visible symptom while shifting the flow front, part dimensions or cycle stability. A diagnosis should connect an observed pattern to evidence that can confirm or reject a cause.
Use Location and Timing as Evidence
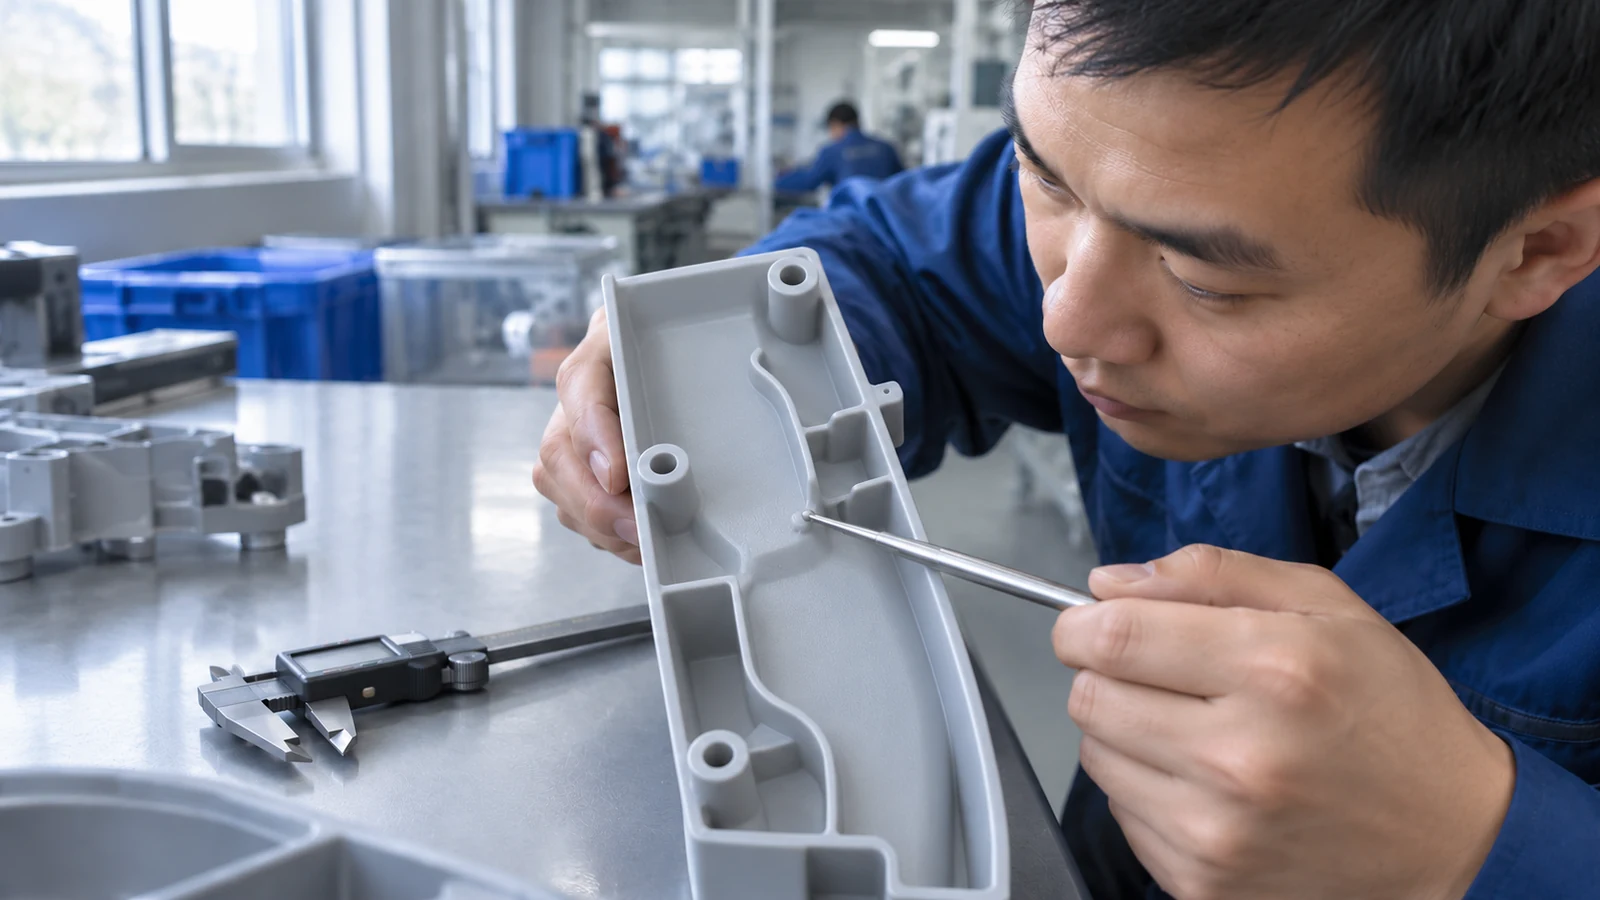
Start with a drawing or clear photo. Mark the gate, vents, parting line, ribs, bosses, inserts, ejector features and the defect itself. Record whether the issue appears in every cavity, one cavity, one material lot or only after a process or tooling change.
Location narrows the search. A short shot at the end of a long, thin flow path suggests a different investigation from an incomplete feature close to the gate. Flash isolated around one insert differs from a continuous fin around the full parting line. Distortion around deep cores may be related to cooling or release rather than initial filling.
Timing adds another layer. Ask whether the problem starts at the beginning of a run, after a restart, following a material change or only after the mold reaches thermal steady state. Compare a known-good part and a known-bad part under the same lighting and measurement method. A defect that moves when a controlled process variable changes is useful evidence; one that remains fixed in one physical location may point toward local geometry, venting or tool condition.
Read Common Defect Patterns Before Adjusting the Recipe
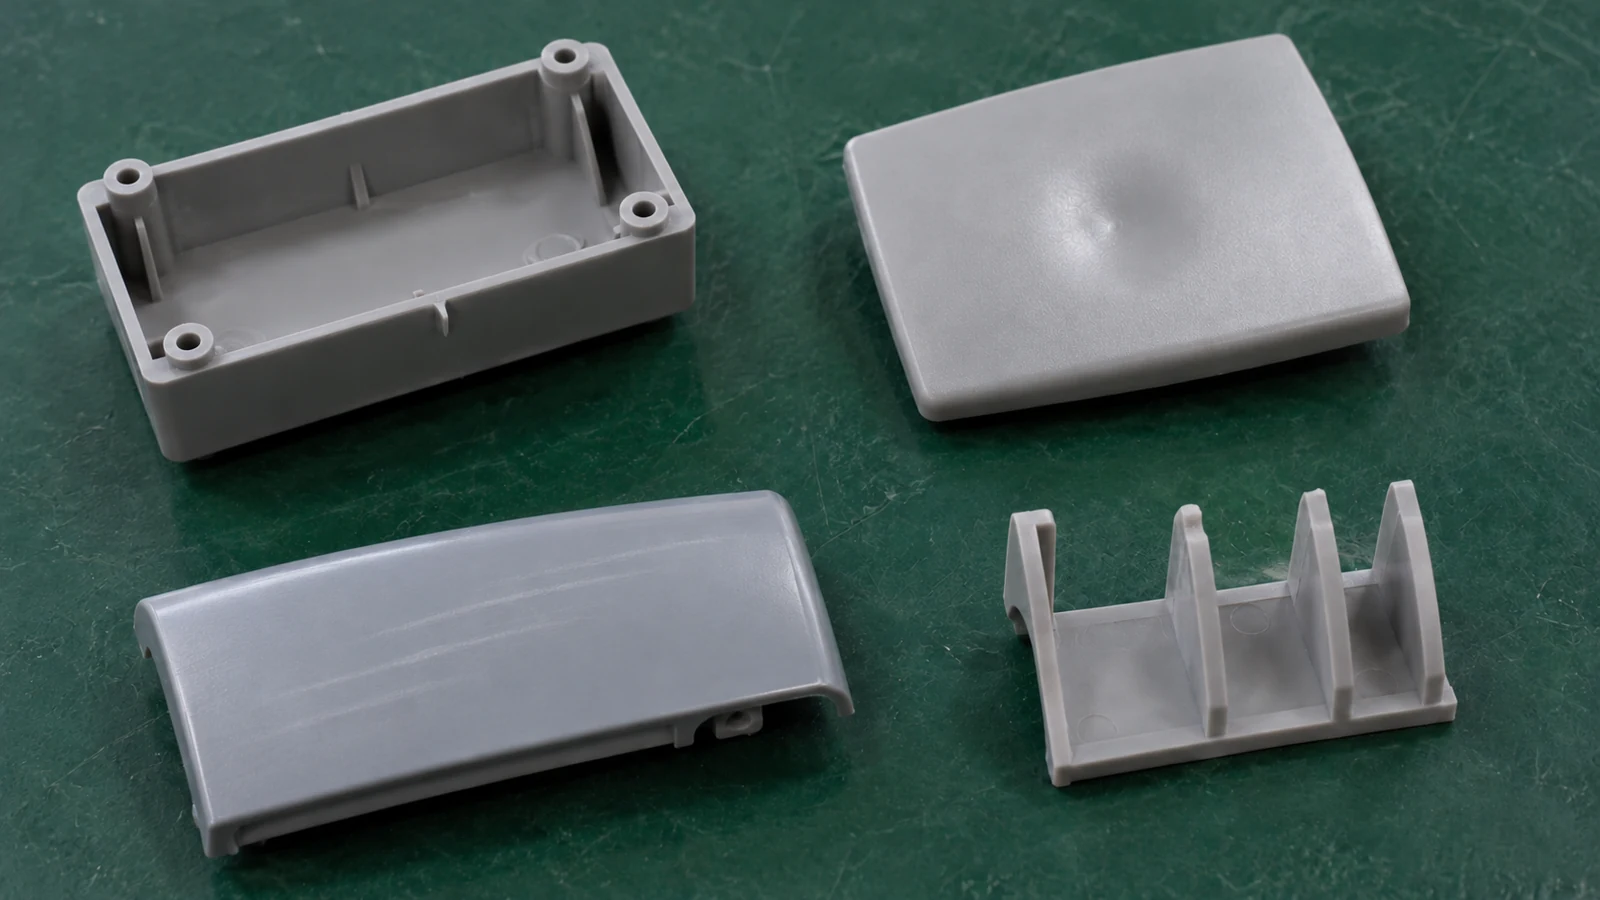
- Short shots or incomplete details: trace the last-filled region and check whether the flow path is restrictive, the vent path is clear and the delivered material is consistent. Do not assume pressure is the only missing input.
- Rebaba: note whether it follows the whole parting line or is limited to a local shutoff, insert, slide or vent. A repeating local pattern deserves a tool-fit and cleanliness check as well as a review of cavity pressure. See how to diagnose recurring injection molding flash.
- Sink marks or void-like concerns: compare the mark with wall thickness changes, ribs, bosses and the gate. Surface depressions and internal voids can look related but are not interchangeable acceptance findings. The sink-mark diagnostic guide explains why increasing packing pressure alone may not resolve the cause.
- Splay or silver streaks: record the streak origin and direction, resin lot, drying history and purge condition. Similar appearances can come from moisture, gas, shear or contamination, so confirm the material condition before changing the process. Compare the evidence with this splay troubleshooting guide.
- Weld lines, burns or flow marks: map the mark against where flow fronts meet, hesitate or trap air. The gate, vent and thickness transitions may matter as much as a machine setting.
These are investigation directions, not universal prescriptions. The selected resin, mold design and approved process window determine which correction is safe for a particular part.
Run a Controlled Troubleshooting Test
- Contain and identify: separate suspect parts and record part revision, resin lot, cavity, shot sequence and defect location.
- Check recent changes: review material drying and handling, setup, mold cleaning, maintenance, machine alarms and any engineering change.
- Choose one testable cause: state what evidence would support the hypothesis and what result would weaken it.
- Change one factor: keep other conditions stable and retain samples from before and after the trial.
- Verify the whole part: recheck dimensions, appearance, function and any affected cycle or inspection requirement.
For a broad view of the process conditions behind these symptoms, see the descripción general del proceso de moldeo por inyección de plástico. A useful corrective-action record should name the defect, evidence, single change, result and follow-up control. If several variables change together, the team may get a temporarily better part without learning why it improved.
Preguntas frecuentes
What is the first thing to do when a molding defect appears?
Record its exact location, cavity, timing and recent changes. Contain suspect parts, then compare them with a known-good sample before adjusting the process.
Can one injection molding defect have several causes?
Yes. Similar visible symptoms can arise from material condition, flow, venting, tool fit, cooling, ejection or measurement conditions. The pattern helps narrow the likely cause.
Should I change several settings to correct a defect faster?
Usually not. Changing multiple variables at once makes it difficult to identify the cause and can create new defects. Test one factor at a time where practical.
When should a mold or design review be considered?
Consider it when the defect stays in the same physical location, returns after process adjustments, or cannot be corrected without moving the problem elsewhere. Confirm the finding with part and process evidence.