
A mold shutoff is the steel-to-steel boundary that blocks resin from entering an opening or feature that must remain clear. When it leaks, the result may be flash, a blocked hole, or a part that no longer fits its mating component. The fix is not automatically “tighten the mold”: shutoff angle, contact length, support, material, and wear must be considered together in the mold design.
This guide focuses on general injection mold shutoffs. It is different from selecting a parting line or diagnosing all flash; the question here is how to design and maintain the local steel interface that seals a specific feature.
In this guide:
What does a mold shutoff need to accomplish?
A shutoff must meet its opposing steel surface with enough repeatability to prevent unwanted resin flow while allowing the mold to close without damage. It may form a window, slot, hole, or local boundary between cavity regions. The target is not the smallest possible gap at any cost; it is a stable contact condition that can be manufactured, inspected, and maintained.
Identify the shutoff’s function on the drawing and note the adjacent part requirements. A feature near a sealing surface or cosmetic face has different acceptance limits from a hidden clearance hole. Define where flash is unacceptable and how the feature will be inspected after molding.
How do angle, length, and backing affect shutoff performance?
Shutoff faces may use a drafted, stepped, or interlocking geometry depending on access and part shape. A steep or poorly supported face can be vulnerable to pressure and wear; a narrow contact land can become damaged or difficult to stone. Long shutoffs can also create alignment sensitivity. The toolmaker should show the mating surfaces and steel support in section.
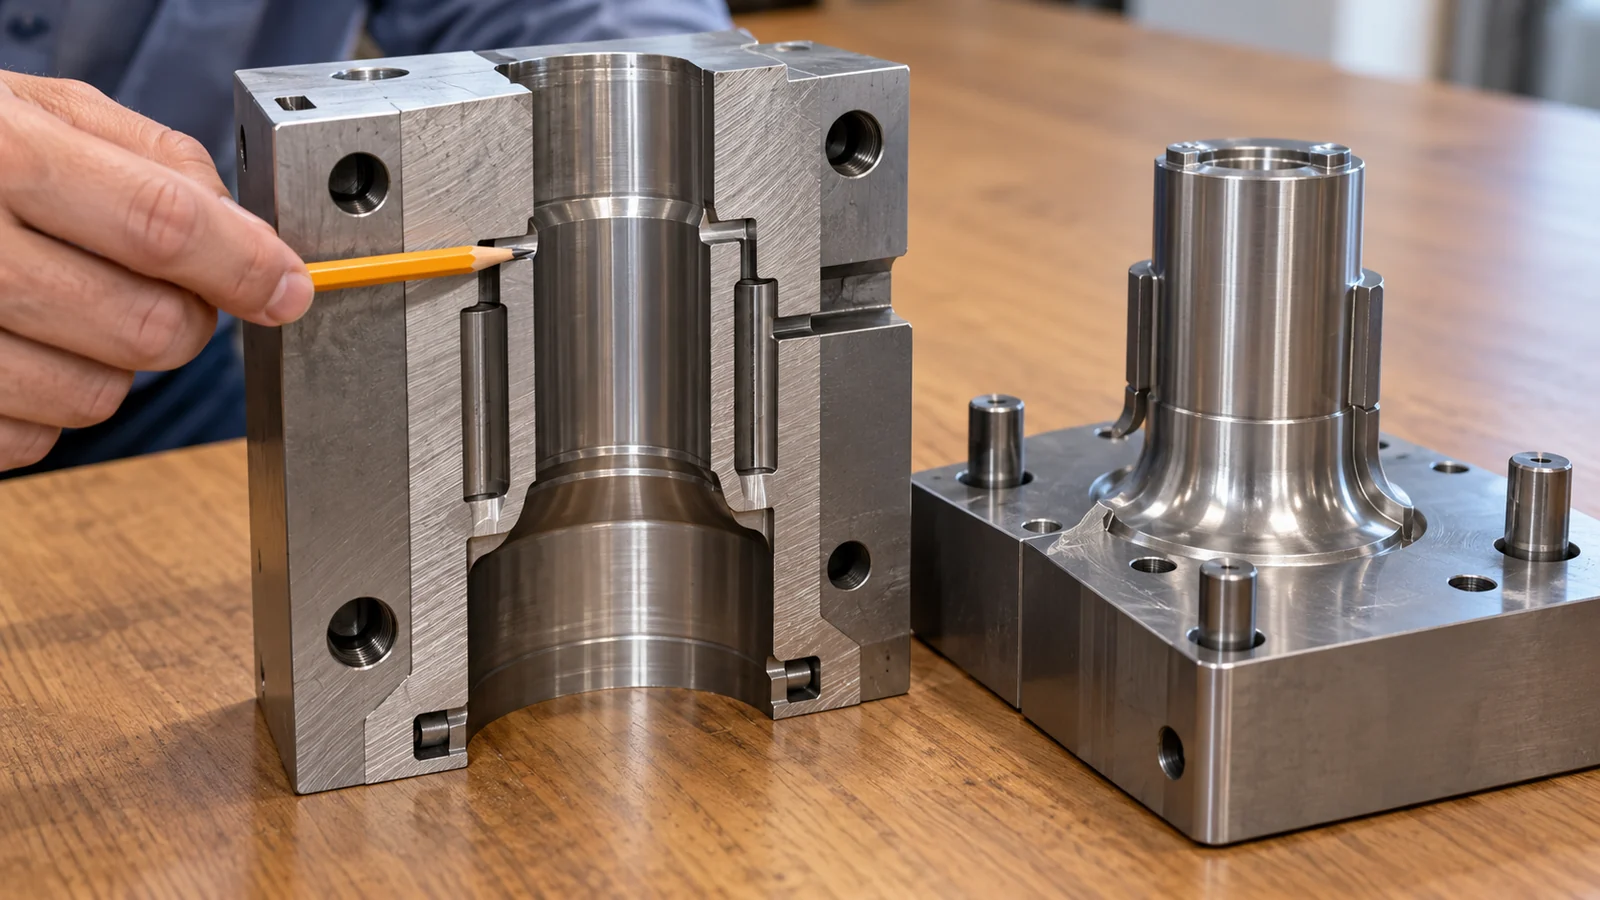
Check that the shutoff is backed by sufficient steel and that the local mold structure does not flex excessively under clamp and cavity loads. Cooling channels, screws, inserts, and adjacent moving actions can limit the available section. Where a replaceable insert is practical, it may simplify repair, but it introduces another fit interface to control.
Why does a shutoff start leaking?
Flash can develop as contact faces wear, chip, become contaminated, or lose alignment. A tool may also show leakage when the local steel is unsupported or when the molding conditions expose an existing weak boundary. A short shot or blocked feature can have different causes, so inspect the pattern rather than assuming every defect is a loose shutoff.
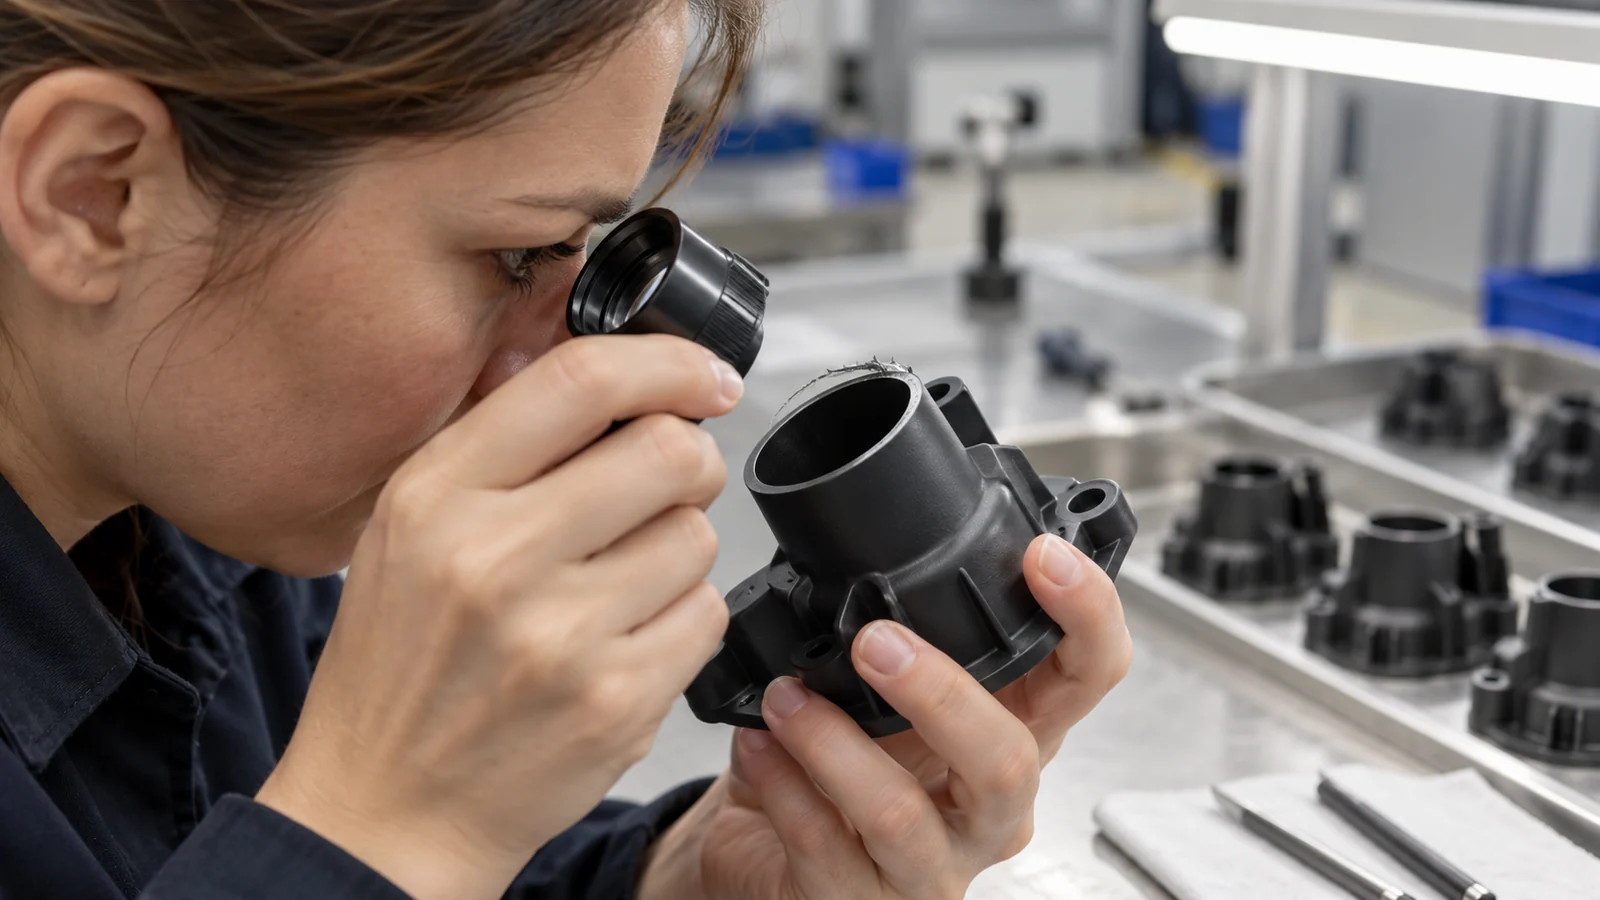
Photograph the defect, locate it relative to the shutoff, and record whether it appears across the full line or only in one area. Compare the steel contact, guided motion, and mold condition before making an adjustment. For recurring flash along the main split, use the separate parting-line flash diagnosis; it addresses a broader failure pattern.
What belongs in a shutoff design review?
- Mark each shutoff on a sectioned CAD view and relate it to the finished feature.
- Confirm face angle, contact land, backing steel, and inspection access.
- Check interactions with slides, lifters, inserts, fasteners, and cooling.
- Define allowable flash, witness marks, and dimensional acceptance.
- Plan how the interface can be cleaned, inspected, and repaired.
Ask for the shutoff to be reviewed at the scale of the actual feature. A general mold rendering rarely shows whether a thin land, deep pocket, or local insert can survive production maintenance.
Questions buyers ask about mold shutoffs
Can a shutoff be designed to never flash?
No. Design can reduce risk, but tool wear, contamination, alignment, resin behavior, and operating conditions affect the result. Define a measurable acceptance limit.
Should every shutoff be a replaceable insert?
No. Replaceability helps only when the interface can be fitted and serviced reliably. A one-piece feature may be simpler when repair access and wear risk are low.
Is shutoff leakage the same as parting-line flash?
They can look similar, but a local shutoff seals a specific feature while the parting line is the broader mold split. Locate the defect before choosing a correction.