
A laser mark is created by how a specific resin and surface respond to a wavelength and process—not by artwork alone. A logo that looks clear on a screen can disappear on a dark, textured, or filled part, while a high-contrast mark may affect a cosmetic surface. These plastic laser marking design guidelines help teams decide what to specify before the mold and marking setup are locked.
Define what the mark must communicate
Separate the mark’s function from its appearance. A serial number or traceability code must remain readable by a person or scanner; a logo may be judged by contrast and placement; a regulatory symbol may have a defined size and permanence requirement. Specify the content, minimum readable feature, location, orientation, and acceptance method before deciding whether laser marking is suitable.
Also consider the product’s use environment. Abrasion, cleaning chemicals, UV exposure, heat, and handling can change legibility over time. If the mark supports traceability, define how it will be verified after the relevant exposure rather than approving a fresh sample only.
Check resin and color response before artwork is frozen
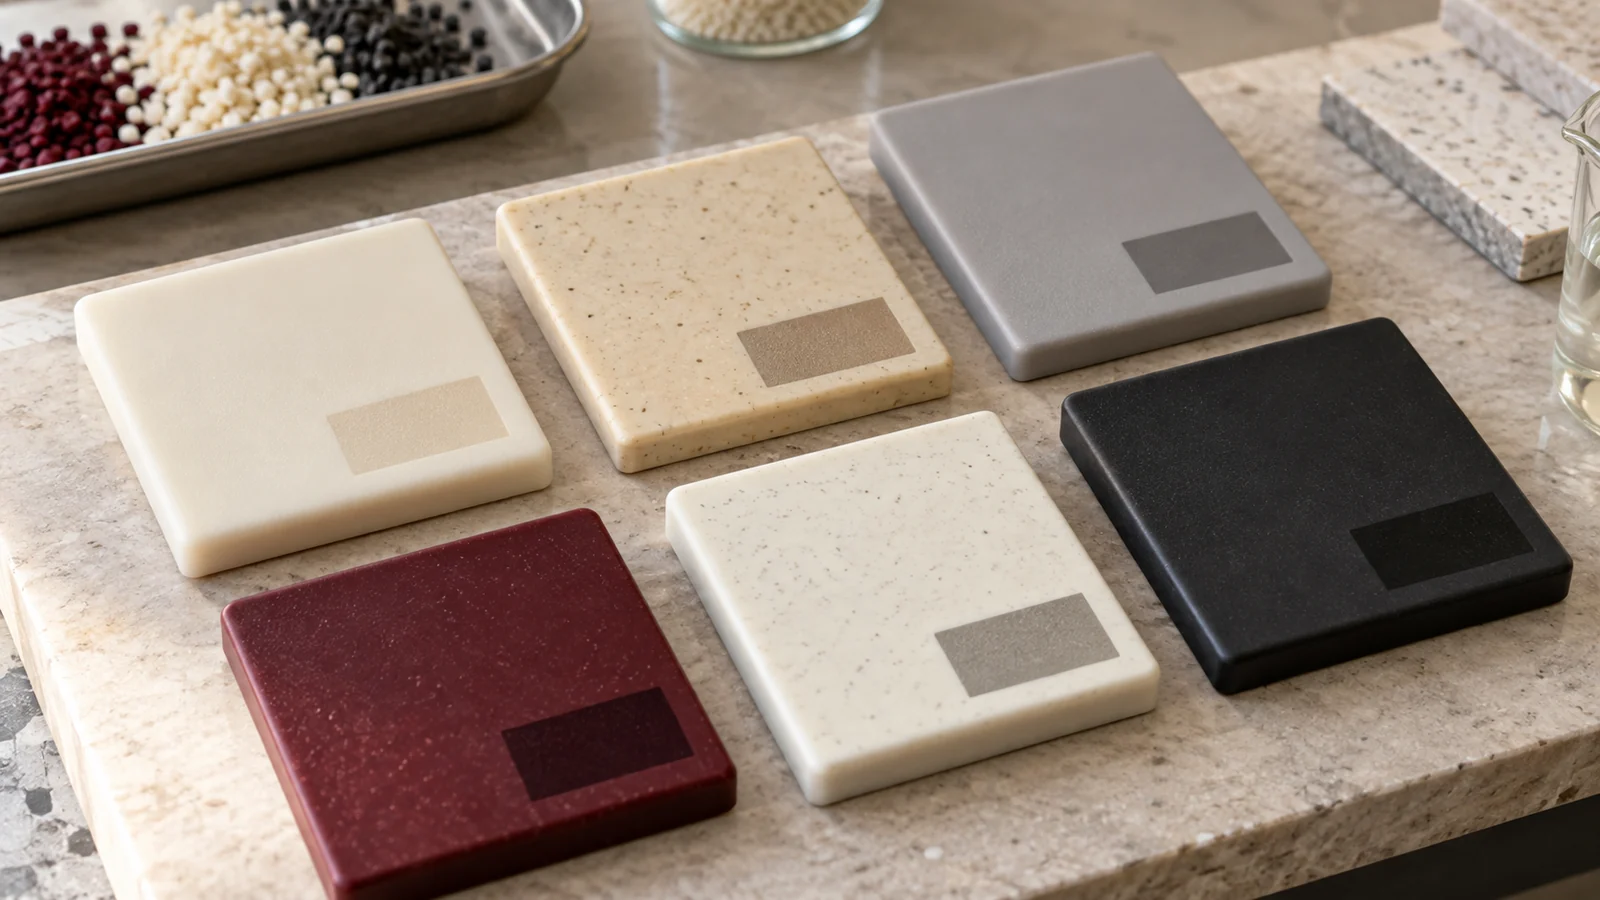
Laser response varies with polymer family, grade, pigments, fillers, additives, and laser system. Some combinations create a color change; others remove or modify a surface layer. A dark pigment does not guarantee a dark mark, and a resin marketed as laser-markable still needs evaluation in the intended color and molded condition.
Ask the material supplier for grade-specific marking guidance when available, then trial the actual resin and pigment combination. Mold texture, gloss, fiber orientation, and local thickness can alter the visual result. Avoid promising a contrast level from a generic material description.
Coordinate the design with the site’s laser marking process early enough to test representative molded parts. If a specific resin is being evaluated, use its manufacturer data and grade page rather than substituting values from a different formulation.
Protect the marking area in the part design

Provide a stable, accessible surface with enough room for the complete mark and its quiet zone. Curved surfaces, deep recesses, ribs, parting lines, and texture transitions can make focus and readability inconsistent. Keep the mark away from edges that are likely to flash or be trimmed, and avoid placing it on a surface that flexes under normal use.
Consider the sequence: molded-in texture, coating, assembly, and post-molding marking can each change access or contrast. If the mark must be applied after assembly, check whether fixtures can locate the component without blocking the beam. If it is applied before assembly, confirm that handling and joining do not damage it.
Design inputs to release with the drawing
- Mark content, typeface or data format, orientation, and location datum
- Minimum character or code dimensions and required quiet zone
- Resin manufacturer, exact grade, color, filler, and surface texture
- Required contrast, readability method, and exposure condition
- Allowed mark variation and cosmetic areas that must remain untouched
Make legibility measurable
Use a marking trial to compare candidate locations and settings on production-intent parts. Evaluate the mark under the lighting and viewing conditions relevant to inspection or use. If a scanner will read it, test with the intended code format and verification system; visual approval alone cannot establish machine readability.
Record the resin lot, color, molded finish, marking setup, and inspection result. Then test durability against the actual environment, such as handling or cleaning, when permanence matters. A repeatable acceptance method helps separate a true process drift from normal visual variation.
Do not add a decorative end-of-article sales block to an engineering guide. The useful next step is a design review with the CAD, material grade, mark artwork, and acceptance criteria together.
Frequently asked questions
Can every plastic be laser marked?
No. Mark contrast and durability depend on the exact polymer, grade, pigment, additives, surface, and laser system. Test the production-intent formulation and molded finish.
Should the laser mark be added to the mold drawing?
Yes. Show the location, orientation, content, dimensions, datum, and acceptance criteria so marking can be designed into the part and inspected consistently.
Is a visually dark mark always readable by a scanner?
No. Scanner readability depends on code geometry, contrast, surface condition, viewing angle, and the verification setup. Test with the intended reader and pass/fail criteria.
A robust marking specification connects the material, molded surface, laser process, and inspection method before production release.