
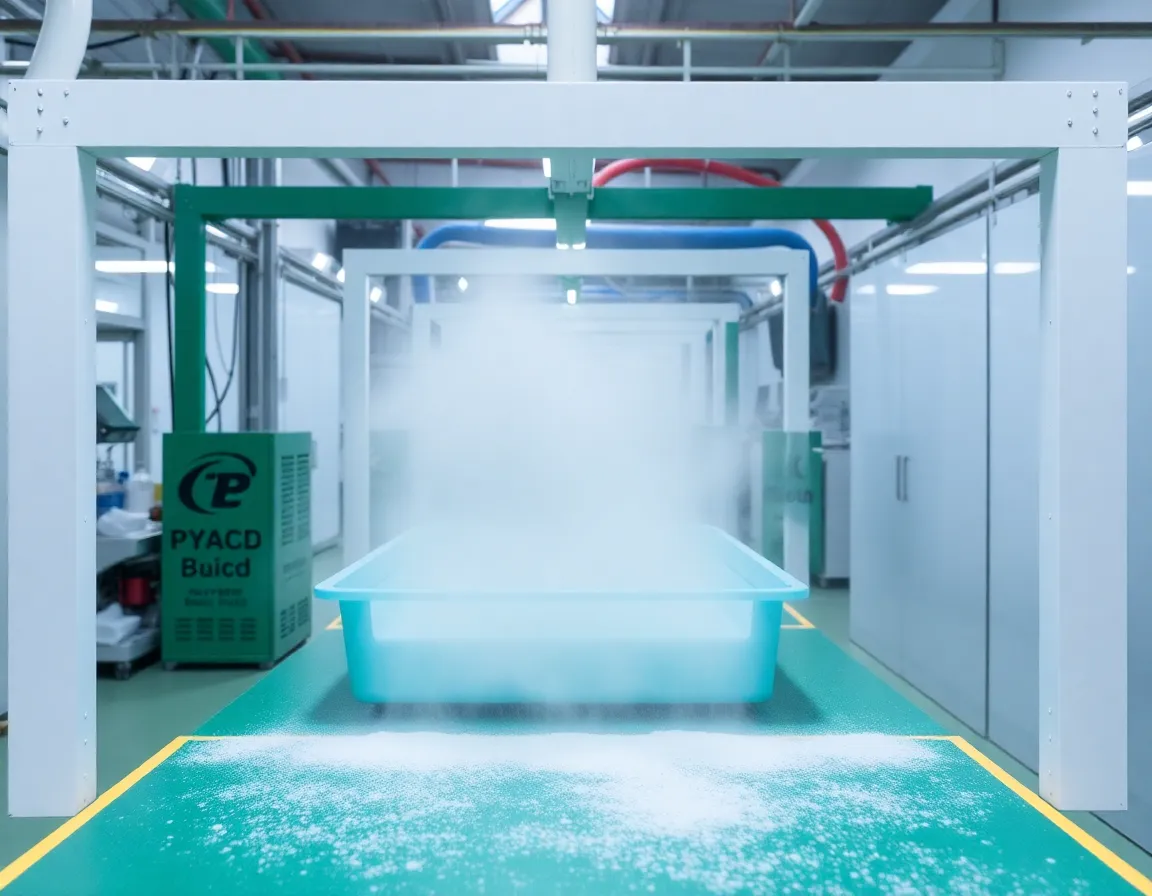
Introduction: The High-Stakes World of Cleanroom Plastic Assembly
In industries ranging from semiconductor fabrication to pharmaceutical packaging, the assembly of plastic components within a controlled environment is not merely a procedural step—it is a critical determinant of product yield, safety, and regulatory compliance. Cleanroom plastic assembly refers to the joining, fastening, welding, or adhesive bonding of polymer parts in a facility where airborne particulate concentration, temperature, humidity, and pressure are meticulously regulated. Unlike standard manufacturing, this process demands a unique fusion of material science, contamination control, and precision engineering. A single microscopic particle, an electrostatic discharge, or an improper handling technique can render an entire batch of medical devices or microelectronics useless.
Despite its importance, many engineers and production managers underestimate the complexity involved. They assume that a cleanroom suit and a HEPA filter are sufficient. The reality is far more nuanced. As a professional content writer with deep industry insight, I have observed that most assembly failures are not due to the plastic itself, but due to avoidable procedural and environmental oversights. This article dissects the seven most critical mistakes made during cleanroom plastic assembly, providing actionable strategies to mitigate risks, reduce waste, and ensure compliance with stringent standards like ISO 14644 and GMP guidelines. Whether you are assembling Luer connectors for syringes or internal chassis for aerospace avionics, avoiding these pitfalls will safeguard your reputation and your bottom line.
Mistake #1: Ignoring Material-Specific Outgassing and Volatile Organic Compounds (VOCs)
The first and perhaps most insidious mistake is treating all plastics as inert. In a cleanroom, the air quality is defined not only by particles but also by chemical contamination. Many engineering plastics—such as polycarbonate, ABS, and certain polyamides—release volatile organic compounds (VOCs) and undergo outgassing, especially when subjected to heat during ultrasonic welding or solvent bonding. These chemical emissions can condense on sensitive optical surfaces, corrode microcircuits, or contaminate sterile pharmaceutical vials.
The Hidden Danger of Additives
Plastic formulations often include plasticizers, flame retardants, and mold-release agents. During assembly, friction or elevated temperatures can cause these additives to migrate to the surface. If your cleanroom process does not account for this, you risk cross-contamination of adjacent components. The critical mistake is failing to perform a material qualification test under simulated assembly conditions. You must measure the total mass loss (TML) and collected volatile condensable material (CVCM) per ASTM E595 standards. For high-reliability applications, specify low-outgassing grades like PEEK or PTFE, and ensure your assembly environment has adequate chemical filtration (activated carbon) in addition to particulate filters.
Furthermore, do not assume that a "clean" plastic pellet is clean after extrusion. The assembly process itself—especially laser marking or hot-plate welding—can generate degradation byproducts. A best practice is to implement a pre-assembly bake-out or vacuum degassing cycle for components that will be welded or bonded, removing surface-bound moisture and unreacted monomers before they enter the critical assembly zone.
Mistake #2: Overlooking Electrostatic Discharge (ESD) Control for Non-Conductive Polymers
Plastics are natural insulators. When two polymer surfaces rub together during assembly—for instance, during snap-fit insertion or vibratory bowl feeding—they generate significant static charges, often exceeding 10,000 volts. This is a catastrophic oversight in cleanrooms where electronic components are present. The mistake is twofold: assuming that an ionizer is optional, and using standard plastic tooling that is not static-dissipative.
Why Static is a Silent Killer
Static discharge not only destroys fragile semiconductor chips but also attracts airborne particles like a magnet. A charged plastic part will pull in sub-micron particles from the air, defeating the purpose of the cleanroom. Many operators believe that because they are wearing ESD-safe wrist straps, the plastic is grounded. This is false. Non-conductive plastics cannot be grounded; they require active neutralization. The critical mistake is failing to use ionizing blowers and anti-static tinsel at every assembly station where plastic parts are handled, moved, or stacked.
Moreover, the choice of assembly fixtures matters. Aluminum jigs are excellent conductors but can damage parts; standard nylon or acetal fixtures generate charge. Instead, use fixtures machined from static-dissipative acetal (ESD-acetal) or coated with a conductive PTFE. Also, monitor humidity—if your cleanroom is too dry (below 40% RH), static generation increases exponentially. Maintain a strict relative humidity band of 45-55% to naturally dissipate charges. Implementing these controls reduces particle attraction and prevents latent failures in electronic assemblies.
Mistake #3: Inadequate Control of Friction and Particulate Generation During Press-Fit and Snap-Fit Operations
Mechanical assembly of plastics, such as press-fitting a hub onto a shaft or snapping a cover onto a housing, inherently generates wear debris. This is a fundamental physics problem: when two surfaces slide against each other under pressure, microscopic asperities shear off, creating particles. In a cleanroom, these particles are the enemy. The critical mistake is designing or selecting assembly processes that rely on high-friction interference without considering the particle budget.
Engineering the Friction Away
To avoid this, you must rethink the joint design. Instead of a tight metal-to-plastic interference fit, use a tapered lead-in with a lubricious coating (e.g., a thin layer of silicone-free dry film lubricant like molybdenum disulfide or a medical-grade PFPE). Alternatively, switch to laser welding or orbital riveting where the material is heated locally and formed without sliding contact. If snap-fits are unavoidable, ensure the snap beam is designed with a controlled deflection angle (less than 30 degrees) to reduce scraping.
Another overlooked aspect is the tooling material. Hardened steel punches can micro-machine the plastic surface, creating flakes. Use tools with a mirror-polished finish or, better yet, use urethane or rubber-coated anvils that conform to the part without cutting. Furthermore, implement a vibration analysis on your automated assembly press; excessive vibration causes chatter, which dramatically increases wear. Finally, after any mechanical joining step, include an air knife or vacuum extraction point immediately downstream to capture debris before it migrates. Do not rely on the final wash to remove particles—by then, they have already embedded into other surfaces.
Mistake #4: Using the Wrong Cleaning Agents and Solvents for Post-Assembly Degreasing
After plastic assembly, parts often require cleaning to remove fingerprints, mold release, or machining oils. However, the choice of cleaning solvent is a minefield. Many standard solvents—acetone, isopropyl alcohol (IPA), or chlorinated hydrocarbons—can cause environmental stress cracking (ESC) in amorphous plastics like polycarbonate or polysulfone. The mistake is using a "universal" cleaning process without verifying chemical compatibility with the specific polymer blend and its additives.
The ESC Trap and Residue Issues
Even a brief wipe with IPA can initiate microscopic cracks that propagate under load, leading to premature failure in the field. Instead, use aliphatic hydrocarbon solvents (e.g., heptane) or specialized non-ionic aqueous cleaners with a neutral pH. For critical medical devices, consider CO₂ snow cleaning hoặc plasma cleaning—these are dry processes that leave zero residue and do not attack the polymer matrix.
Furthermore, the cleaning process itself must be validated. If you use ultrasonic cleaning, the cavitation energy can erode soft plastics like polyethylene. If you use manual wiping, ensure the wipes are low-linting cleanroom wipes (e.g., knitted polyester) and are saturated with the solvent—a dry wipe creates friction and re-deposits oils. Always perform a final rinse with ultra-pure water (18 MΩ-cm) followed by a forced HEPA-filtered air dry. Document the cleaning parameters and perform periodic residue testing via FTIR or ion chromatography to ensure your process remains in control.
Mistake #5: Neglecting Thermal Expansion Mismatch in Welded or Bonded Assemblies
Cleanroom plastic assembly often involves joining dissimilar materials—for example, bonding a polypropylene filter housing to a stainless steel port, or welding a PETG window into an ABS frame. The critical mistake is ignoring the coefficient of thermal expansion (CTE) differences. When the assembly experiences temperature fluctuations during autoclaving, curing, or even normal operation, the differential expansion creates internal stress that can cause bond-line failure, warpage, or micro-cracking.
Designing for Thermal Reality
To mitigate this, you must design the joint to accommodate movement. For adhesive bonding, use a flexible, high-elongation adhesive (e.g., a silicone-based adhesive or a polyurethane with 200% elongation) rather than a rigid cyanoacrylate. For ultrasonic welding, ensure the weld joint is designed as a shear joint rather than a butt joint, allowing slight relative movement without breaking the molecular bond.
Additionally, during the assembly process, control the ambient temperature strictly. If you are welding a part at 22°C but the part was stored at 30°C in a warehouse, the thermal gradient will cause uneven shrinkage. Implement a soak-out period—store all components and fixtures in the cleanroom for at least 24 hours before assembly to equilibrate. For high-precision assemblies, use a climate-controlled assembly chamber with ±0.5°C stability. Finally, perform a thermal cycle test (e.g., -40°C to +85°C for 100 cycles) on your first articles to validate that your joint design and material selection can survive real-world conditions. Skipping this validation is a recipe for field failures.
Mistake #6: Inconsistent Torque and Fastening Protocols for Threaded Plastic Components
Many cleanroom assemblies use threaded fasteners—either self-tapping screws into plastic bosses or threaded inserts. The critical mistake is using the same torque settings as for metal assemblies. Plastics are viscoelastic; they relax under constant load. A screw that is torqued to 10 in-lbs today may lose 30% of its clamping force within 24 hours due to creep and stress relaxation. This leads to loose joints, leaks, and particulate generation from fretting.
The Correct Fastening Strategy
First, never use standard sharp-thread screws. Use screws specifically designed for plastics, such as PT® (Plastic Thread) screws with a 30° thread angle and a blunt tip. These displace material rather than cut it, providing higher pull-out resistance and lower radial stress. Second, use a torque-controlled driver with a slow approach speed. High-speed driving creates heat, which melts the plastic boss and weakens the threads. Set the driver to a low RPM (under 300 RPM) and use a depth-stop or pressure-sensitive shut-off to prevent stripping.
Third, consider the use of metal threaded inserts (heat-staked or ultrasonic-inserted) instead of screws directly into plastic. This provides a robust, reusable thread and eliminates the risk of boss cracking. If you must use self-tapping screws, design the boss with an undersized pilot hole (typically 80-85% of the screw's minor diameter) and a stress-relief counterbore at the top. Finally, implement a torque audit protocol: every hour, assemble a test part and measure the prevailing torque and clamp load. Use a digital torque analyzer that records peak torque and angle. This data will reveal if your fasteners or plastic batches are drifting out of spec. Do not trust the "click" of a manual wrench.
Mistake #7: Failing to Validate the Cleaning and Packaging Interface
The final critical mistake occurs after the assembly is complete: the interface between the cleanroom assembly line and the packaging process. Many manufacturers spend millions on cleanroom assembly only to compromise the product with contaminated packaging materials or by breaking the cleanroom barrier during transfer. The mistake is treating packaging as a secondary concern rather than an integral part of the cleanroom protocol.
The Contamination Handoff
If your assembled plastic part is placed into a standard cardboard box or a non-cleanroom polyethylene bag, it will immediately attract fibers and particles. The packaging must be certified cleanroom-grade (e.g., Class 100/ISO 5 cleanroom bags) and must be compatible with the plastic (no plasticizers that can leach into your part). Furthermore, the transfer from the assembly cleanroom to the packaging cleanroom must be through a pass-through chamber with interlocked doors, not an open doorway. You must also validate the shelf life of the packaged assembly—some plastics continue to outgas and can fog the interior of a sealed pouch.
Additionally, do not overlook the labeling and adhesive used on the packaging. The adhesive on a label can outgas volatile silicones that contaminate the part. Use solvent-free, cleanroom-compatible labels. Finally, establish a particle count verification step just before sealing. Use a liquid particle counter (if the part is rinsed) or a surface particle counter (via swabbing) to ensure the final product meets the required cleanliness level (e.g., ISO 14644-9 for surface cleanliness). If the part fails, you must have a re-cleaning and re-validation loop. This final step is not just about quality—it is about regulatory compliance and patient safety in medical applications.
Conclusion: Building a Culture of Precision
Avoiding these seven critical mistakes in cleanroom plastic assembly is not a one-time checklist; it is a continuous engineering discipline. The common thread among all these failures is a lack of systematic validation—of materials, processes, environmental controls, and packaging. In the world of cleanroom manufacturing, "good enough" is rarely good enough. The cost of a single failed batch due to outgassing, ESD damage, or torque relaxation can exceed the savings of a thousand minor optimizations.
To truly excel, you must adopt a holistic contamination control strategy that integrates material selection, process design, tooling, environmental monitoring, and operator training. Your cleanroom operators must understand why they cannot use a standard rag, why they must slow down the screwdriver, and why the packaging bag is as important as the assembly cell. When you foster this level of awareness, you transform cleanroom assembly from a mere manufacturing step into a competitive advantage—delivering products that are reliable, compliant, and trusted by the most demanding customers in the world.
As you review your current cleanroom plastic assembly operations, ask yourself: Are we measuring outgassing? Are we neutralizing static? Are we validating thermal cycles? Are we auditing torque? If you answered "no" to any of these, you have identified your next improvement project. The path to zero defects is paved with meticulous attention to these seemingly small details. Do not let a microscopic particle or a creeping torque value be the reason your product fails in the field. Take action today.