
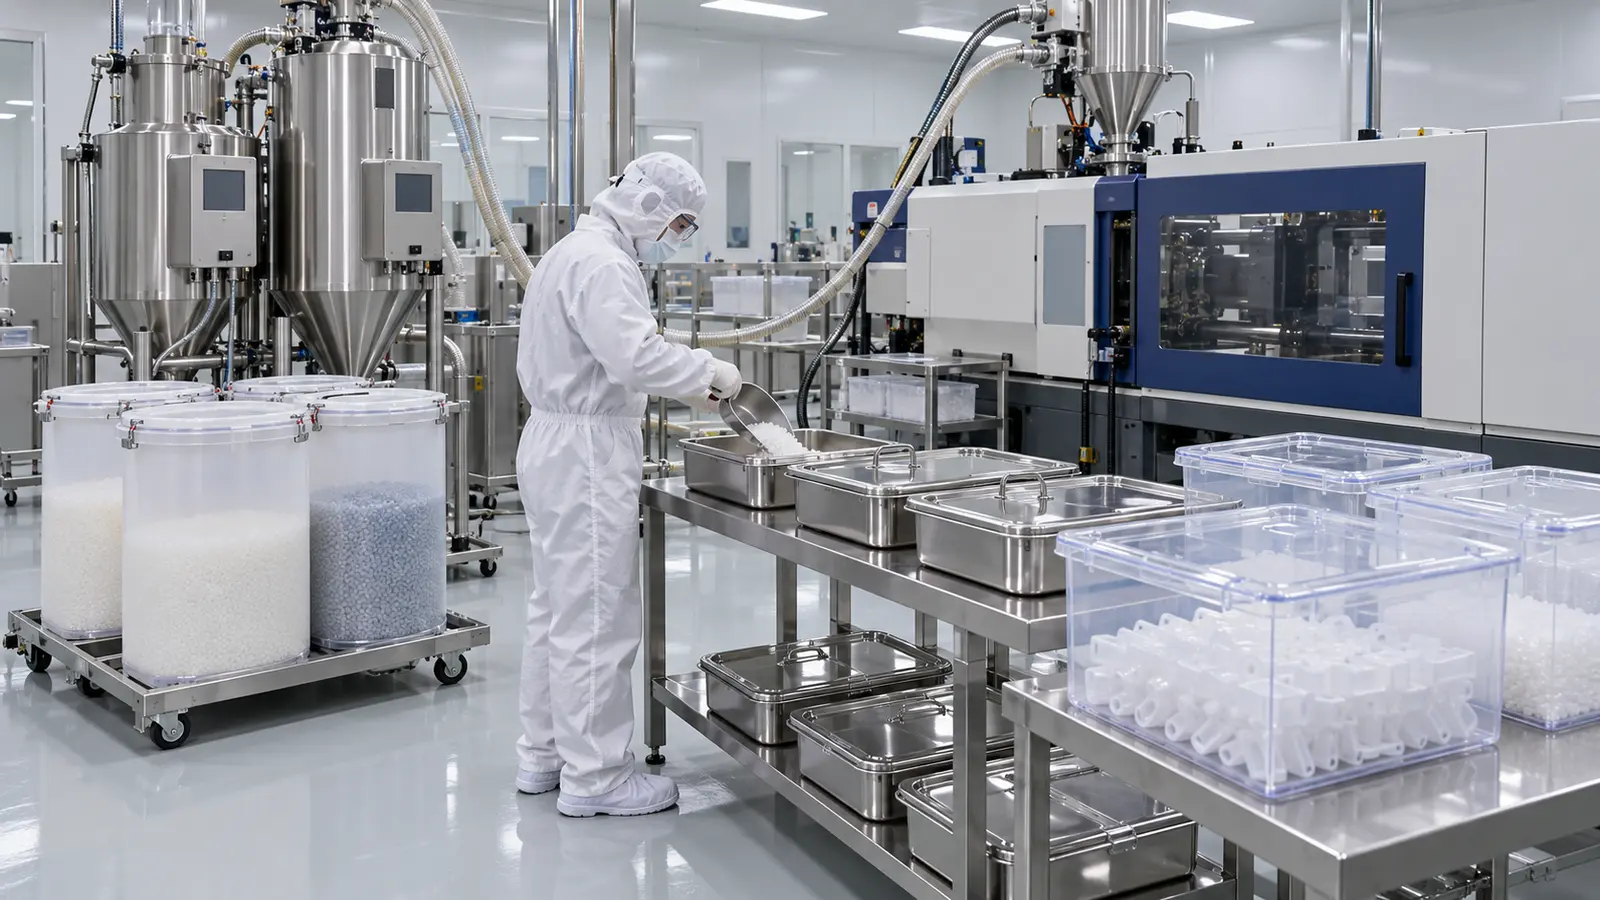
Comprendere lo stampaggio a iniezione di plastica OEM: una guida per un approvvigionamento strategico
Lo stampaggio a iniezione di plastica per Original Equipment Manufacturer (OEM) è la spina dorsale della moderna produzione di massa, che trasforma polimeri termoplastici e termoindurenti in componenti precisi e durevoli utilizzati in tutto, dai dispositivi medici agli interni automobilistici. A differenza della produzione conto terzi standard, lo stampaggio OEM comporta la produzione di componenti che vengono integrati in un prodotto finale venduto con il marchio dell'acquirente. Questo processo richiede una rigorosa aderenza alle tolleranze dimensionali, alle specifiche dei materiali e ai requisiti di finitura superficiale, poiché l'OEM è responsabile dell'esperienza dell'utente finale. Il cuore del processo prevede l'iniezione ad alta pressione di polimero fuso in una cavità dello stampo in acciaio o alluminio, dove si raffredda e si solidifica nella forma desiderata. Sebbene la tecnologia sia matura, l'economia è tutt'altro che statica. I costi nascosti – che vanno dalla rilavorazione dello stampo alle inefficienze logistiche – possono erodere i margini di profitto dal 15% al 30% se non gestiti in modo proattivo. Questo articolo analizza cinque strategie di risparmio sui costi attuabili che i responsabili degli acquisti, gli ingegneri di prodotto e i titolari di aziende possono implementare per massimizzare il ROI senza compromettere la qualità dei componenti.
Suggerimento #1: Design for Manufacturability (DFM) – Eliminare gli sprechi prima di tagliare l'acciaio
La leva di costo più significativa nello stampaggio a iniezione di plastica OEM si verifica prima che venga fuso un solo pellet di resina. Un design del componente concepito male affliggerà l'intero ciclo di vita della produzione, con conseguenti costose modifiche dello stampo, tempi di ciclo più lunghi e tassi di scarto più elevati. Coinvolgere il vostro stampatore in un rigoroso Revisione di progettazione per la producibilità (DFM) durante la fase di concept non è una cortesia—è una necessità finanziaria. Un partner OEM esperto analizzerà i tuoi file CAD rispetto alla simulazione del flusso nello stampo per identificare potenziali difetti come linee di saldatura, ritiri e intrappolamenti d'aria.
Principi chiave di DFM che riducono direttamente i costi
- Spessore di parete uniforme: Evita transizioni brusche nello spessore di parete. Le sezioni spesse si raffreddano più lentamente, causando deformazioni e aumentando il tempo di ciclo. Mantenendo una parete costante (tipicamente da 1,5 mm a 3,0 mm per la maggior parte delle plastiche tecniche), riduci il tempo di raffreddamento—che rappresenta il 60-70% del ciclo totale—e minimizzi l'uso di materiale.
- Ottimizzazione dell'angolo di sformo: Ogni superficie verticale richiede un angolo di sformo (tipicamente da 0,5° a 2°) per consentire l'estrazione pulita del pezzo. Uno sformo insufficiente causa l'incollaggio del pezzo, costringendo l'operatore a utilizzare una forza di espulsione maggiore, che può danneggiare la finitura superficiale e rallentare la pressa. Specificare l'angolo di sformo corretto in anticipo previene costose lucidature e rilavorazioni del maschio dello stampo.
- Progettazione di raccordi e raggi: Gli spigoli interni vivi creano concentrazioni di tensione e ostacolano il flusso del polimero. Aggiungere un raggio di almeno 0,25 volte lo spessore nominale di parete migliora il flusso della resina, riduce il rischio di cricche e prolunga la vita dello stampo riducendo l'erosione nell'angolo.
- Evitare i sottosquadri: I sottosquadri richiedono complessi camme ad azione laterale o estrattori nello stampo. Ogni meccanismo mobile aggiunge da 5.000 a 15.000 dollari al costo dello stampo e aumenta i tempi di fermo per manutenzione. Ove possibile, riprogetta il pezzo per avere una direzione di estrazione rettilinea, oppure accetta un'operazione di lavorazione secondaria per una caratteristica a basso volume.
Investendo 40 ore in una sessione collaborativa di DFM, puoi tipicamente ridurre il costo finale dello stampo del 10-20% e il prezzo per pezzo del 5-8%, semplicemente perché lo stampo funziona più velocemente e in modo più affidabile fin dal primo giorno. Non saltare mai questo passaggio per "risparmiare tempo" nel breve termine.
Suggerimento 2: Selezione strategica dei materiali – Non pagare troppo per resine esotiche
Il costo del materiale rappresenta dal 30% al 50% del prezzo unitario totale nello stampaggio a iniezione di plastica per OEM. Gli ingegneri spesso scelgono per abitudine una resina già utilizzata (ad es. ABS o policarbonato), senza chiedersi se esista un'alternativa più economica o più adatta al processo. La chiave per la riduzione dei costi è la sostituzione funzionale—abbinando le proprietà meccaniche, termiche e chimiche della resina all'effettivo ambiente di servizio, non ai valori massimi riportati nella scheda tecnica.
Strategie di risparmio sui materiali
In primo luogo, considerate il contenuto di rigenerato. Se la vostra applicazione non è critica (ad esempio clip interne, distanziali, alloggiamenti non visibili), potete incorporare fino al 20-25% di rigenerato post-industriale (materozze, canali di colata e parti scartate) senza una significativa perdita di proprietà. Negoziate con il vostro stampatore l'uso del rigenerato per componenti non estetici, riducendo il consumo di materiale vergine. In secondo luogo, valutate le gradi ad alto scorrimento delle resine standard. Un polipropilene o un nylon ad alto scorrimento riempirà più facilmente una cavità a parete sottile, permettendovi di ridurre la pressione di iniezione e la forza di chiusura. Ciò si traduce in un minor consumo energetico e nella possibilità di lavorare su una macchina più piccola, che ha una tariffa oraria inferiore. In terzo luogo, esaminate le varianti con cariche minerali o fibra di vetro . Un nylon con il 30% di fibra di vetro può permettervi di ridurre lo spessore della parete del 20% grazie alla sua maggiore rigidità, con conseguente minor resina utilizzata per pezzo e un ciclo più rapido. Tuttavia, attenzione—le resine con fibra di vetro sono abrasive e ridurranno la durata dello stampo. Calcolate sempre il costo totale di proprietà (prezzo della resina + usura dello stampo + tempo di ciclo) e non solo il costo al chilo del granulo.
Infine, standardizzate la scelta della resina in tutta la vostra linea di prodotti. Se producete cinque dispositivi diversi, cercate di consolidarli in due o tre polimeri di base. L'acquisto all'ingrosso di un'unica grado di resina vi offre un notevole potere negoziale con i distributori, spesso con una riduzione di prezzo del 5-10% rispetto all'acquisto di più gradi speciali in quantità minori.
Suggerimento 3: Ottimizzare il progetto dello stampo per ridurre il tempo di ciclo – La fabbrica nascosta
Nella stampaggio a iniezione di plastica per conto terzi (OEM), lo stampo non è solo un utensile; è uno scambiatore di calore. La velocità con cui riuscite a rimuovere il calore dal polimero determina il vostro tempo di ciclo, e il tempo di ciclo è il singolo fattore più importante del costo di conversione. Una tipica pressa per stampaggio costa tra 60 e 150 dollari all'ora. Se riuscite a ridurre di 5 secondi un ciclo di 30 secondi, aumentate la produzione del 16%, abbassando efficacemente il costo per pezzo senza alcuna modifica di materiale o manodopera. Il modo più efficace per ottenere ciò è attraverso canali di raffreddamento conformali.
Sistemi avanzati di raffreddamento e hot runner
Le tradizionali linee di raffreddamento con fori dritti non possono seguire i contorni complessi di una cavità dello stampo. Ciò provoca punti caldi, che costringono l'operatore a prolungare la fase di raffreddamento per prevenire la deformazione. Conformal cooling, created via additive manufacturing (3D-printed metal inserts), allows cooling channels to snake precisely along the part geometry. This can reduce cycle time by 20-35% in complex parts. While the upfront cost of a 3D-printed insert is higher, the payback period is often under six months for high-volume production runs.
Another major decision is hot runner vs. cold runner. A cold runner system creates a solid sprue and runner that must be reground, which adds labor and energy. A hot runner keeps the plastic molten inside the manifold, eliminating runner waste and reducing cycle time because you do not need to wait for the runner to cool. Although hot runner systems add $10,000 to $30,000 to the mold price, they are essential for high-cavitation molds (8, 16, or 32 cavities) using expensive engineering resins. For lower volumes, a cold runner with a submarine or tunnel gate that automatically degates on ejection is more cost-effective, as it avoids the maintenance complexity of hot runner nozzles. Always ask your molder for a cycle time estimate for both options and calculate the break-even volume before committing.
Tip #4: Intelligent Automation and Secondary Operations Integration
Labor is a rising cost in global manufacturing. However, the hidden cost often lies in operazioni secondarie—the manual tasks performed after the part is ejected: trimming flash, inserting metal components, printing logos, or ultrasonic welding. These operations are frequently outsourced to separate vendors, adding logistics costs, lead time, and quality risks. To cut costs, you must push work upstream into the molding cell.
In-Mold Assembly and Automated Handling
Consider stampaggio a inserti for metal components. Instead of molding a plastic housing and then pressing in a brass threaded insert in a separate step, you can place the insert robotically into the mold cavity before injection. The plastic shrinks around the insert during cooling, creating a permanent, leak-proof bond. This eliminates the need for a secondary pressing operation and reduces part count and inventory. Similarly, multi-shot molding (two-shot or overmolding) uses a single machine with two barrels to mold a rigid substrate and a soft-touch TPE grip in one continuous cycle. While the mold cost is higher, the cycle time is roughly the same as a single-shot mold, effectively giving you a finished assembled component for the price of a single molding cycle. This eliminates the cost of adhesives, primers, and manual assembly labor.
Furthermore, automate the mundane. A six-axis robot with a vision system can remove the part, trim the gate, and place it on a conveyor for packaging. This reduces operator handling, which minimizes contamination and scratches. While the initial capital expenditure for automation is significant, the reduction in direct labor (often 2-3 operators per press across three shifts) yields a return on investment in 18 months or less. When requesting quotes, ask your molder to provide a "fully automated cell price" versus a "manual operation price." The difference is often negligible per unit at high volumes, but the automated cell offers far better consistency.
Tip #5: Long-Term Partnership and Volume Forecasting – Beyond the Unit Price
The cheapest quote is rarely the most cost-effective over the product’s lifecycle. OEM plastic injection molding is a relationship business. Switching molders frequently incurs transfer costs, validation runs, and potential yield loss. Instead of playing vendors against each other on every purchase order, establish a strategic sourcing agreement with a single, qualified molder. This allows for open-book costing, where the molder shares detailed breakdowns of material, labor, and overhead. In exchange for a guaranteed annual volume, you can lock in a fixed price with a defined annual reduction (typically 3-5%) based on learning curve improvements and operational efficiencies.
Leveraging Data for Cost Reduction
Provide your molder with a rolling 12-month forecast, not just a single purchase order. This enables them to buy resin in bulk at lower spot prices, schedule presses efficiently to avoid downtime, and maintain a safety stock of critical components. When a molder knows they have 500,000 units of work next quarter, they can negotiate a 10% discount on polycarbonate from their distributor. They can also batch similar colored parts together to minimize purging time—a process that wastes material and takes 30-45 minutes per color change. By grouping orders by color and material, you reduce machine downtime and material waste. Additionally, negotiate the ownership of the mold and the maintenance schedule. If you own the mold, you can take it to a different molder if performance slips, but you must also budget for maintenance (typically 2-4% of the mold cost annually). A better approach is to include a "mold maintenance and warranty" clause in the agreement, where the molder is responsible for keeping the tool in prime condition, incentivized by a bonus for achieving a target Overall Equipment Effectiveness (OEE) of 85% or higher.
Finally, consider design for future variants. By planning a modular mold with interchangeable inserts, you can produce a family of parts (different lengths, bosses, or cutouts) using the same base mold base. This drastically reduces the capital expense for new tools and shortens the lead time for new product introductions. A collaborative, transparent relationship with your molder turns them from a supplier into a cost-reduction partner.
Conclusion: The Cumulative Effect of Smart Manufacturing
Cost reduction in OEM plastic injection molding is not a single heroic action but a cumulative series of disciplined decisions. By prioritizing Design for Manufacturability, you eliminate waste at the source. By selecting the right material—not the strongest or the cheapest, but the most appropriate—you optimize performance and price. By investing in advanced cooling and automation, you compress cycle times and reduce labor intensity. And by fostering a transparent, long-term partnership, you unlock pricing stability and process improvements that are invisible in a transactional quote. The manufacturers that thrive in today’s competitive landscape are those that view the molding machine not as a commodity tool, but as a precision instrument capable of delivering value. Apply these five tips rigorously, and you will not only reduce your per-part cost but also improve your product’s quality, consistency, and time-to-market. The ultimate goal is not the cheapest mold or the fastest cycle; it is the lowest total cost of ownership over the product’s entire commercial life.