
Splay injection molding defects appear as silver or pale streaks, but the same appearance can come from moisture, trapped gas, thermal degradation, contamination or excessive shear. The fastest diagnosis is not to change several settings. It is to locate where the streak begins, check whether it follows flow, and run one test that separates volatile gas from material damage.
Start with evidence: photograph the defect under fixed lighting, mark cavity and shot number, retain resin and purge samples, and record dryer dew point—not only dryer temperature.
In this article:
- Classify the streak pattern
- Prove or reject moisture
- Check air and decompression
- Trace heat and residence time
- Use a disciplined trial sequence
- Frequently asked questions
The Starting Point of the Streak Narrows the Search
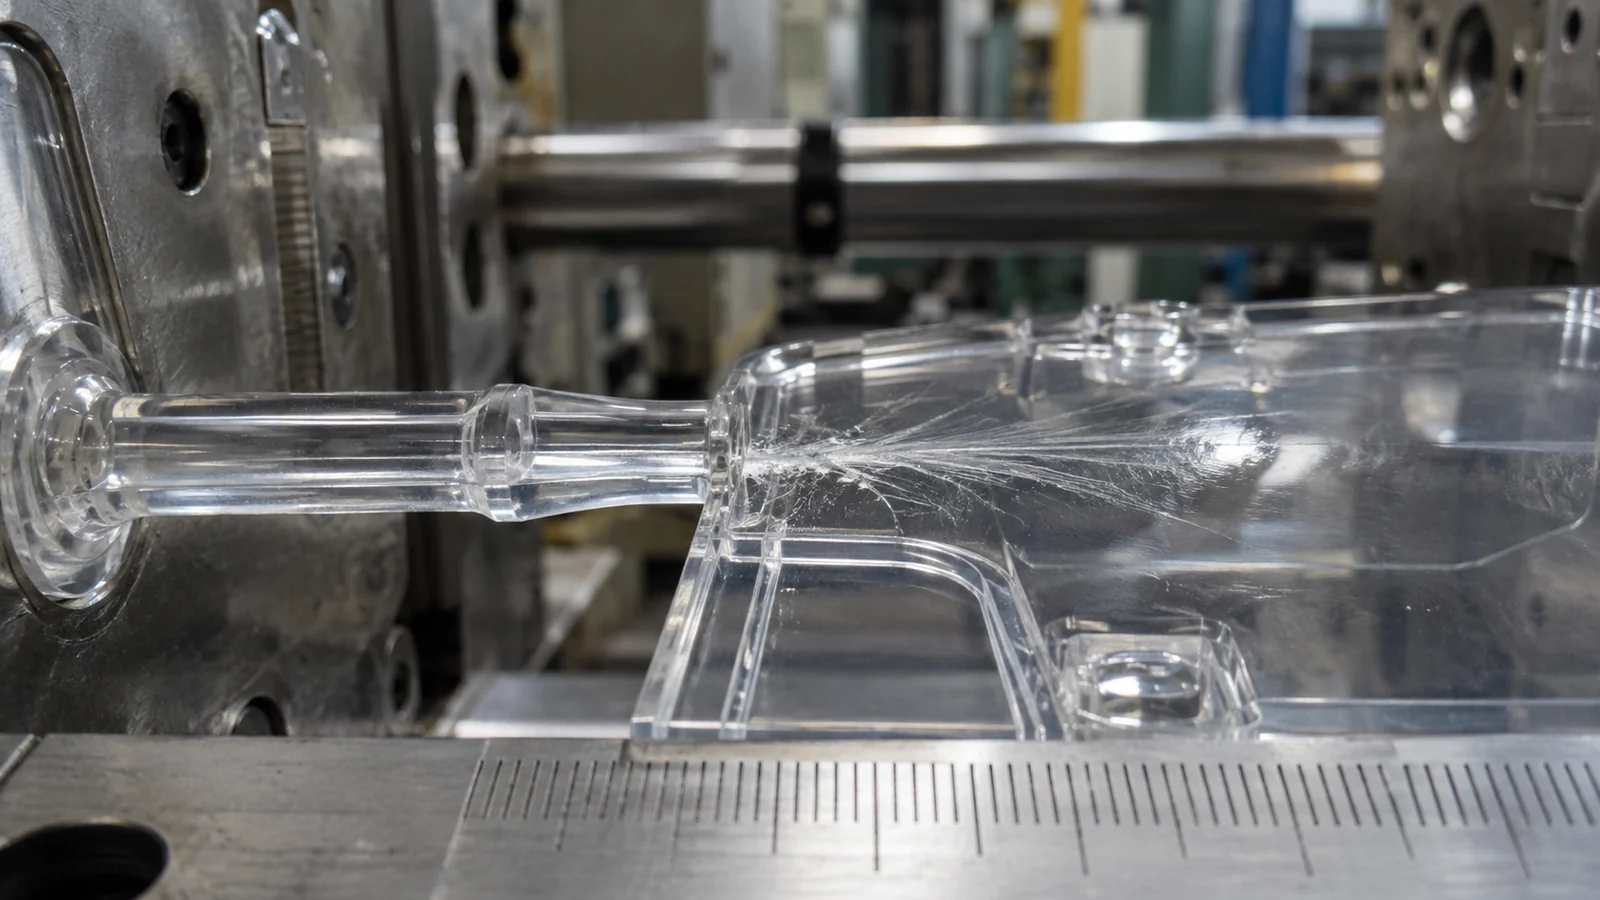
Streaks beginning directly at the gate suggest gate shear, trapped gas near entry or material condition before the cavity. Streaks that begin after a rib, thickness change or hesitation region point toward local shear or gas release. Random streaks that change location may indicate inconsistent moisture, contamination or air entrainment.
Compare every cavity. A defect limited to one cavity is less likely to come only from bulk resin drying and more likely to involve that cavity’s gate, vent, runner or surface condition. Defects across all cavities direct attention upstream.
A Hot Dryer Does Not Prove Dry Resin
Hygroscopic resins absorb moisture into the pellet. They require the correct temperature, time, airflow and low-dew-point air for the specific grade. A displayed temperature can be correct while airflow is restricted, the desiccant is exhausted or wet material enters through an open transfer path.
Use a material-appropriate moisture test when available. Compare resin from the hopper and sealed source, and document exposure time. If verified dry material eliminates the streak under the same machine conditions, the evidence is stronger than simply increasing drying time.
Air Can Enter Before or During Filling
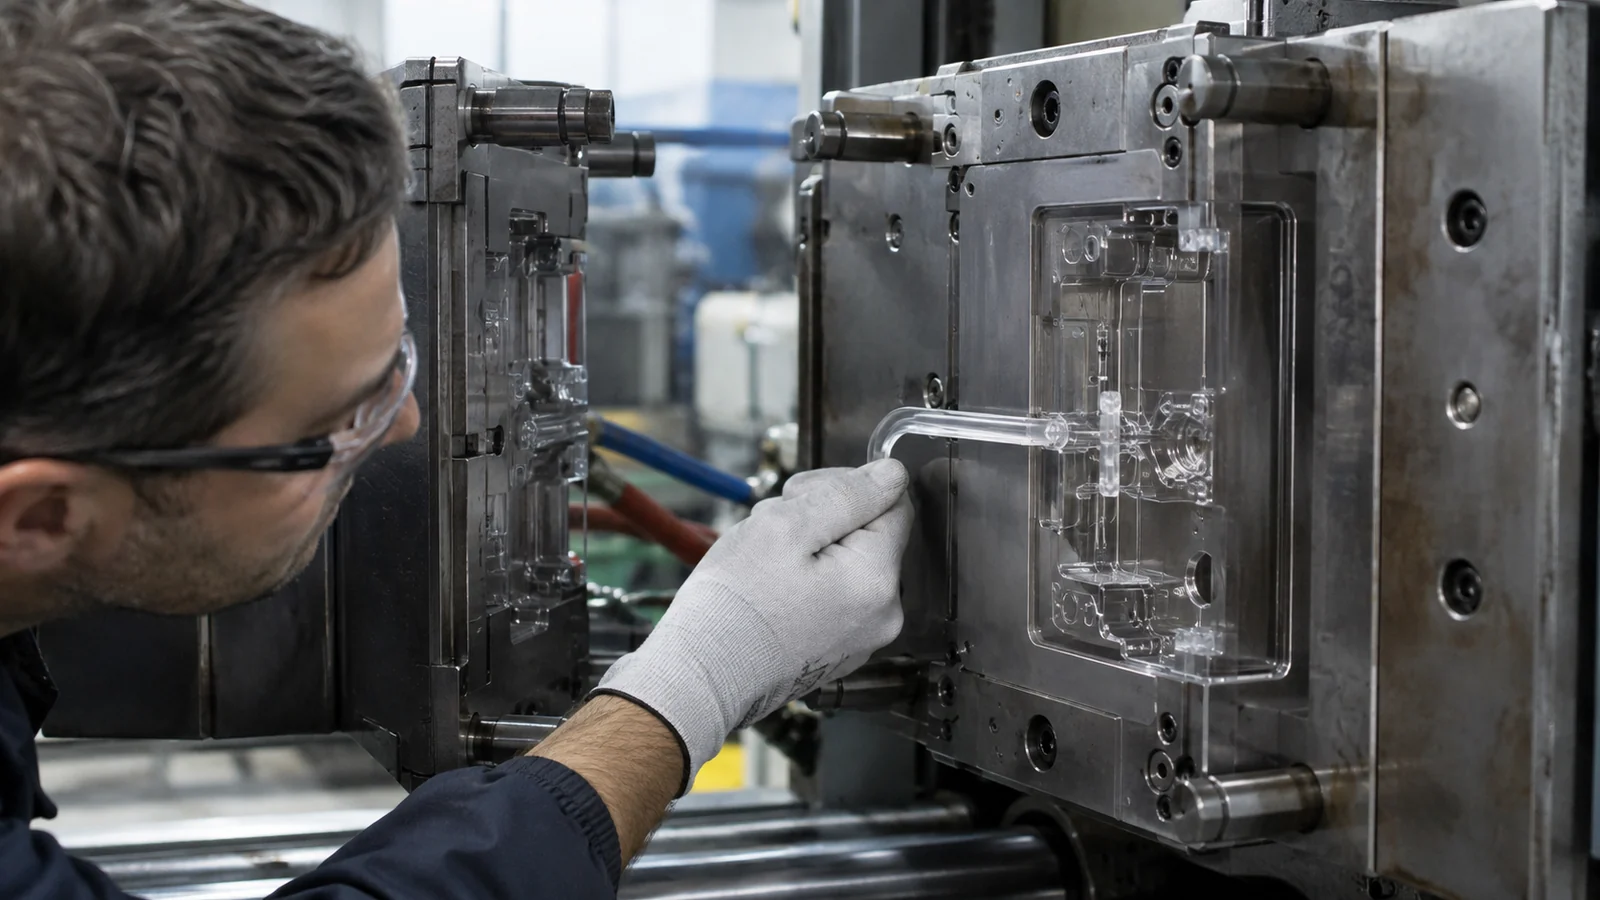
Excessive screw decompression can pull air into the melt stream. Poor venting can trap air in the cavity. A high initial injection velocity can compress that air or create jetting at a small gate. Inspect screw recovery, cushion stability, decompression distance, nozzle behavior and vent condition.
Short-shot studies show where the air is pushed. If the defect develops at an end-of-fill region, venting deserves priority. If it begins at the gate before the cavity approaches full, inspect upstream conditions and local shear.
Heat History Can Create Volatiles in Dry Material
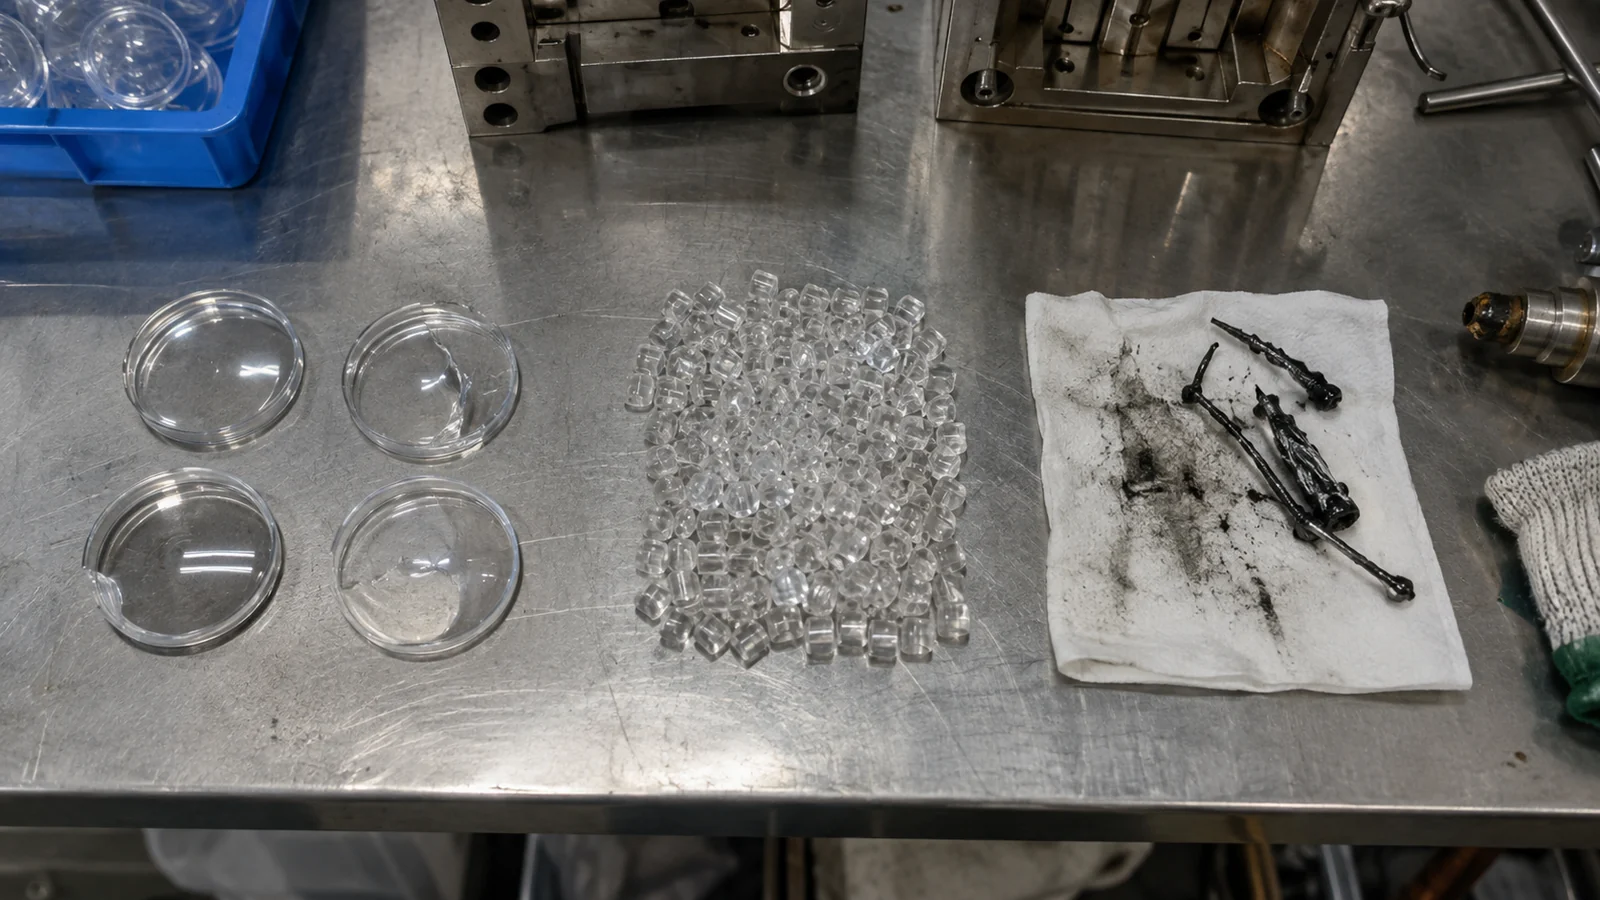
Excess melt temperature, long residence time, dead spots or repeated regrind heat history can degrade resin and release gas. Watch for discoloration, odor, black specks or changing purge appearance. Small shot size relative to barrel capacity can extend residence even when cycle time looks normal.
Reduce heat exposure only within the supplier’s processing range and confirm actual melt temperature. A lower controller setting does not immediately remove degraded material already in the barrel. Purging and stabilization may be needed before judging the change.
Run the Checks in an Order That Preserves Evidence
- Confirm resin identity, lot, colorant and regrind history.
- Verify drying with dew point, exposure time and moisture evidence.
- Compare cavities and map the defect to the fill pattern.
- Inspect nozzle, decompression, gate and vents.
- Review actual melt temperature and residence-time risk.
- Change one variable, stabilize and retain comparison parts.
On transparent parts, surface streaks directly affect light transmission and appearance, so the acceptance setup should match the product’s viewing condition. This is part of process validation for Optical & Clear Injection Molding, not a final sorting exercise.
Do not let a clean purge end the investigation
A purge can remove wet, degraded or contaminated material and temporarily clear the symptom. Record how many shots remain clean and whether the defect returns after screw recovery, an interruption or a longer cycle. Recurrence timing is evidence about residence, air entry and deposit release.
For supplier diagnosis, provide resin and colorant designations, dryer settings and measured dew point, open-container exposure, regrind percentage, barrel utilization, cycle time and defect photos by cavity. These inputs prevent a generic “dry it more” response and focus the trial on the most likely mechanism.
Confirm the fix through realistic interruptions
A continuous run can look clean while normal stoppages recreate the defect. Include startup, a planned pause, material refill and the slowest expected cycle in confirmation. If splay appears only after an interruption, residence, nozzle drool, decompression or material exposure becomes more important than the steady-state settings.
Inspect packaging and downstream cleaning as well. Fine scratches, wiped residue or stress whitening may be mistaken for molded silver streaks. Compare a part directly at ejection with one after handling to determine whether the visual symptom belongs to molding or the later process.
Frequently Asked Questions

Is every silver streak caused by moisture?
No. Moisture is common, but air, degradation, contamination and shear can produce similar evidence.
Can faster filling improve splay?
It may move or worsen the symptom. The result depends on whether the source is a cold hesitation, trapped gas or high shear. Diagnose first.
Why does splay return after a good run?
Look for material exposure, dryer performance, vent deposits, residence-time changes, color change or inconsistent startup procedures.