
The phrase lsr liquid silicone implant can describe very different engineering requirements. A short-term contact component, an implantable component, and a device accessory may all use silicone, but they do not share the same evidence package or release criteria. Material selection must follow the intended duration of contact, body environment, sterilization method, and regulatory pathway.
For implant-related work, Stampaggio di gomma siliconica liquida (LSR) is best treated as one part of a controlled product-development system. The molding process can create repeatable geometry, but it cannot by itself establish biological safety, clinical suitability, or regulatory compliance. Those conclusions belong to the device owner’s qualification and submission program.
Define the medical use before choosing a grade
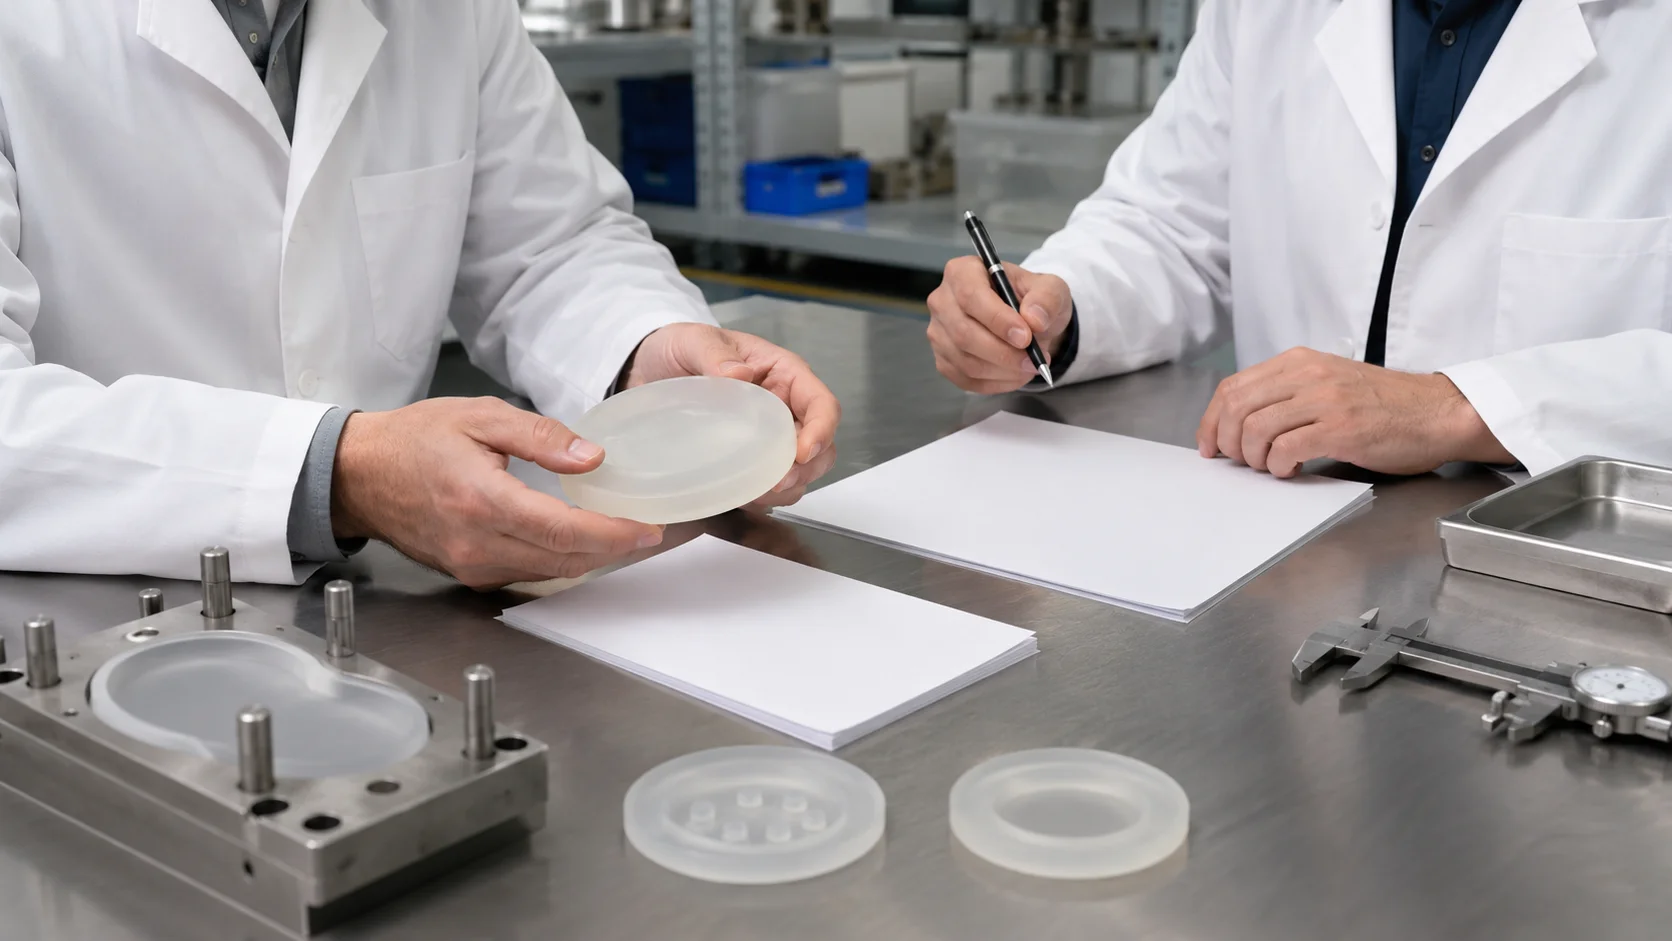
Start with a written use profile. It should state whether the silicone touches tissue, blood, medication, or another fluid; whether the contact is transient, prolonged, or permanent; and whether the part is implanted as a standalone component or as part of a larger assembly. Temperature, pressure, cyclic loading, and expected shelf life should be recorded as design inputs rather than left to a later material discussion.
| Question | Why it changes the qualification plan |
|---|---|
| What is the contact duration? | Longer exposure generally requires a deeper biological and aging assessment. |
| What sterilization cycle is used? | Heat, radiation, gas, or other methods can affect properties and packaging. |
| What is the failure mode? | A seal, membrane, tube, or implant interface needs different tests. |
| What is the release unit? | The plan may require lot-level, cavity-level, or 100% visual controls. |
Material documentation is necessary, but not sufficient
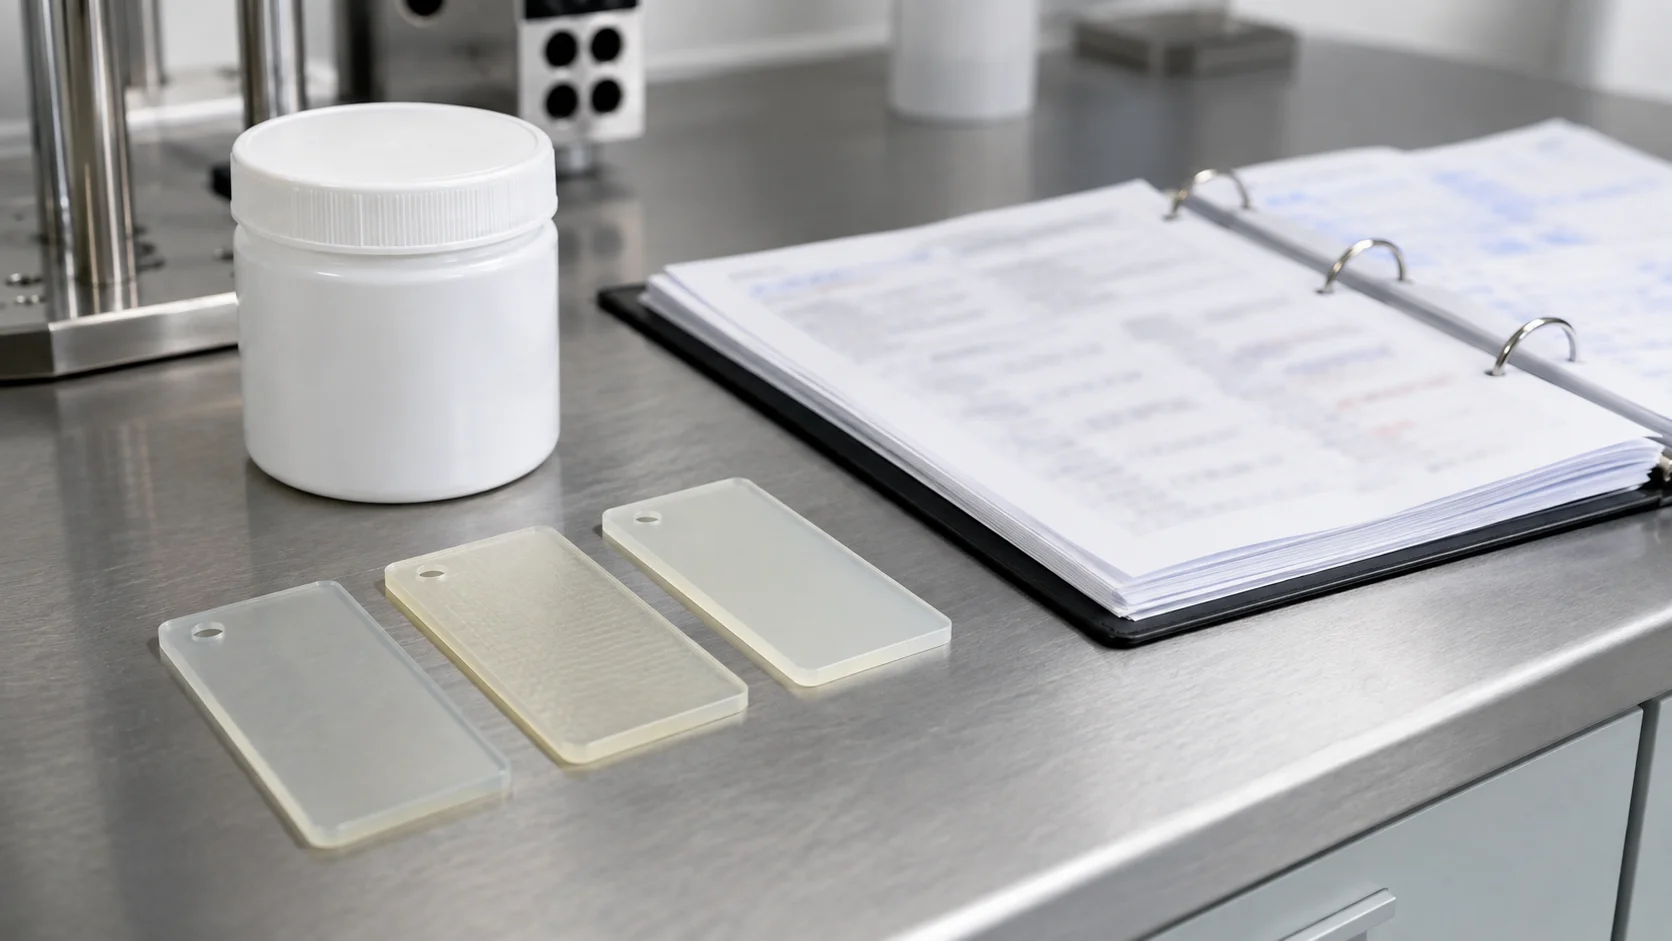
Ask for the complete grade documentation before a design is frozen: technical data, recommended processing conditions, lot identification, colorant or additive information, and any statements relevant to the intended contact. A grade marketed for medical use is not automatically approved for every implant design. The device application, geometry, processing history, cleaning, packaging, and sterilization all influence the finished component.
Pay special attention to the difference between a raw-material statement and a finished-part result. The molded part may contain traces from the tool, handling environment, release chemistry, pigment system, or packaging. If a project requires a cleanroom process or controlled post-cure, define those requirements in the manufacturing specification and verify them during validation.
Design the part around the real biological and mechanical interface
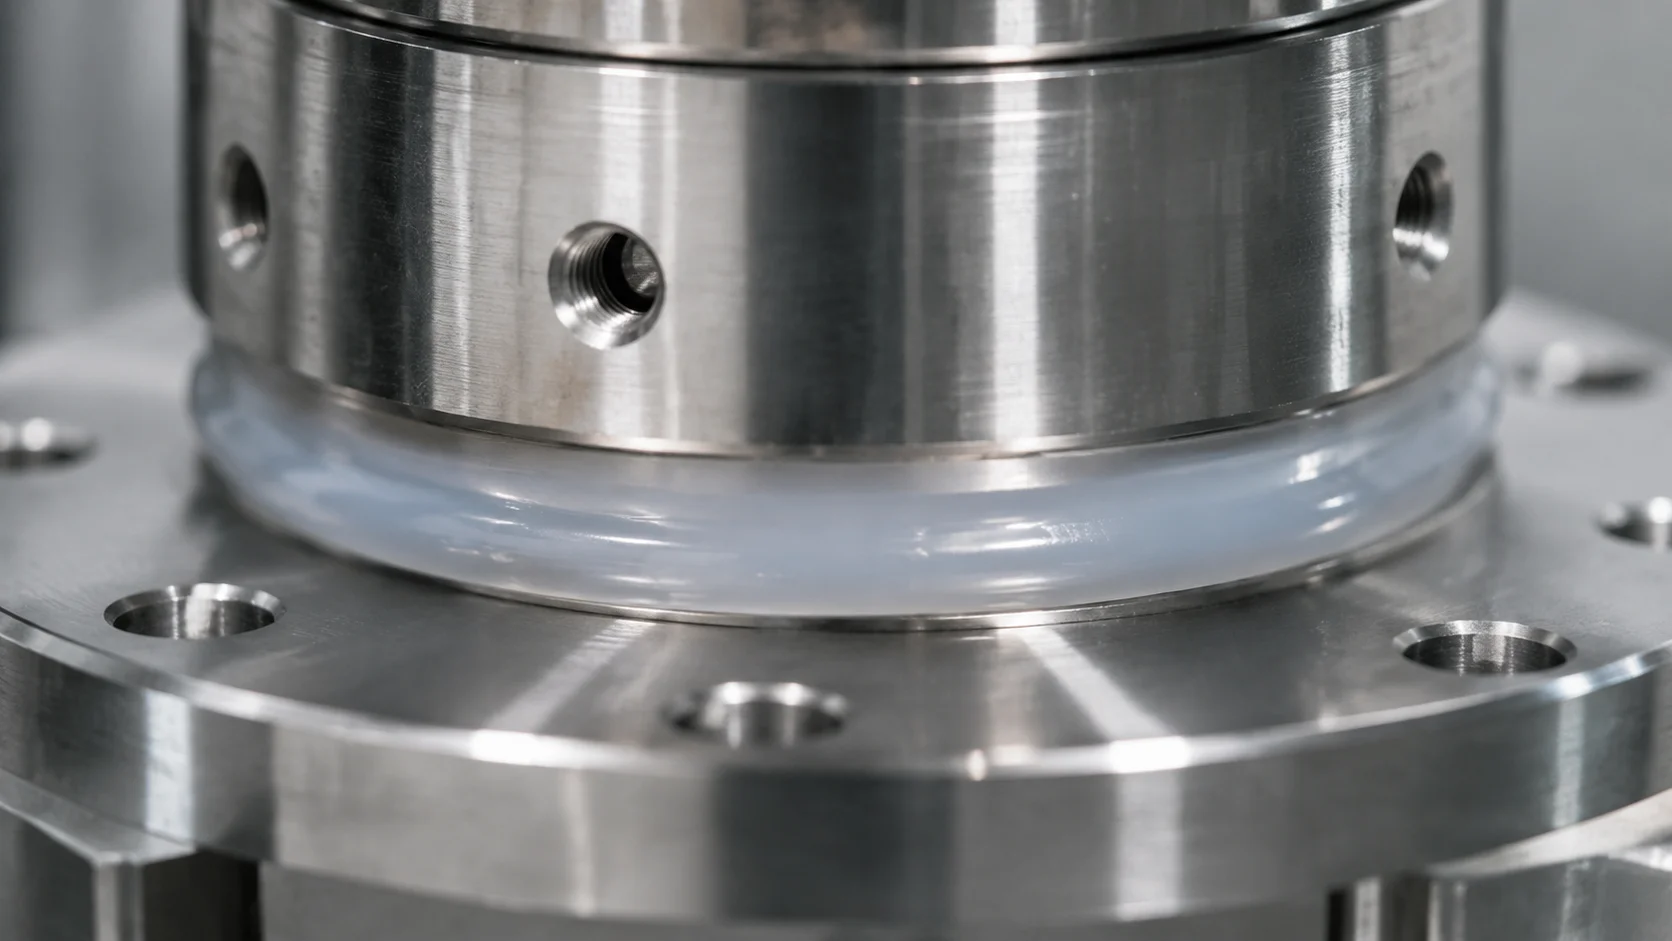
An implant-related silicone part should not be designed only from a nominal CAD surface. Review the interface that performs the clinical function. A sealing lip needs controlled compression without excessive stress concentration. A thin membrane needs predictable flexing and a clean transition to its supporting wall. A tube or sleeve needs a bore that remains functional after curing, demolding, sterilization, and storage.
- Remove unnecessary sharp transitions: use radii where they reduce tearing or local stress.
- Protect critical surfaces: keep parting lines and gates away from functional contact areas where possible.
- Plan demolding early: flexible parts can deform if the release path is not controlled.
- Separate cosmetic from functional limits: a harmless witness mark and a sealing defect should not share one acceptance rule.
- Record the measurement condition: time after cure, temperature, and fixture geometry can affect results.
Sterilization and aging belong in design verification
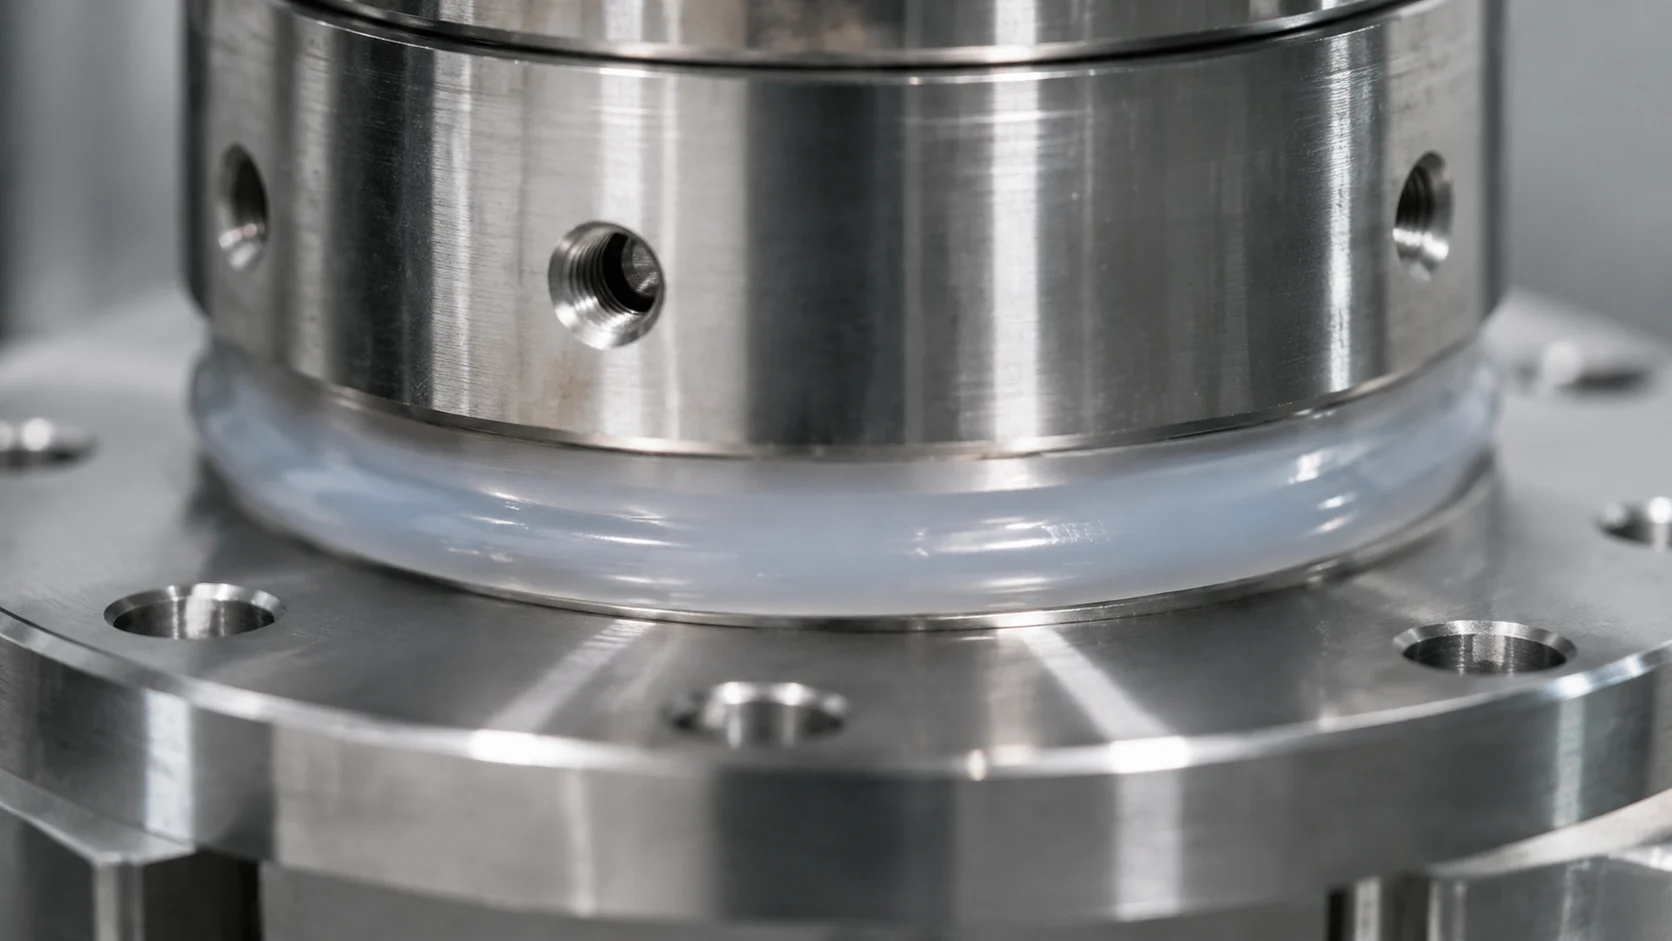
A component that passes an as-molded inspection may behave differently after the intended sterilization cycle or accelerated aging condition. Evaluate the properties that carry the clinical function: dimensions, compression recovery, tear resistance, elongation, seal performance, surface condition, and any relevant extractables or leachables assessment defined by the device program.
Do not choose a test only because it is convenient. The test fixture should reproduce the way the part is assembled and loaded. If the product is compressed inside a housing, test it in that housing. If it is stretched over a feature, include the stretch and release sequence. The result should help answer whether the part remains safe and functional throughout its stated life.
Build traceability from incoming material to release
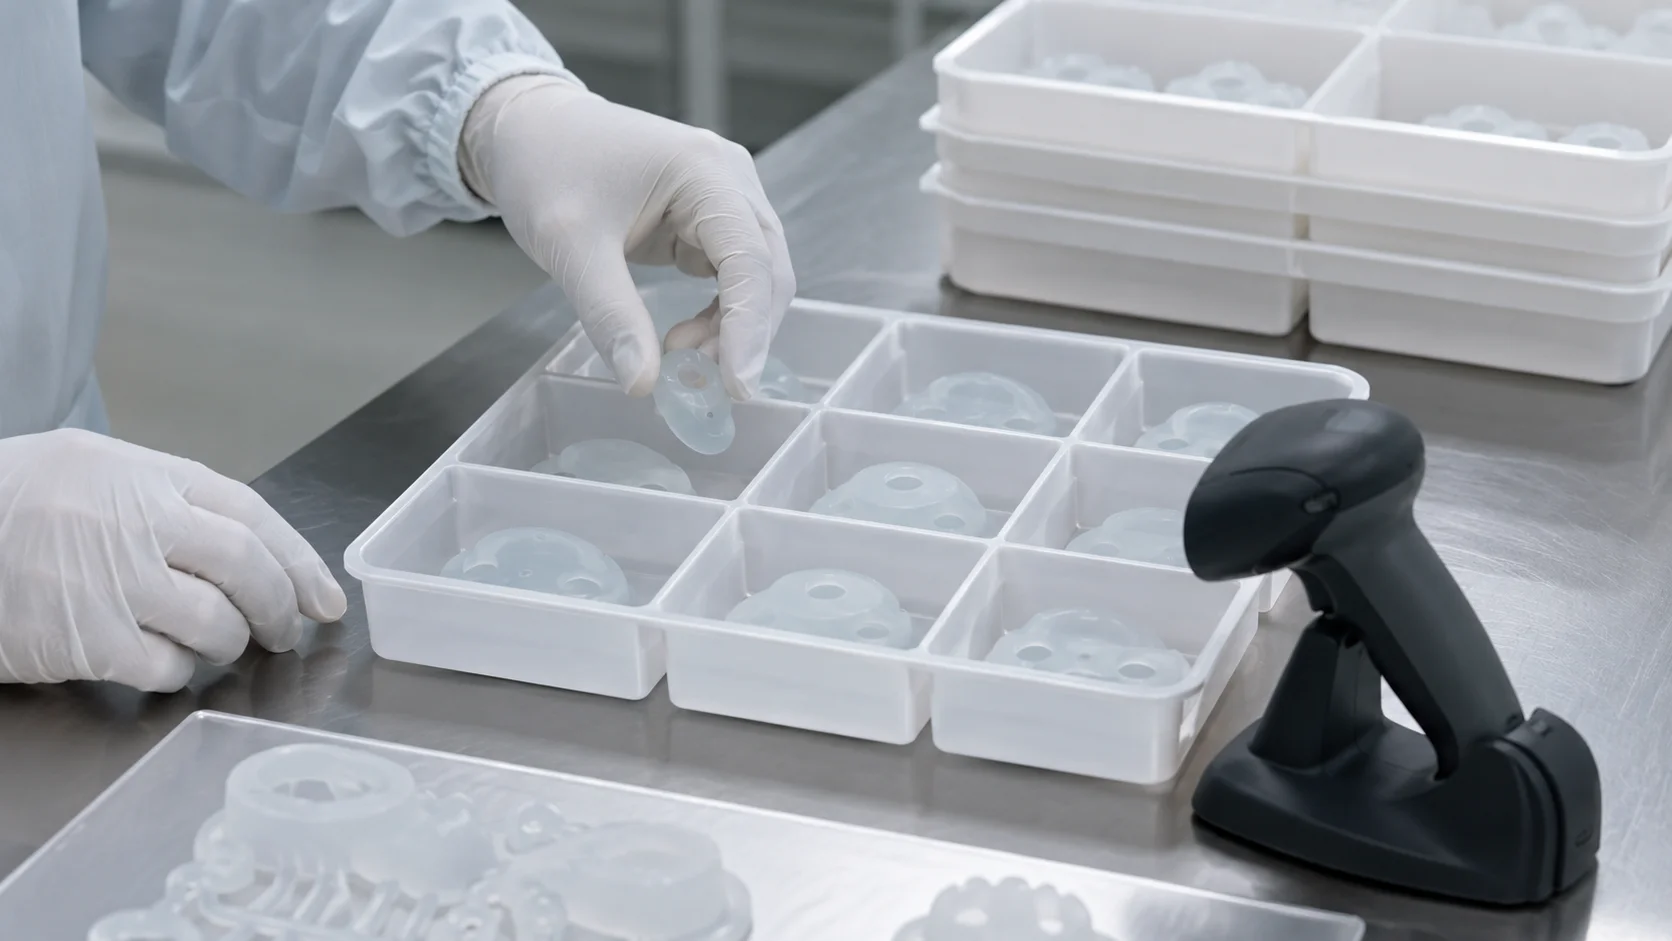
A controlled implant-related project needs a chain of identity: material lot, mold or cavity, process setup, operator or automated cell, inspection record, packaging lot, and disposition decision. The quality-control page is a useful internal reference for organizing inspection gates, while the project specification should define the actual sampling and acceptance requirements.
A practical release checklist includes:
- Approved material and supplier documentation matched to the device design.
- Validated metering, mixing, mold-temperature, and cure controls.
- Defined visual limits for flash, particles, bubbles, knit lines, and surface damage.
- Functional testing after the relevant post-treatment and sterilization exposure.
- Complete lot and cavity traceability with controlled change management.
The safest conclusion is also the most useful one: LSR can be a strong candidate for implant-related components, but suitability must be demonstrated for the exact grade, process, geometry, and clinical use. Treat the material claim, tooling plan, process validation, and finished-part evidence as connected workstreams, and involve the device owner’s regulatory and clinical experts before production release.