
Thin wall packaging prototypes should answer more than one question. A sample that looks good on the bench may still fail when the gate moves, the wall gets thinner, the closure is applied, or the part is handled at production speed. A useful prototype review checks filling, sealing, stiffness, ejection, and dimensional stability together so the design team knows which risks remain before production tooling.
What a Prototype Must Prove
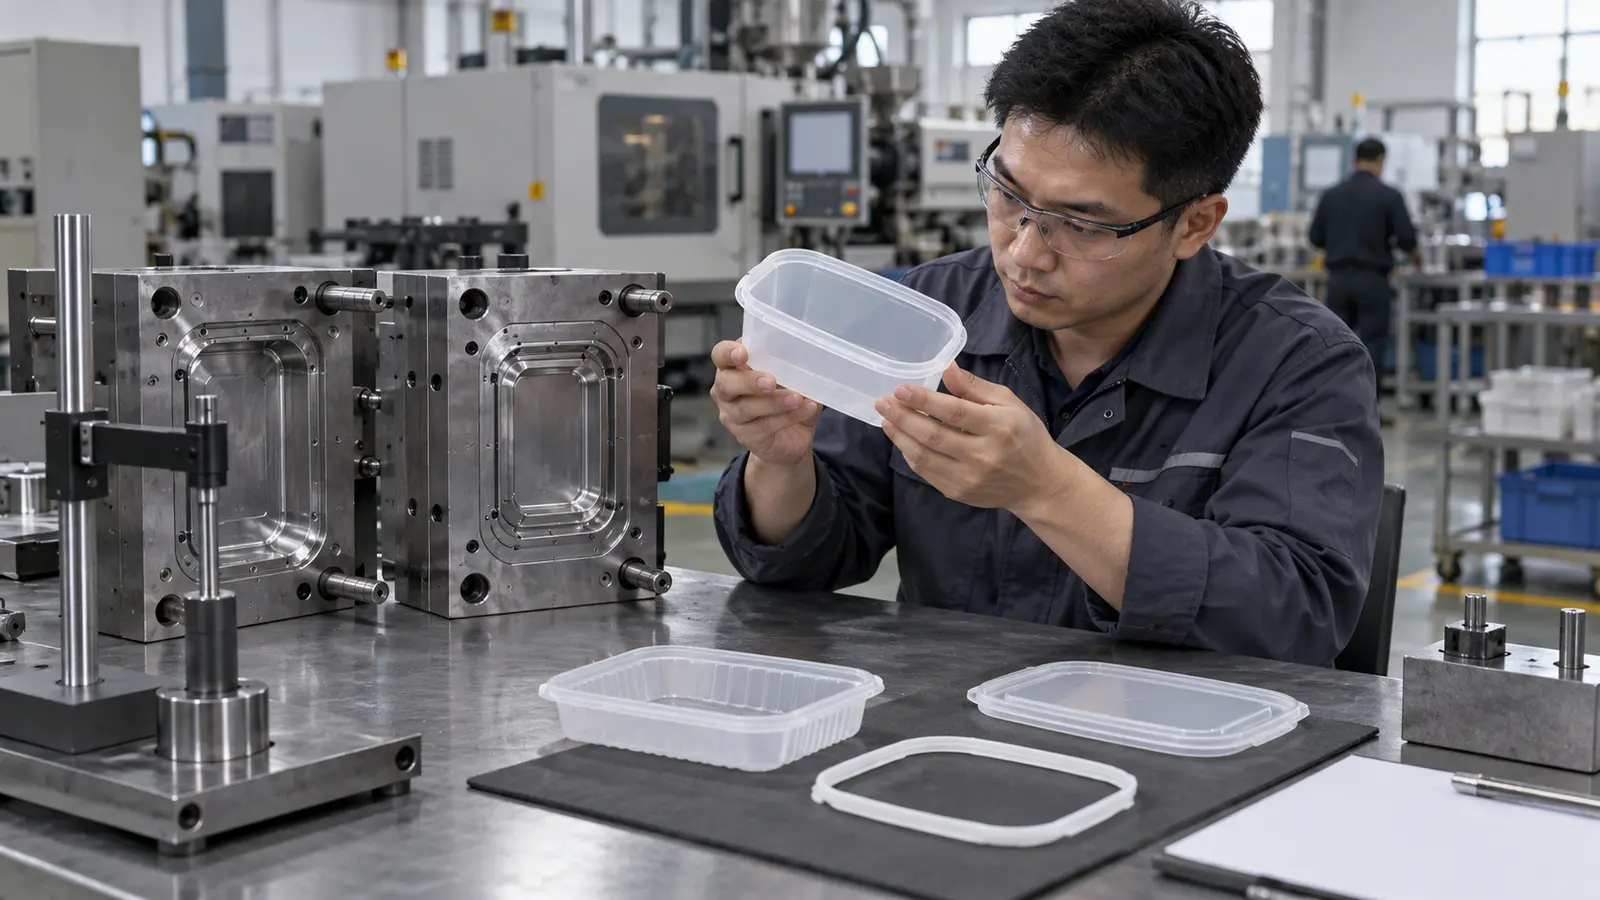
Packaging prototypes should expose design risk while changes are still inexpensive. The goal is not to claim that a prototype has already demonstrated full production capability. The goal is to learn whether the wall thickness, flow path, closure, and handling requirements are compatible.
- Can the cavity fill without a short shot or unstable end-of-fill?
- Does the container retain its shape during demolding and handling?
- Do the neck, seal, thread, or snap features work with the intended mating part?
- Does the surface appearance remain acceptable after cooling and storage?
A prototype can use a soft tool, bridge tool, or another development route, but the test plan should still represent the important production conditions. Otherwise, the team may approve a geometry that only works in a forgiving sample setup.
Which Geometry Details Matter
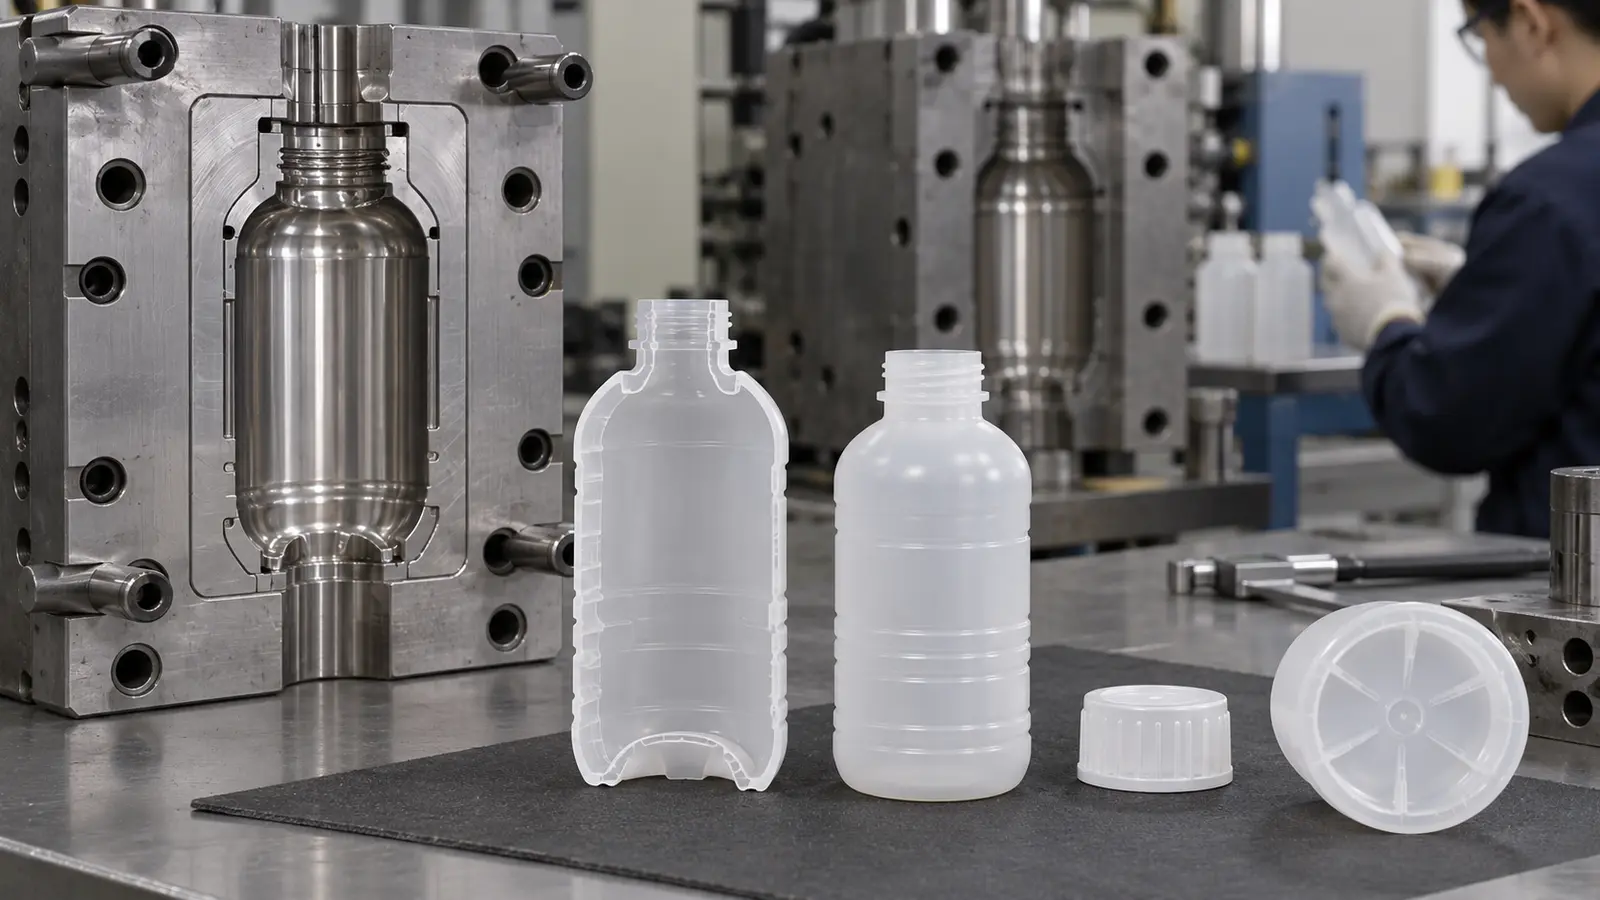
Thin packaging walls are sensitive to flow length, corners, ribs, threads, and changes in section thickness. A long panel may fill differently from a short cup even when both use the same nominal wall. Heavy bosses and thick neck regions can also cool at a different rate and pull the thin wall out of shape.
- Map the distance from the proposed gate to the last-fill region.
- Keep transitions gradual where the design moves from the wall into a rim, shoulder, or base.
- Give the mold a clear venting route near trapped air and weld-line areas.
- Review draft and ejection before adding cosmetic texture or tight shutoffs.
Gate location is especially important for packaging. It influences the visible surface, weld-line location, filling balance, and the area available for packing. A gate that looks convenient in CAD may create a weak or distorted region in the molded container.
How to Screen the Material
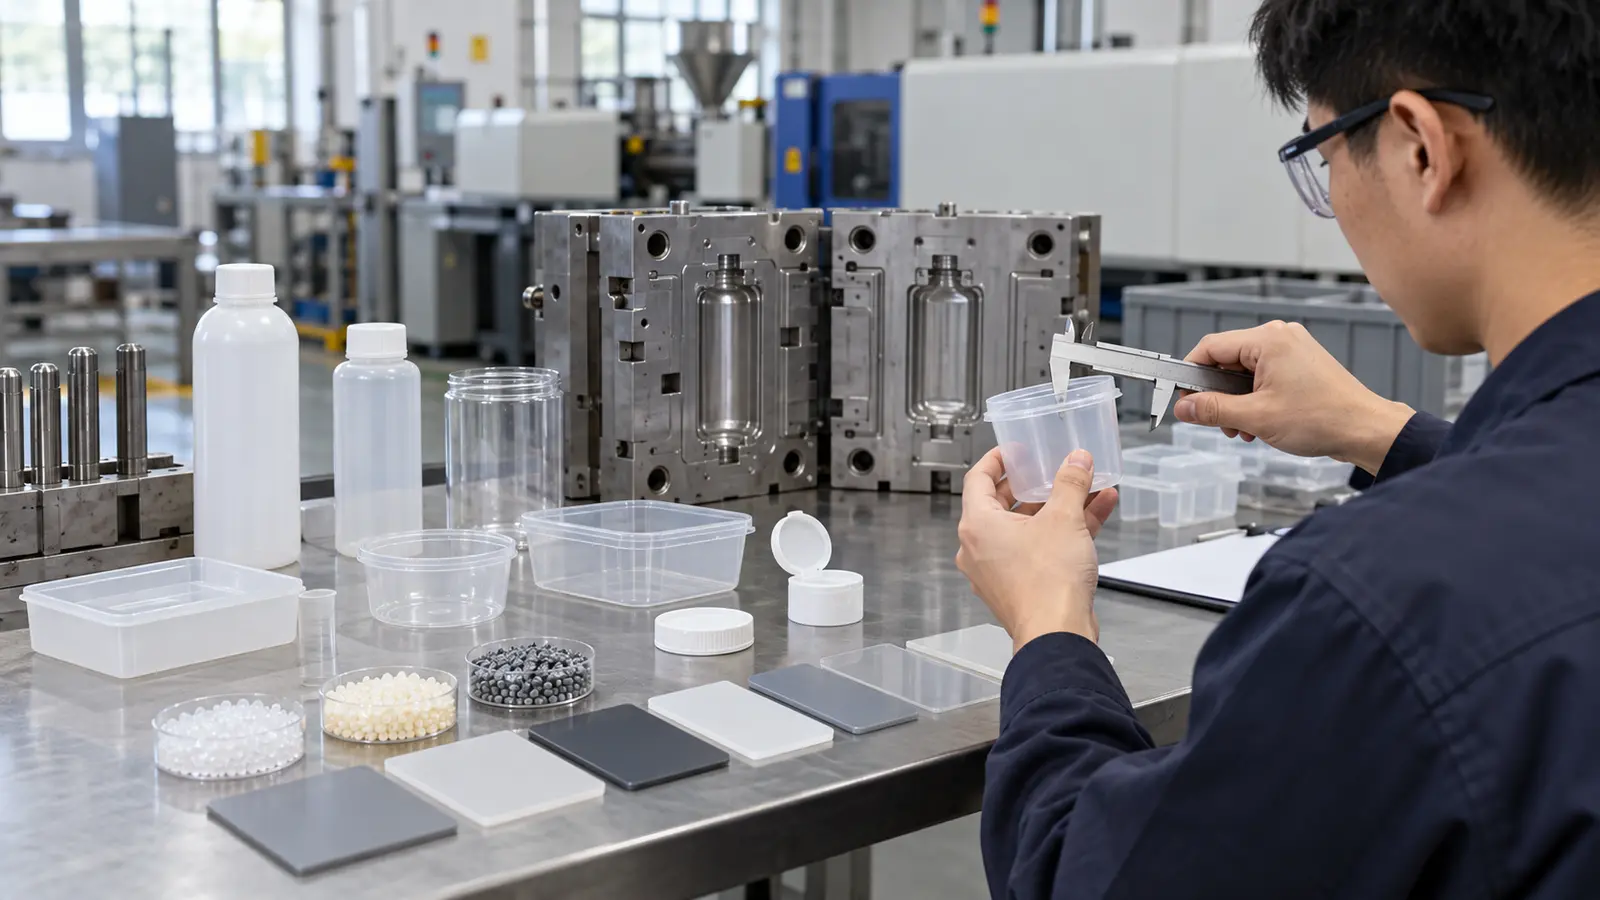
Material screening should connect flow behavior with the actual packaging function. A high-flow grade may help fill a thin section, but the final choice also needs to satisfy stiffness, impact, chemical exposure, transparency, barrier needs, sealing, and the project’s compliance requirements.
| Prototype check | What it reveals |
|---|---|
| Flow and fill | Whether the grade reaches the end of the cavity before freeze-off. |
| Closure or seal | Whether shrinkage and local stiffness support the mating interface. |
| Drop and handling | Whether a thin wall survives realistic handling rather than only visual inspection. |
| Storage condition | Whether heat, humidity, or chemical contact changes shape or sealing. |
How to Test Molded Samples
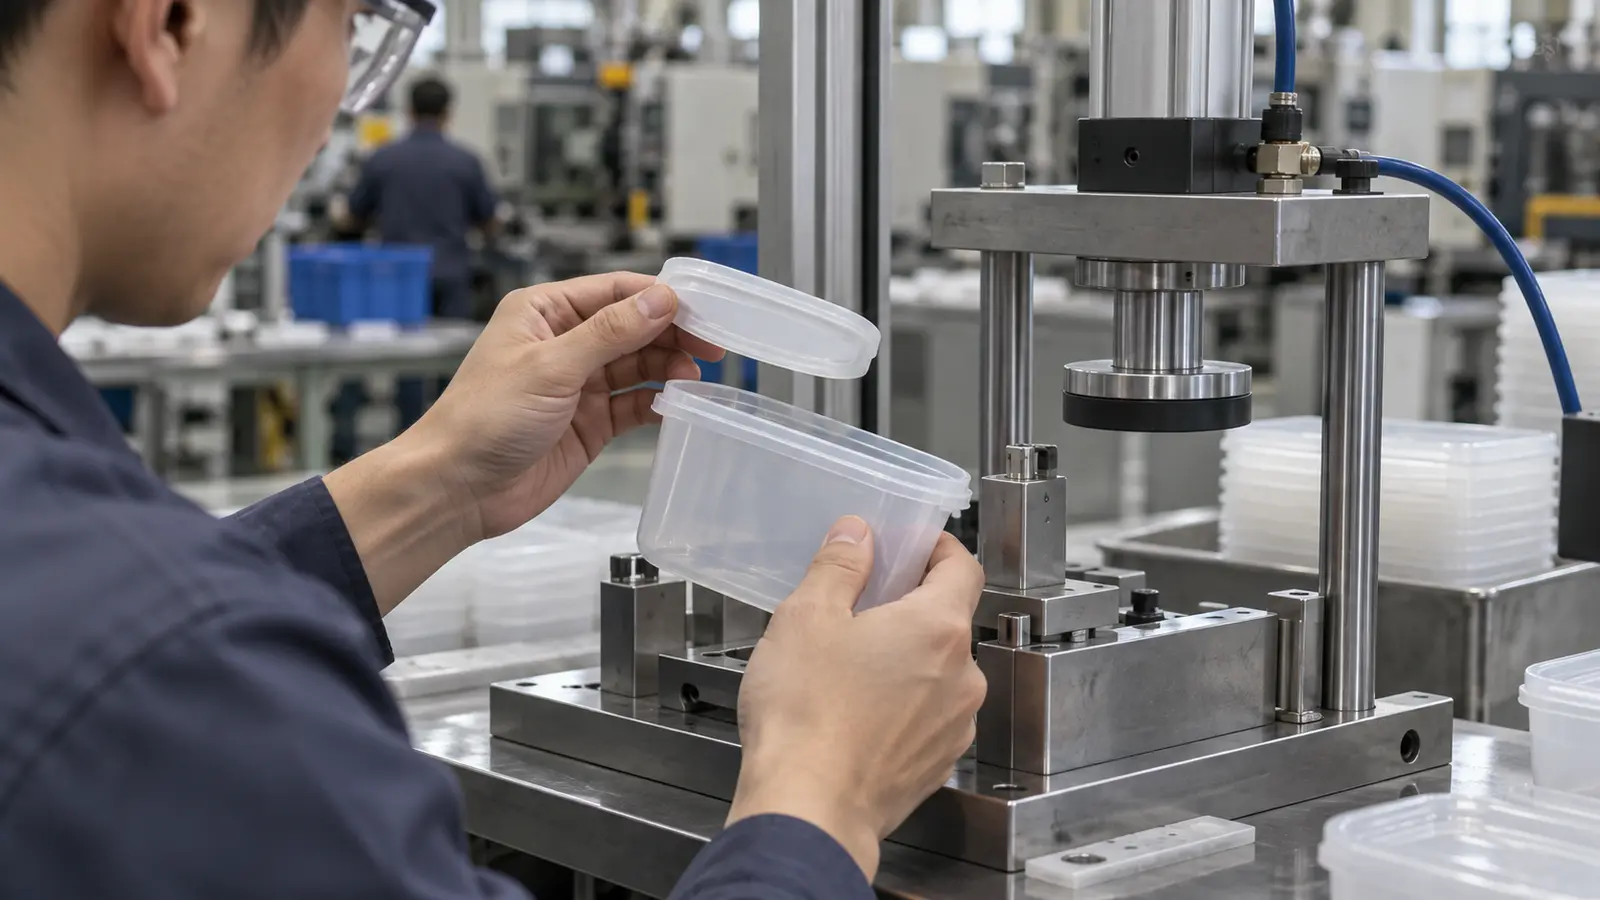
Test samples at the stage when the product team will make its next decision. If the question is closure fit, inspect the closure repeatedly. If the question is shipping durability, use handling and drop conditions that resemble the intended package. A single dimension taken immediately after ejection does not describe the part’s stable behavior.
- Record material lot, molding conditions, cavity, and sample age.
- Measure wall thickness, flatness, neck dimensions, and sealing features.
- Inspect short shots, burn marks, weld lines, flow marks, and gate appearance.
- Run repeated closure, leak, drop, or compression checks as appropriate to the package.
- Separate cosmetic limits from functional acceptance criteria.
The development team should record failures as design information. A warped base may point to cooling imbalance, while an unstable seal may indicate local shrinkage or insufficient support. Fixing the visible symptom without identifying the mechanism can create a second failure elsewhere.
When to Release Production Tooling
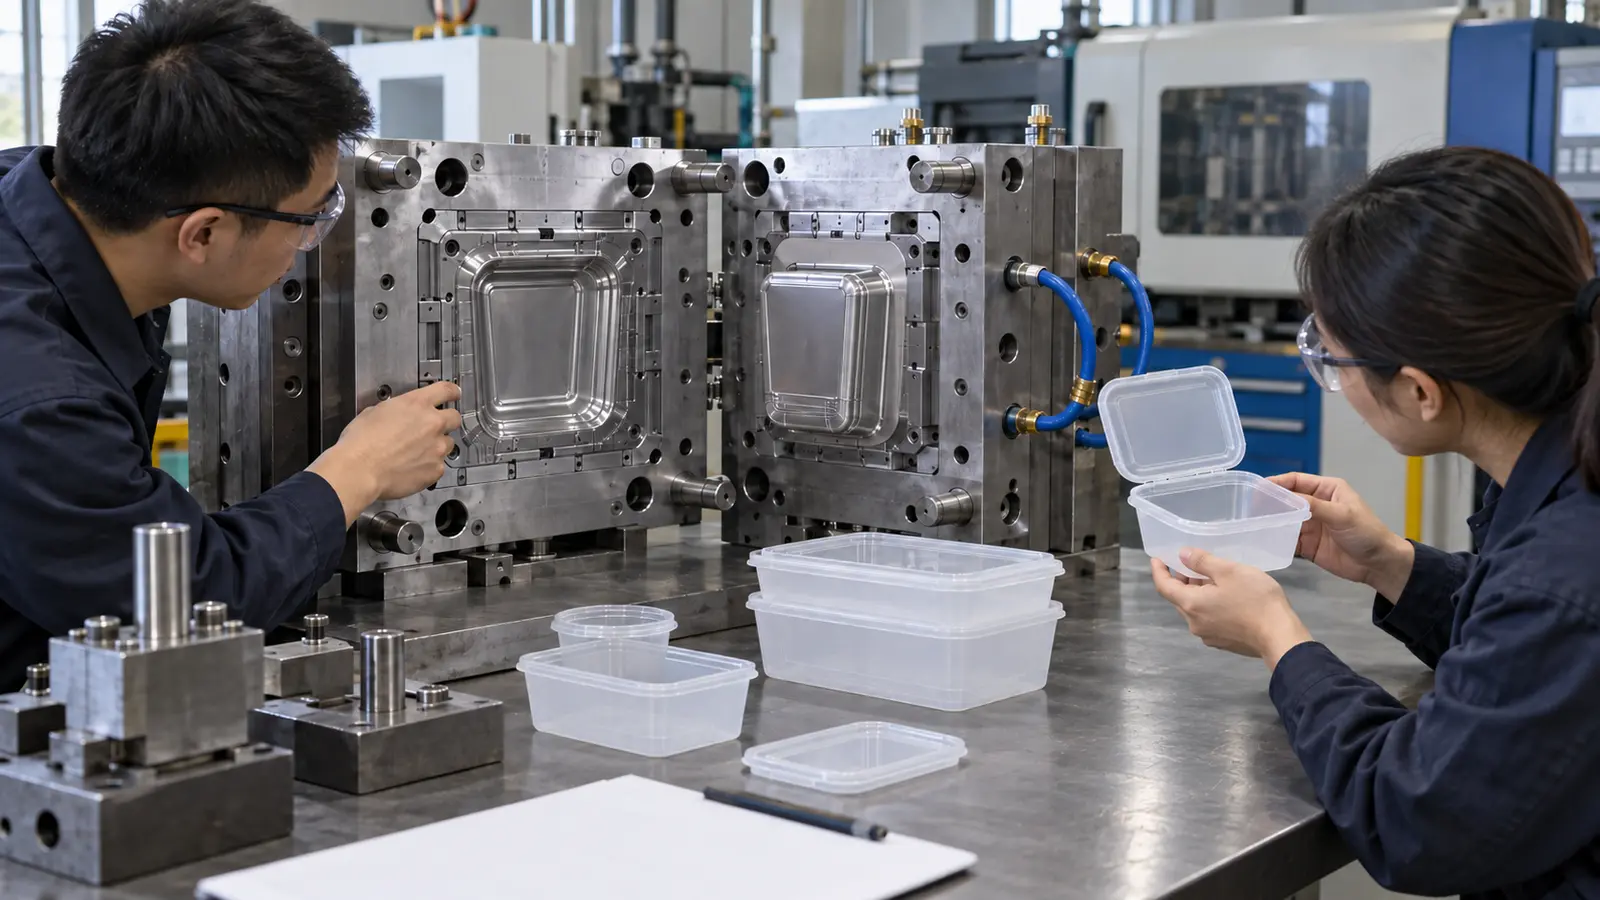
Production tooling should be released when the remaining risks are understood, not simply when the prototype looks acceptable. The handoff package should include the approved material grade, gate concept, critical dimensions, test results, visual standards, and the changes required for production cooling and ejection.
For difficult thin sections, a DFM review and flow analysis can compare gate positions, air traps, and pressure demand before the final tool layout. The broader thin wall injection molding process should be treated as a coordinated design decision, not as a last-minute machine setting.
How Packaging Requirements Change the Mold Review
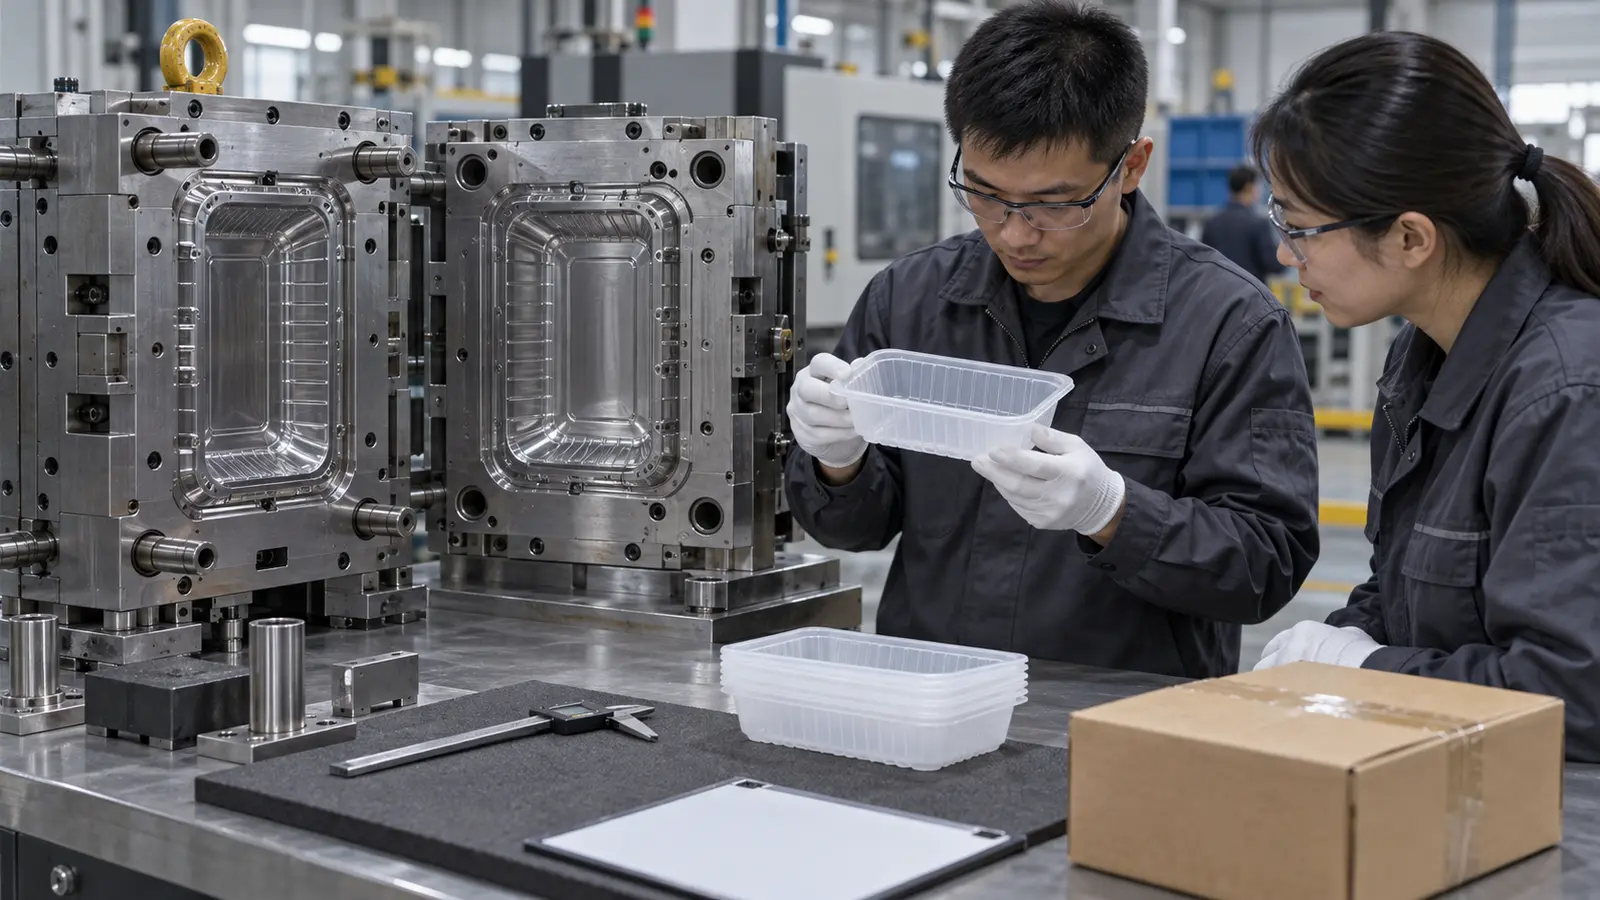
Packaging prototypes need a handoff definition. The prototype team should state which results transfer directly to production and which are only directional. A soft tool may reveal closure fit and handling behavior, but final cooling, cavity balance, gate vestige, and ejection still need production-tool review.
Pay particular attention to the interface between the thin wall and the sealing feature. Local stiffness, shrinkage, thread form, lip geometry, and storage temperature can change leak or closure performance even when the body looks correct.
- Write acceptance criteria for fill, fit, sealing, appearance, and handling separately.
- Record sample age and conditioning before dimensional or leak checks.
- Identify the production-tool changes required for cooling, venting, and ejection.
- Keep failed samples and photos with the decision record.
If the prototype exposes a design risk, the next step can be an injection molding DFM analysis, not an immediate production-tool order. For projects with strict dimensional or surface requirements, compare the result with the high-precision thin-wall molding reference.
FAQ: Thin Wall Packaging Prototypes

Can a prototype prove production cycle time?
Not by itself. A prototype can identify fill, ejection, fit, and handling risks, but production cycle time depends on the final tool, cooling layout, cavity count, and validated process window.
Should cosmetic appearance be judged first?
No. Confirm function and repeatability first, then evaluate gloss, gate marks, weld lines, and texture against a defined visual standard.
What is the most useful prototype measurement?
There is no single universal measurement. Wall thickness, sealing dimensions, flatness, and the feature that controls the product’s function usually deserve priority.