
An injection molding material changeover is complete only when the new resin is identified, the old material is cleared from the melt path, the new material is in its required condition, and first-off parts meet the project’s acceptance criteria. A color change or a few purge shots alone do not prove that a stable transition has occurred.
The risk is that several variables move together. A new grade may need different handling or processing conditions; leftover resin can contaminate the next run; and a change in color or reinforcement can make defects harder to diagnose. Treat the change as a controlled restart with a defined release check, not as an informal material swap.
En este artículo
- Map what remains in the melt path
- Before the change: verify the resin
- During the change: control the purge
- After the change: qualify the first parts
- Preguntas frecuentes
Map what remains in the melt path
Residual material can remain in the hopper throat, barrel, screw flights, nozzle, adapter, hot runner, or dead spots in the tool. The length and complexity of this path affect how much transition material must be displaced and where contamination may persist. A simple purge at the nozzle may not address every location in a hot-runner system.
Start with the actual equipment and material sequence. Identify the outgoing and incoming resins, whether they differ in color, base polymer, reinforcement, or processing temperature, and which components need inspection or cleaning. A supplier’s compatible purge recommendation or resin guidance should take precedence over a generic rule.
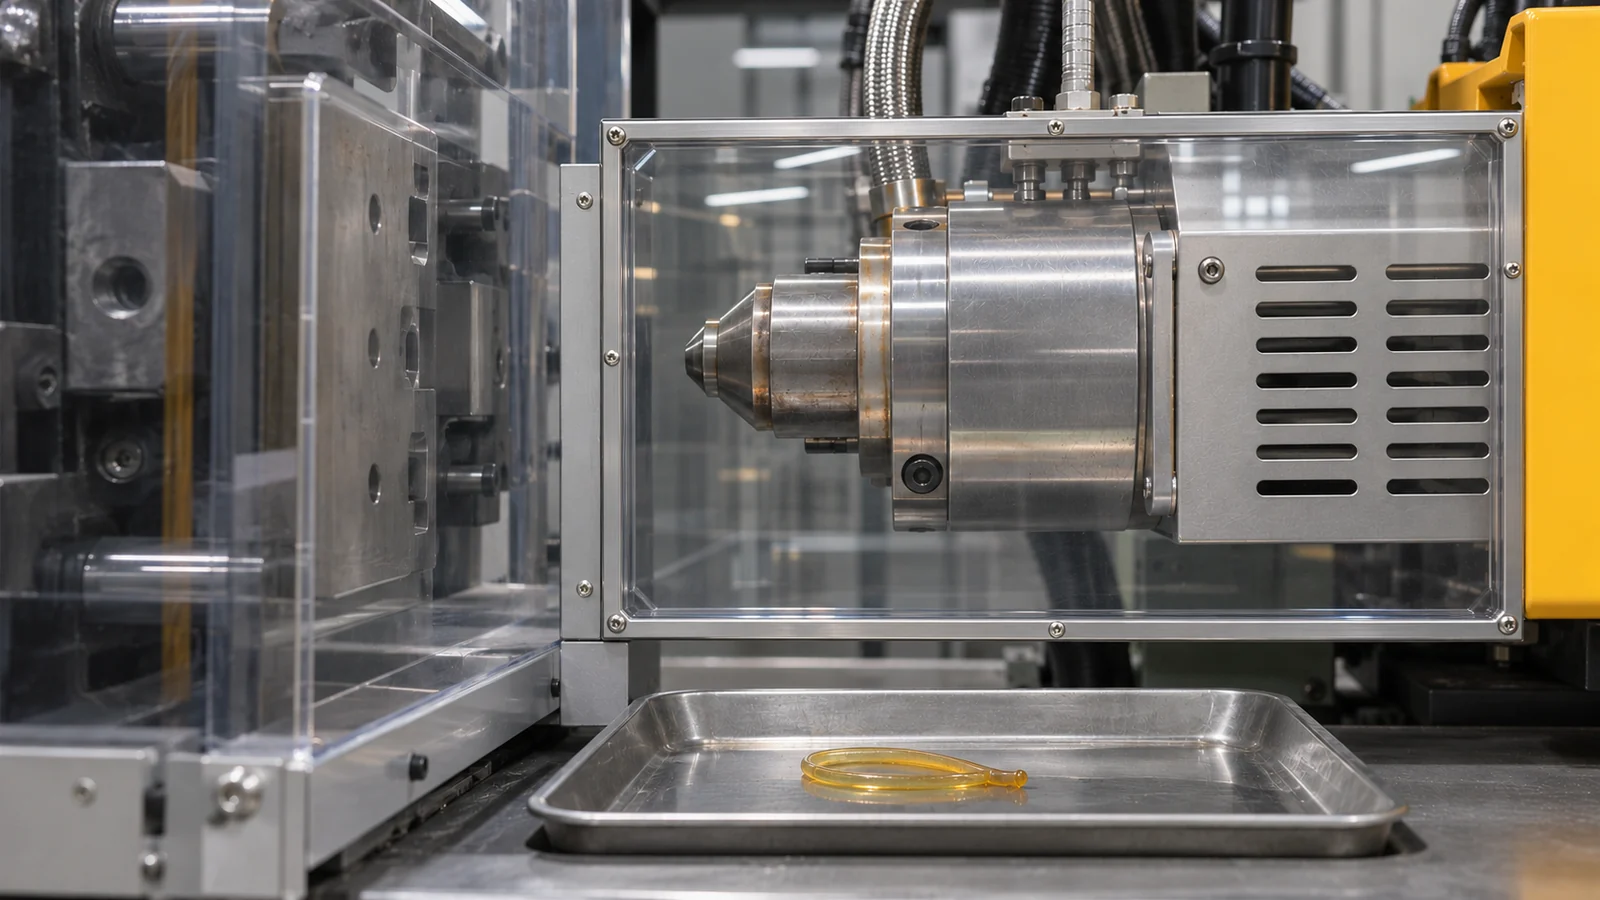
Contamination is not always visible as a dramatic color streak. Black specks or isolated surface marks can be clues that deposits or degraded material remain in the process path; use the black-speck troubleshooting guide when that symptom appears, rather than assuming every speck came from the incoming resin.
Before the change: verify the resin
Before loading the next material, compare the label and paperwork with the approved bill of materials. Confirm the exact grade, color, reinforcement, lot identification, and any customer-approved alternate. Similar family names do not guarantee identical flow, shrinkage, moisture response, or appearance.
- Check handling requirements. Review the resin supplier’s instructions for sealed storage, drying, and maximum exposure after drying. Do not reuse a drying temperature or duration from a different grade without verification.
- Confirm the process window. A higher processing temperature or longer residence time can affect material remaining in the barrel or hot runner. Review the incoming grade’s recommendations and equipment limits before transition.
- Protect traceability. Keep bags, containers, and regrind clearly identified. If regrind is restricted or prohibited by the specification, segregate it.
- Define release criteria. Decide what first acceptable parts must demonstrate: visual appearance, dimensions, function, material identity, or other project requirements.
El proceso más amplio resin selection and material information should be tied to the part’s requirements. Material substitution is an engineering change, not just a purchasing convenience.
During the change: control the purge
Use the equipment manufacturer’s safe operating procedure and the material supplier’s guidance for purging. A practical transition record should name the outgoing and incoming materials, purge compound or method if used, components included in the cleaning scope, and the point at which the operator will begin evaluating parts.
Do not use an arbitrary number of shots as the only acceptance rule. Purge effectiveness depends on the machine, screw and barrel condition, material compatibility, color contrast, and melt-path geometry. Where contamination risk is high, inspect accessible components and consider the hot-runner path as part of the changeover plan.
Process settings also need a deliberate transition. If the new resin has a different recommended temperature range, allow the equipment and melt path to stabilize according to the supplier guidance. Changing several settings at once makes it harder to diagnose early streaks, splay, burn marks, or inconsistent fill.
After the change: qualify the first parts
Keep transition parts segregated until release criteria are met. First-off inspection should use the approved drawing revision and focus on features that can be affected by the new resin or color. If the specification requires material certification or lot traceability, include that evidence in the release record.
- Confirm incoming resin and lot against the traveler.
- Check drying or handling records where required for the grade.
- Inspect for color carryover, streaks, splay, inclusions, burn marks, or other transition symptoms.
- Measure critical dimensions and verify fit or function if shrinkage or stiffness differs.
- Record the accepted first-off sample and release the run through the agreed quality process.
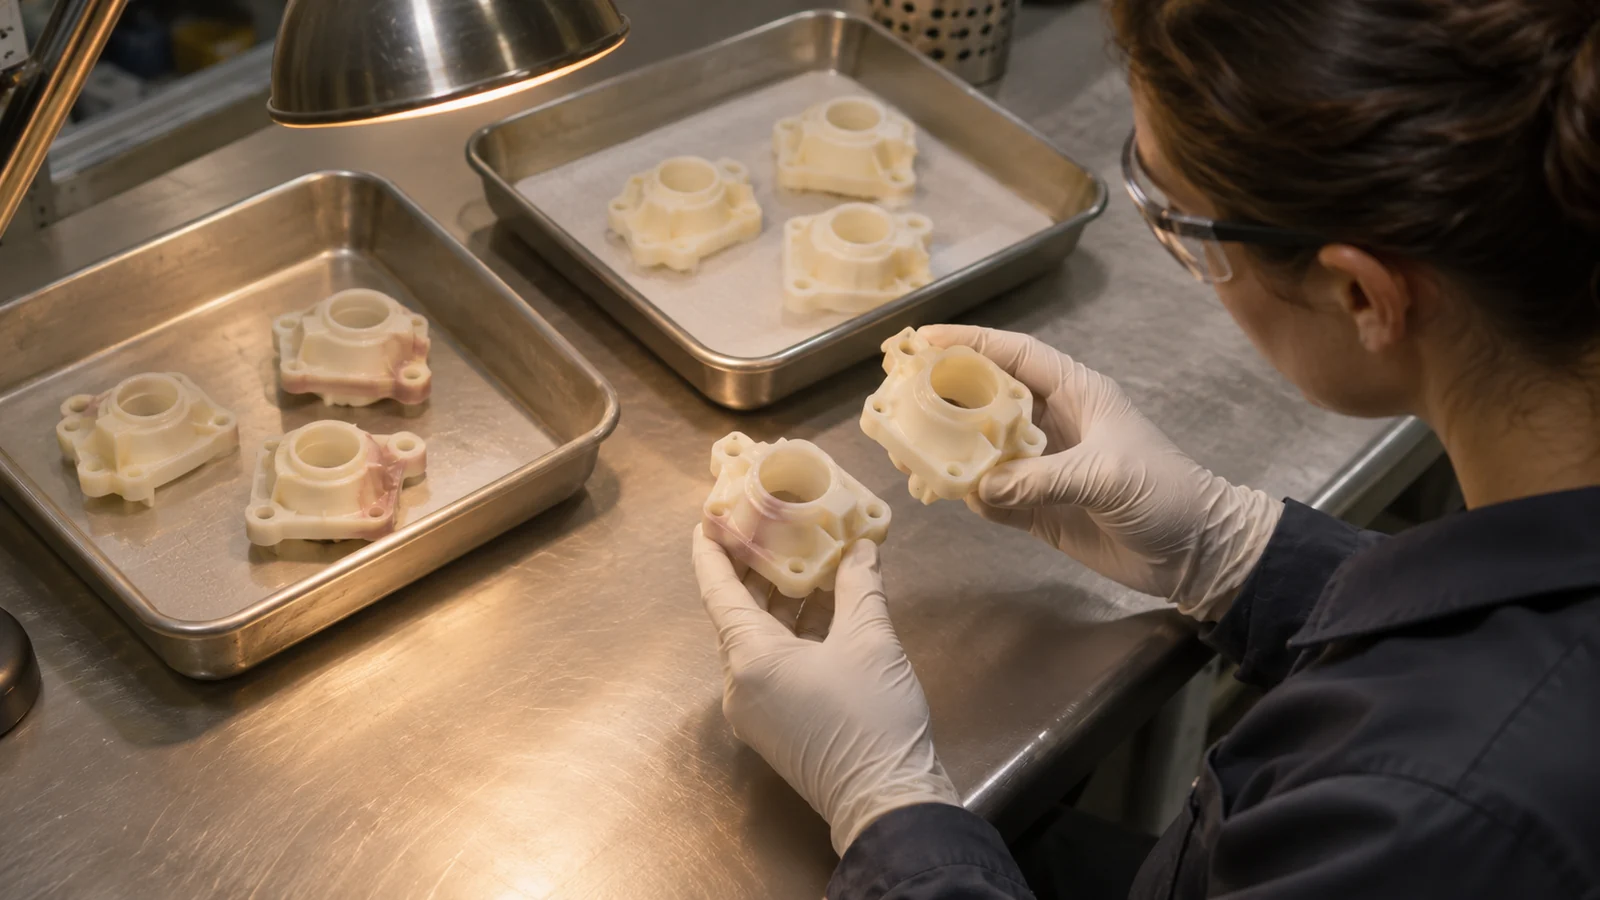
When a symptom appears, pause and isolate the cause. Verify material identity, moisture condition, purge coverage, and process stabilization before altering the mold. If the issue persists, review the proceso de moldeo por inyección de plástico and material requirements together.
Preguntas frecuentes
Can I switch between two grades in the same polymer family without purging?
Do not assume so. Grades can differ in color, additives, reinforcement, or processing behavior. Follow supplier guidance and the project’s contamination requirements for the actual sequence.
How many purge shots are enough?
There is no universal shot count that proves cleanliness across all machines and melt paths. Define the purge method and acceptance check for the specific material pair and equipment.
Should I dry the new resin before loading it?
Only as specified for the exact grade and its handling history. Some resins require controlled drying; others have different requirements. Use the material supplier’s current instructions.
Can a color streak after changeover be fixed by raising melt temperature?
That is not a safe first assumption. Check for residual material, moisture, degraded deposits, and incomplete stabilization. A temperature change may worsen degradation or mask the source.