
When rejects appear after a pause or in one cavity, preserve that pattern before adjusting the machine. It may distinguish a material-history problem from a local tool restriction. High temperature injection molding defects are evidence, not isolated cosmetic problems. Splay, black specks, short shots, flash, warpage and brittle parts each point to a different interaction among resin preparation, melt history, mold temperature, venting, gate design and geometry. Changing one setting without reading that evidence often moves the defect somewhere else.
Diagnostic path:
- Preserve the evidence
- Classify the defect pattern
- Separate heat from moisture
- Check flow and venting
- Confirm the correction with data
Do not destroy the first good clue
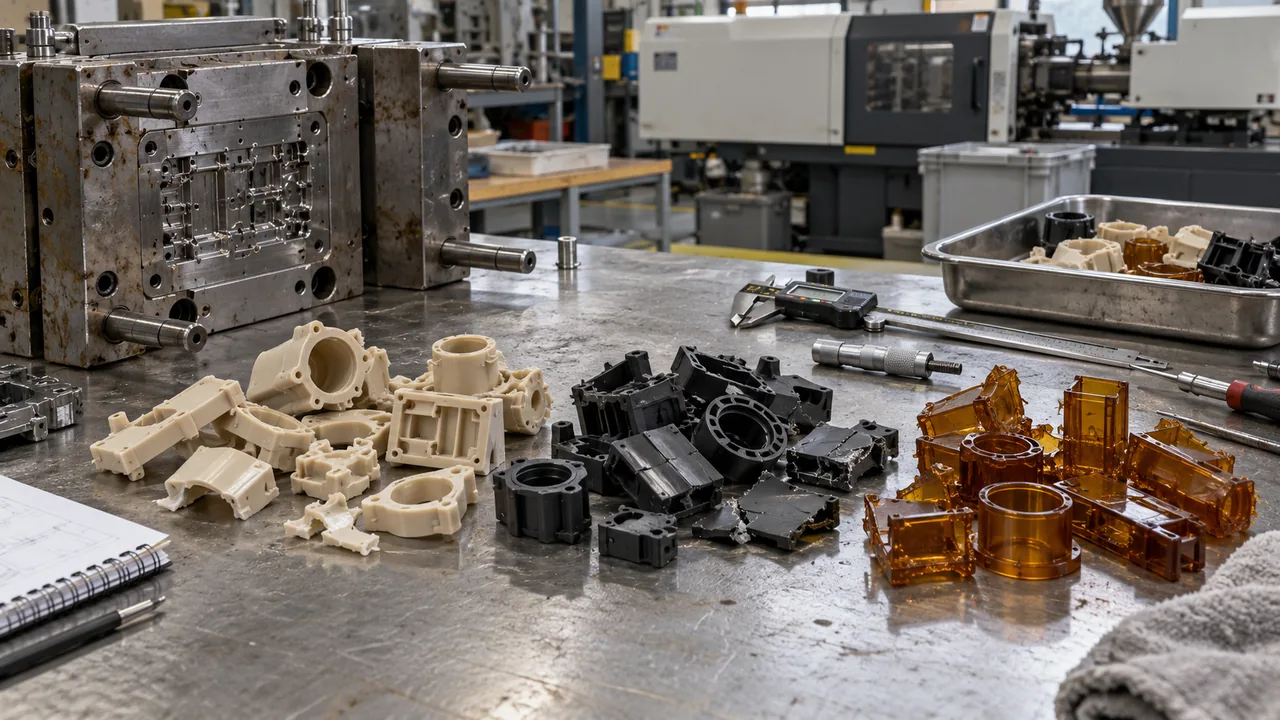
Mark cavity number, shot sequence, material lot, dryer condition and time since startup. Photograph the defect under consistent lighting and retain samples before changing the process. A random series of adjustments makes root-cause analysis impossible because the evidence is no longer connected to one controlled state. Record the first occurrence, machine interruption, purge event, dryer alarm and cavity number. Sequence often distinguishes accumulated degradation from a permanent tool restriction. Retain consecutive samples rather than only the worst part. Retain a sequence of parts from before, during and after the failure, and mark them without contaminating the surface being investigated. A record of the first bad shot, the preceding stop and the last acceptable condition can distinguish aged material from a persistent cavity issue. Photograph the same feature at the same magnification. Separate the observed symptom from the proposed explanation in the log, so a hypothesis does not become the assumed cause before verification. Several mechanisms can create similar visual evidence, so the likely cause column is not a diagnosis. Each first verification should eliminate one branch with measured data. Record the result before proceeding to the next adjustment. Use the table to set an investigation sequence rather than to assign a cause from appearance alone.
Where the defect appears matters
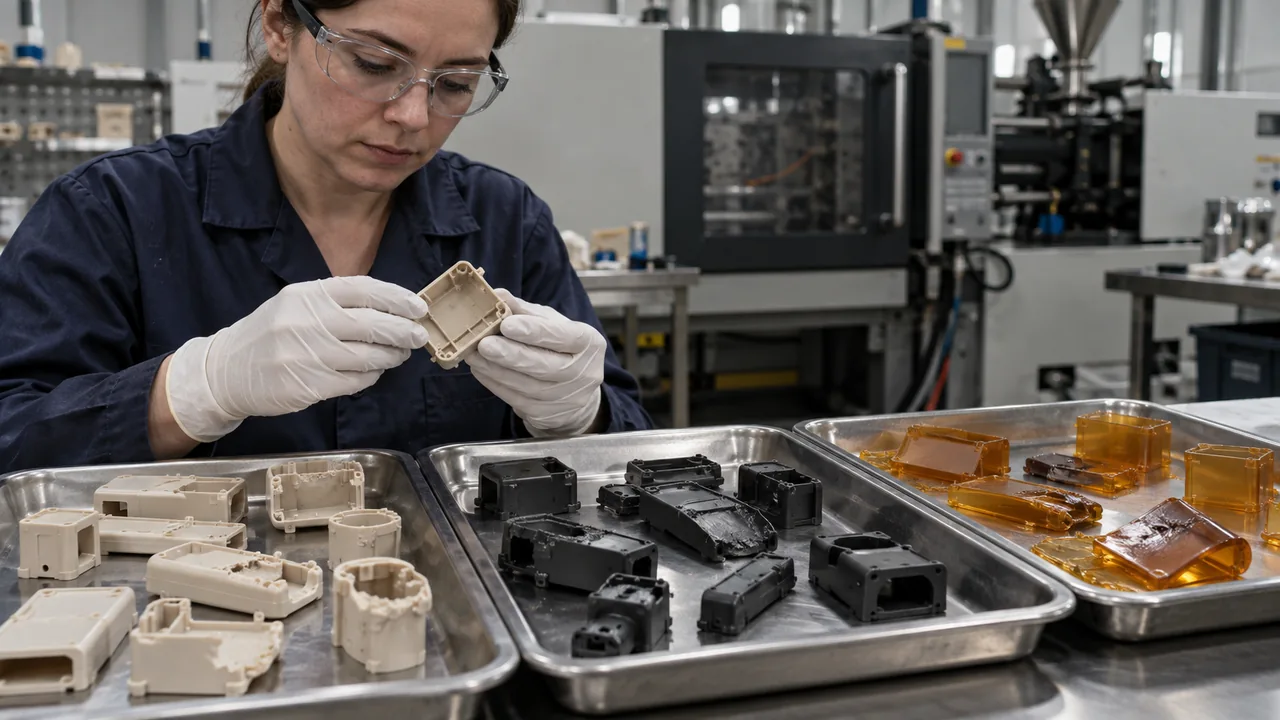
- Every cavity: suspect material preparation, melt condition or a common machine variable. A mark that repeats at the same flow location points toward geometry, venting or local temperature, while random marks suggest contamination or unstable material history. This distinction prevents needless global setting changes.
- One cavity: inspect local venting, temperature, gate restriction and cavity damage. Overlay defects on the fill pattern and cavity map. Compare location, frequency and timing together.
- End of fill: review trapped gas, freeze-off and pressure loss. An end-of-fill burn that repeats in one cavity may suggest trapped gas or a local restriction; a random inclusion across cavities calls for a different material-path investigation. Neither pattern alone proves the cause.
- Near the gate: investigate shear, jetting, gate size and local thermal history. Short-shot sequences, cavity-temperature measurements and material records can test the hypothesis. Preserve the stable features of the defect while changing one variable, because losing the spatial pattern removes one of the strongest clues available.
- After heat exposure: consider nonuniform crystallinity, residual stress and post-mold movement.
Defect evidence and first checks
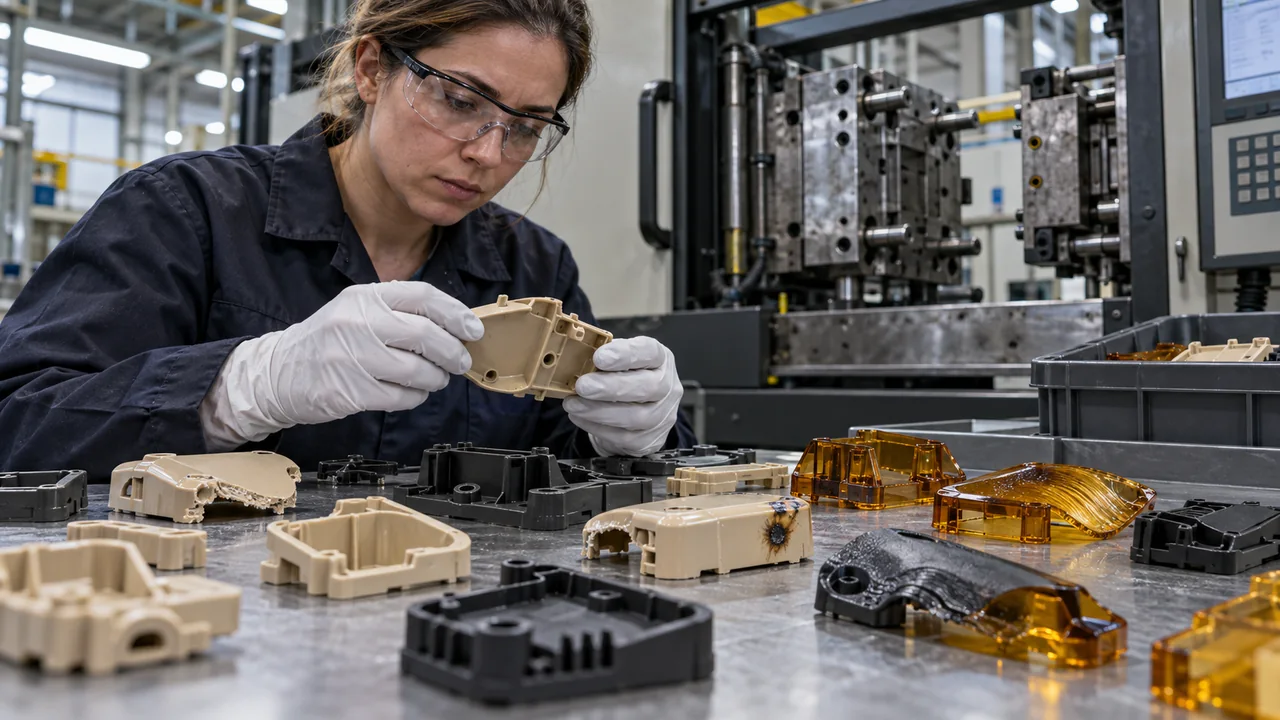
| الدليل | Likely mechanisms | First verification |
|---|---|---|
| Splay or bubbles | Moisture, volatiles or degradation | Dew point, moisture and residence history |
| Black specks | Thermal degradation or contamination | Purge, dead spots and interruption history |
| Short shot or weak weld line | Freeze-off, pressure loss or trapped gas | Fill pattern, venting and actual mold surface |
| Warpage after conditioning | Thermal imbalance, orientation or crystallinity | Cavity temperature map and fiber direction |
Moisture and heat can imitate each other
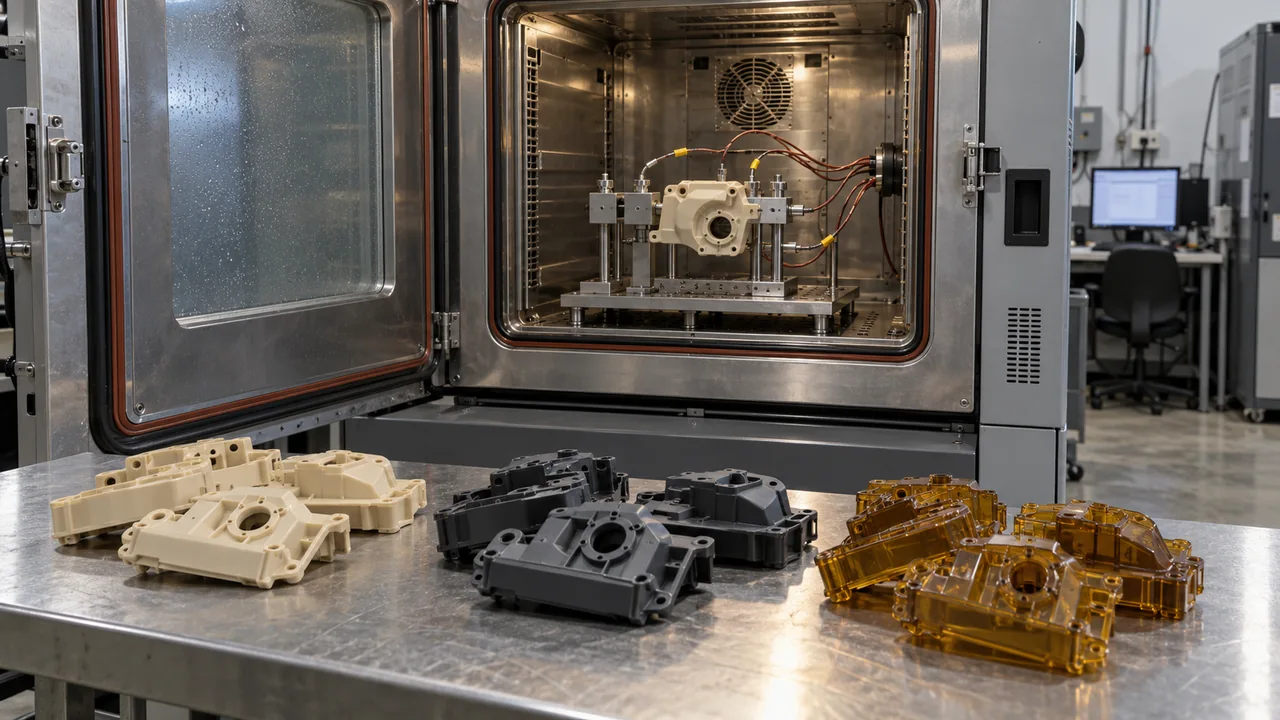
Wet resin can create splay, gas and property loss; excessive thermal history can create similar surface evidence plus discoloration or contamination. Verify dryer dew point, actual pellet moisture, hopper residence and material exposure before raising temperatures. Splay, bubbles and brittleness can have overlapping origins, and two problems can exist simultaneously. Verify moisture and thermal history before adjusting filling; inspect venting before demanding more pressure. For each trial, state the expected result if the hypothesis is correct. If that result does not appear, return to the evidence instead of accumulating compensating settings that nobody can explain. Acceptable dryer temperature does not prove low pellet moisture if dew point, airflow, residence or hopper seals are wrong. Material can also reabsorb moisture during transfer or long exposure at the machine. Sample pellets at the feed throat and measure them with a suitable method. A satisfactory dryer setpoint does not establish the moisture at the feed throat, and a lower barrel setting does not establish a shorter residence time.
Likewise, lowering melt heat to stop degradation may worsen filling if the real cause is excessive residence time. Match barrel size and shot utilization before using temperature as the only control. Check each independently. For polymers susceptible to hydrolysis, wet processing may reduce properties even if the surface is acceptable; for low-moisture-uptake families, drying recommendations still need to be followed without inventing the same degradation mechanism. Relate the defect to the exact resin and interruption history before changing the thermal window.
When the process cannot fix the tool
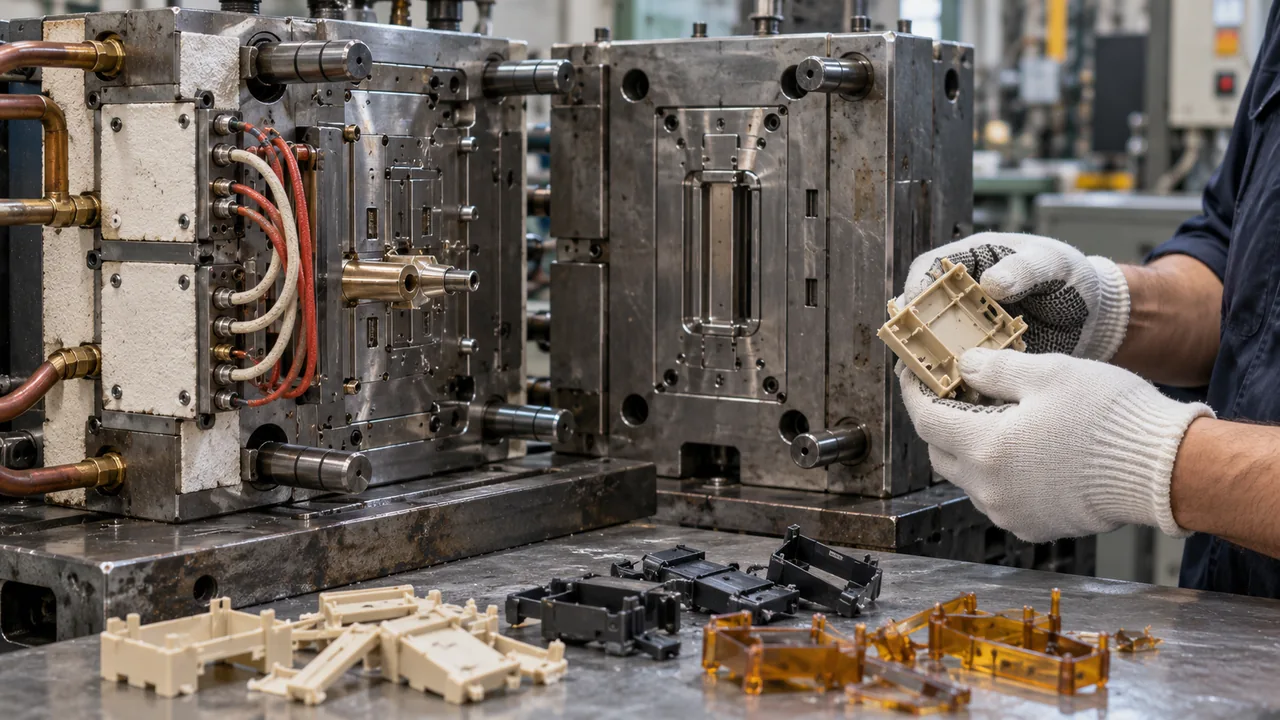
Insufficient vents, an undersized gate, unbalanced heating and abrupt wall changes cannot always be corrected with pressure or speed. Pushing harder can create flash, stress and degradation while the original restriction remains. Extra speed or pack pressure may force material through a restriction but can create flash, shear heating and residual stress. A temporary cosmetic improvement can reduce mechanical reliability. Inspect gates, vents and local steel dimensions when the location repeats. A clogged vent, worn shutoff or undersized gate can produce a stable defect location that survives many parameter changes.
Use خدمات تحليل تدفق القوالب and cavity-pressure evidence when the defect repeatedly occupies the same location. A capable قولبة البوليمر عالي الحرارة process should include tool corrections, not parameter compensation alone. Pressure compensation may then create flash, shear or stress elsewhere. Inspect the local feature and compare it with its original condition before concluding that the press lacks capability. When a tool correction is justified, retain the pre-change evidence and dimensional record. This makes it possible to establish whether the repair removed the restriction rather than merely moving the symptom.
Confirm the cause, not only the disappearance
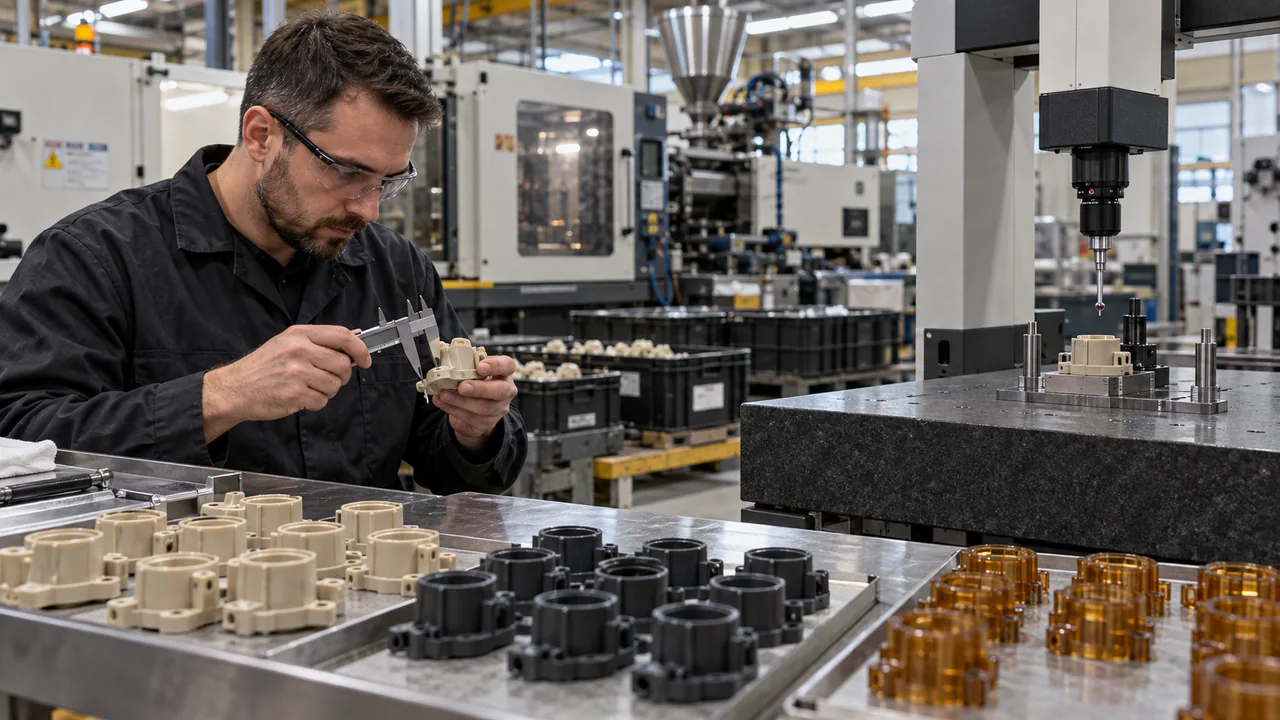
- Change one controlled factor or use a designed experiment. A true correction should survive normal lot variation, all cavities, a planned stop and restart, and enough cycles for thermal equilibrium. If the defect returns only at an edge condition, the process is not yet robust.
- Run enough cycles to reach thermal equilibrium. Update the control plan with the verified causal variable. Select a confirmation run long enough to reach a repeatable thermal state and include all affected cavities.
- Inspect all cavities and record the process state. Check dimensions and function as well as the visual defect. Then repeat the relevant restart or material-handling event that originally triggered the failure.
- Measure function and dimensions, not appearance alone. If the correction works only under unusually careful trial conditions, it is not ready for routine production. Document the causal variable, its monitoring method and the reaction plan so another shift can maintain the same result.
- Repeat after a planned stop and restart.
الأسئلة الشائعة
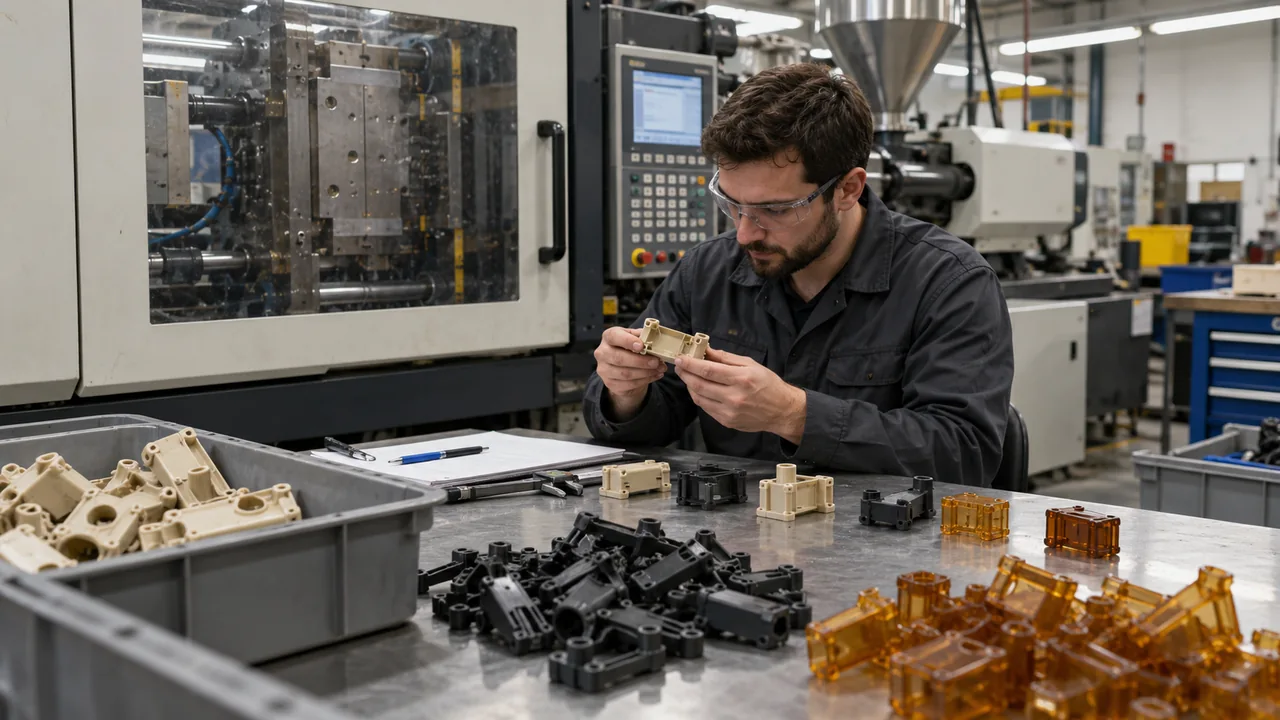
Why do defects appear only after startup?
The mold, hot runner and barrel may not yet be in thermal equilibrium, or material may have accumulated during the interruption. Retain samples in shot order and record pause duration. The relationship between the first failed part and the preceding event is more useful than a single photograph.
Can higher mold temperature reduce warpage?
It can improve uniform crystallization for some polymers, but imbalance, fiber orientation and packing can still cause warpage. Measure the full cavity map. Verify packing and measurement timing as well. A change that reduces visible distortion immediately after molding may not stabilize dimensions after the service environment acts.
Should black specks be solved by lowering barrel temperature?
Not automatically. Check residence time, dead spots, contamination and purge history before changing the validated melt window. Examine hot-runner and nozzle history with an approved purge procedure. Then confirm that the correction remains effective after the same interruption that previously triggered specks.